First steps
Register and log in
To access the application, users must first complete a simple registration process. The registration procedure remains largely the same across all versions, whether using Focalist’s public cloud server or a locally installed server within the customer's infrastructure.
The key difference lies in access after logging in. The public cloud version offers a default 14- day free trial, allowing users to explore the platform’s features before committing. In contrast, for servers installed on customer devices, access to the application’s functionalities requires the purchase of a valid license. This ensures a tailored experience, whether opting for a cloud-based solution or an on-premises deployment.
Registration
-
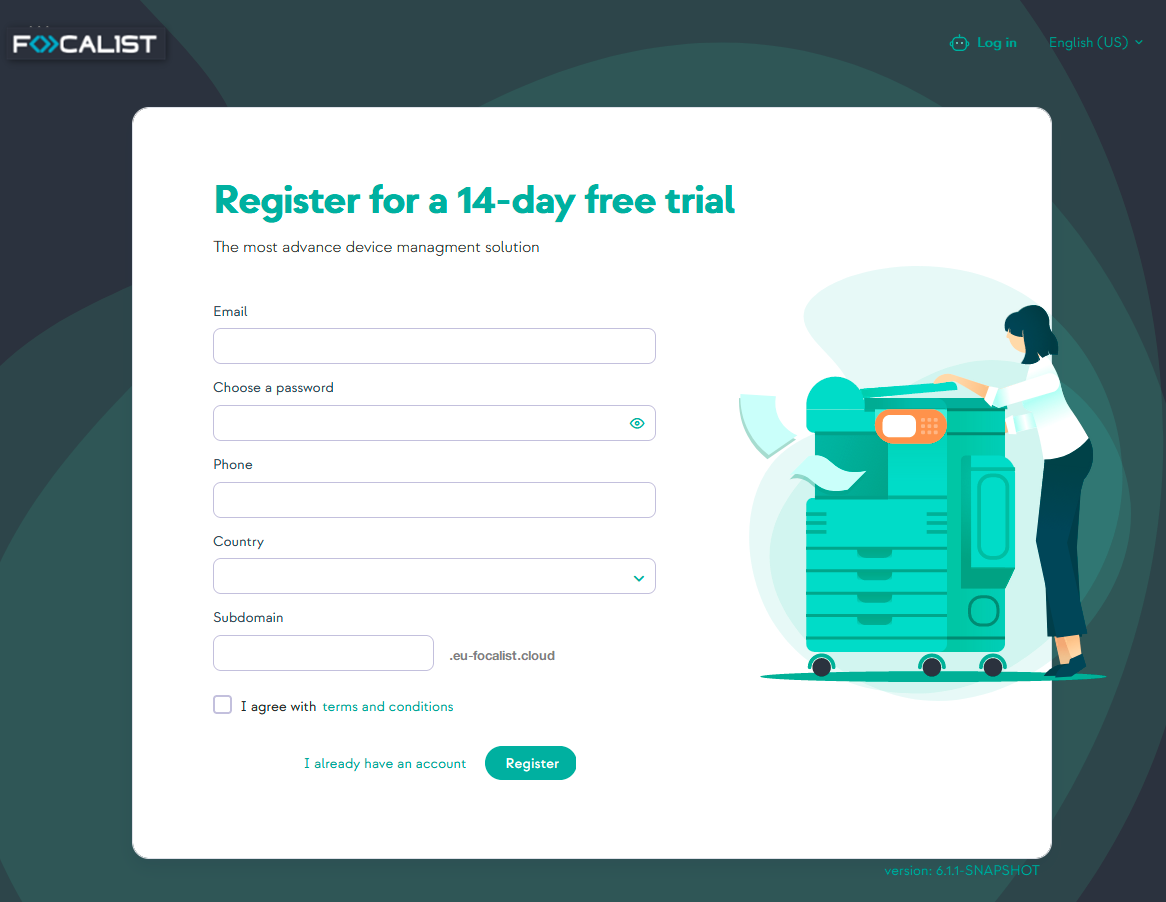
Go to https://princity .com/ and click the “Register” button.
-
Select your country from the available list.
-
Choose the cloud service you want to use:
-
In case of pubic Focalist server: https://eu-focalist.cloud/public/register
-
In case of local Focalist server, in depends on configuration but ServerIPAddress/v3/public/register
-
-
Choose the interface language.
-
Fill out the following fields with your personal information:
-
Email(login) - login of the administrator who manages the application. An email confirming correct partner registration will be sent to the email provided.
-
CHOOSE PASSWORD - administrator password to app , be sure it’s safe.
-
Phone - contact information.
-
Country- region information.
-
Subdomian - defines the address under which the platform will be available. (https://<YourSubdomianName>.focalist.cloud/)
-
-
Click on Register
:
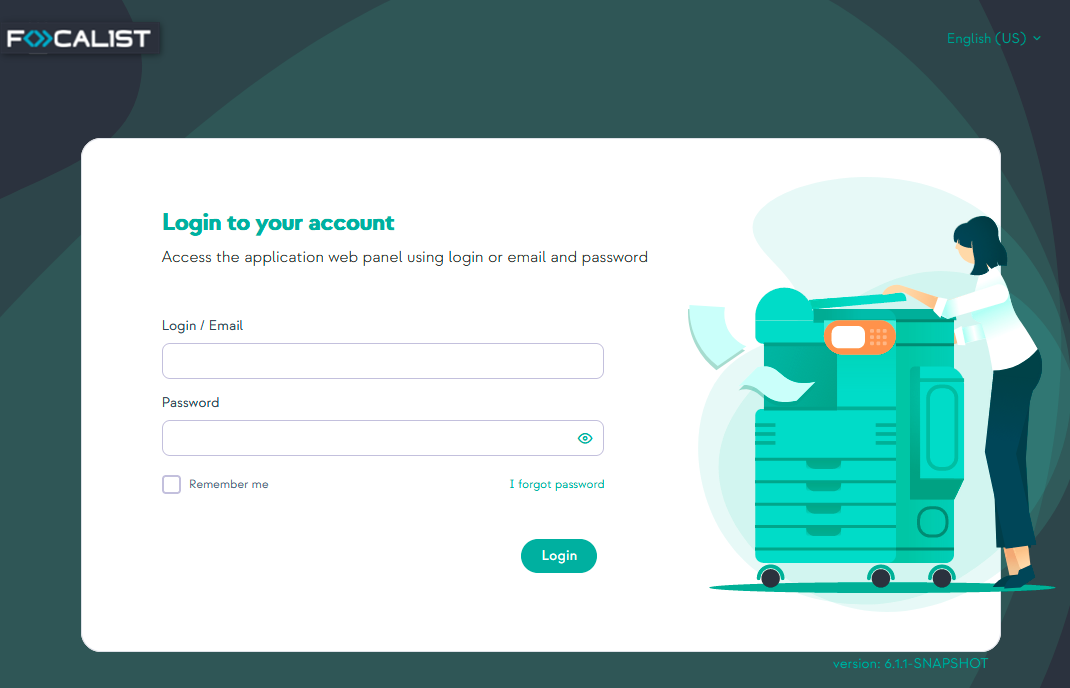
Login
To login you enter https://<YourSubdomianName>.Focalist.cloud/ then write your login(email) and password after which click on Login button for further configuration.
If you are using the public Focalist server, you can start working immediately.
However, if you are using a local server, you must contact support to obtain your license before proceeding.
To get started with the application, we encourage you to explore the introductory materials we've prepared to make your first steps easier. In the top right corner of the screen, you’ll find an icon with a question mark – this is the "Resource Center." Here, you'll find helpful tutorial videos and interactive tooltips that will guide you step by step through the key features of our system. Additionally, the Resource Center includes a support option, allowing you to get answers to any questions or concerns you may have. It's the perfect place to seek assistance if needed.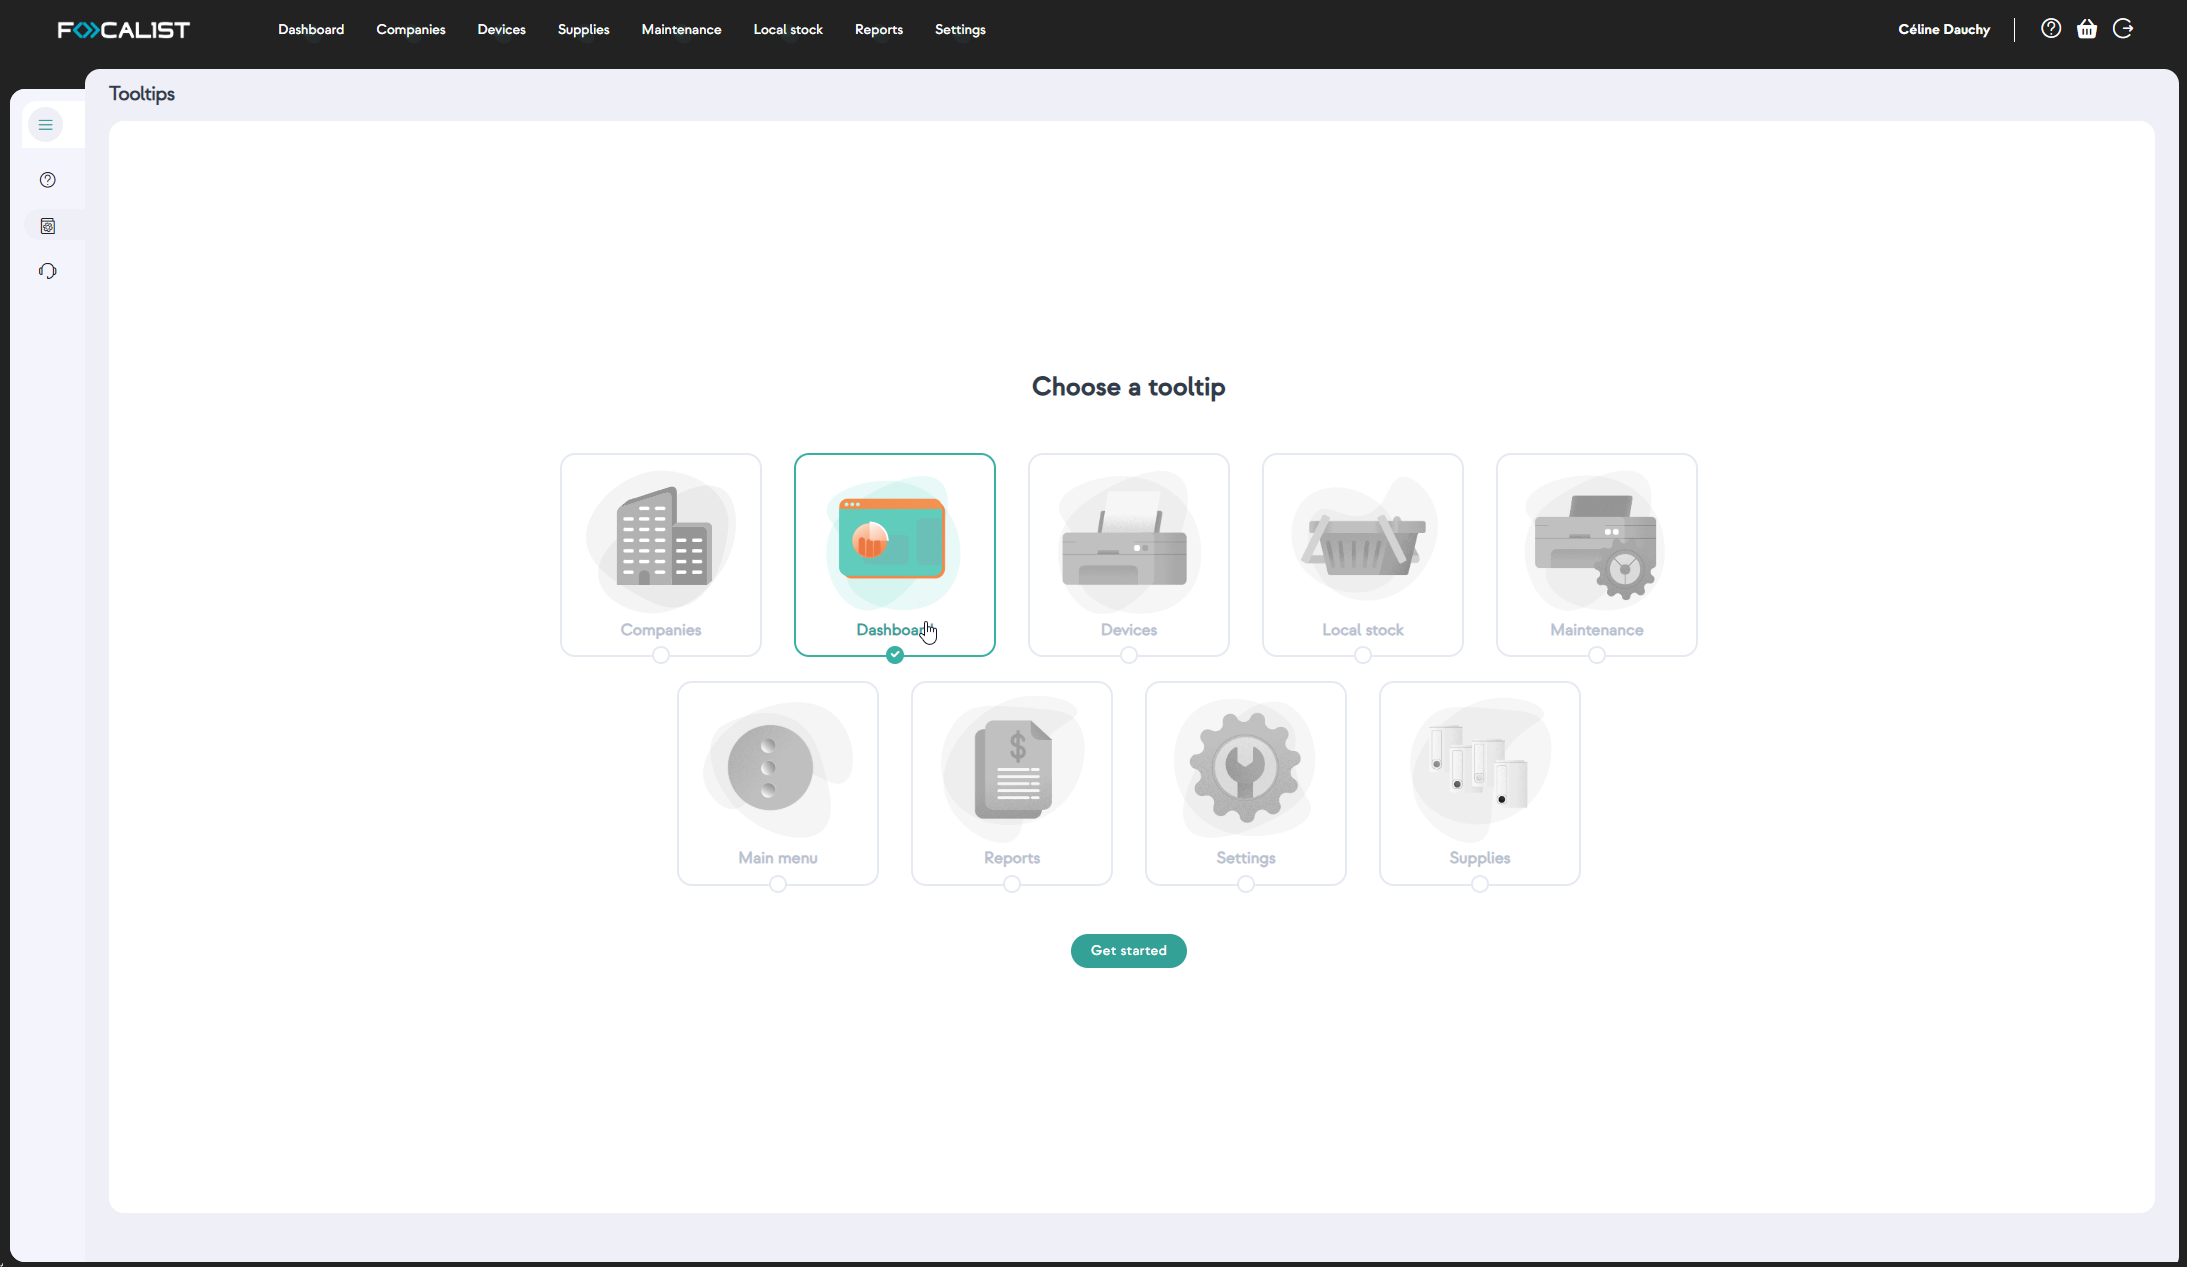
Add Company
In the Focalist application, devices are assigned to companies and their branches.
Therefore, after logging in, the first step for a new user should be adding a company:
-
Upon login, the home page is the Companies interface.
-
Click the green Add a new company button to get started.
Company Data
After clicking the button “Add a new company”, you access a form in which you enter the company data. The entered data can be edited later from the settings of individual companies. Required information about the company is
-
Company name,
-
Language,
-
Country,
-
Address,
-
Postal code,
-
City
-
Prefix: short name allowing easy identification of a given company. All devices in the company will receive IDs consisting of: {Prefix}-nextNumber of Device. For example, if the Company name is "DEMO", identifiers of subsequent devices are DEMO-1, DEMO-2; etc.; Marking printers allows for the quick and convenient linking of devices to the company in which they are located.
Optional fields are
-
Tax ID
-
Trade.
Company Contacts Data
Company contacts data are information about company employees responsible for the maintenance of printing devices. Messages from the system will be sent to this person (e.g., about the dispatch of consumables or on detected device failures).
The supervisor provided at this stage will be marked by the system as the 'company's main coordinator'.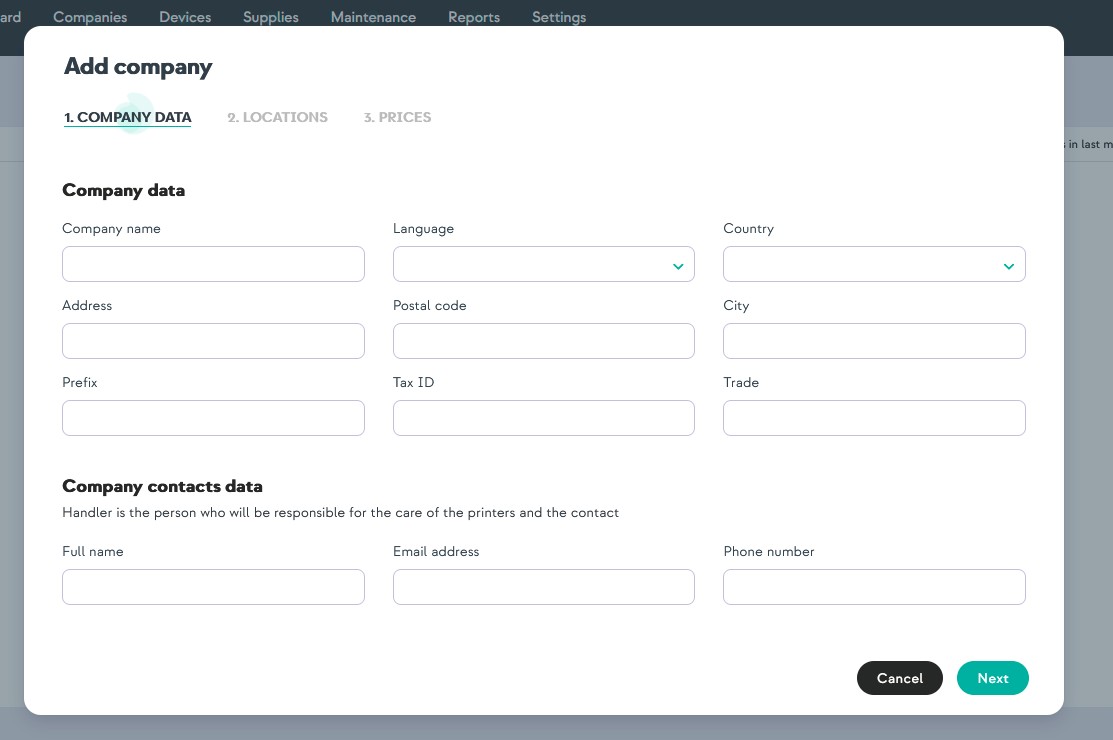
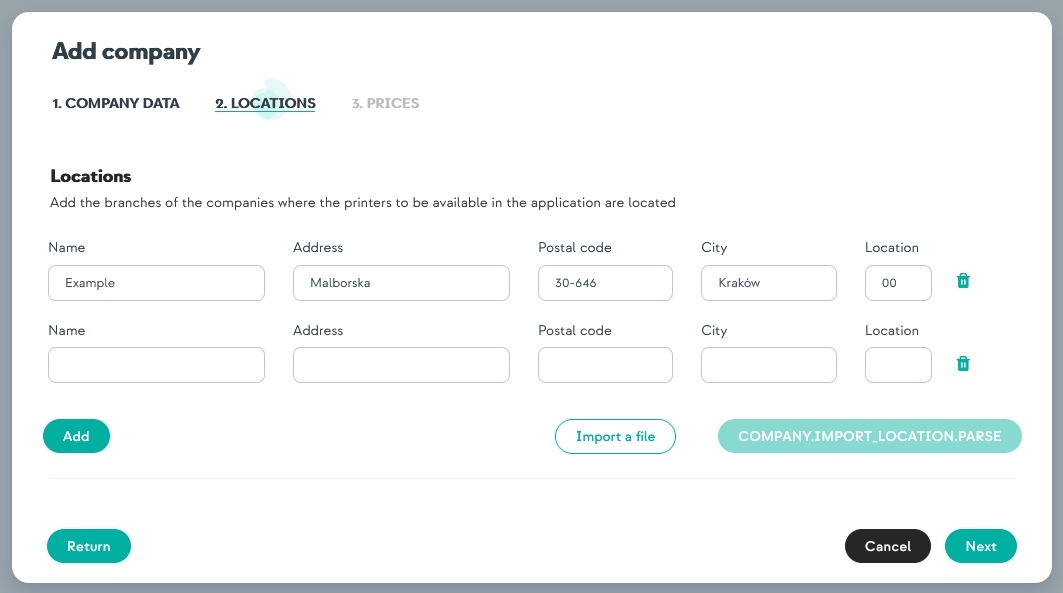
Locations
At the Locations step you can add more locations for your company, and you can always edit them or add more in the company settings.
Having multiple locations can be useful during adding multiple printers located in different places. Thanks to that option, you can define where your printers are located.
Prices
In the Prices tab, select the company’s settlement model. To do that you choose either settlement per printed page or settlement per toner. Next select Currency from default one or add another. You can always change that in company settings.
-
Settlement per printed page
Enter here standard prices for a page divided by mono, color and scan. More advanced options such as the number of pages in the subscription or subscription fee can be customized later
-
Settlement per toner
Prices for individual toner models can be changed in the company options.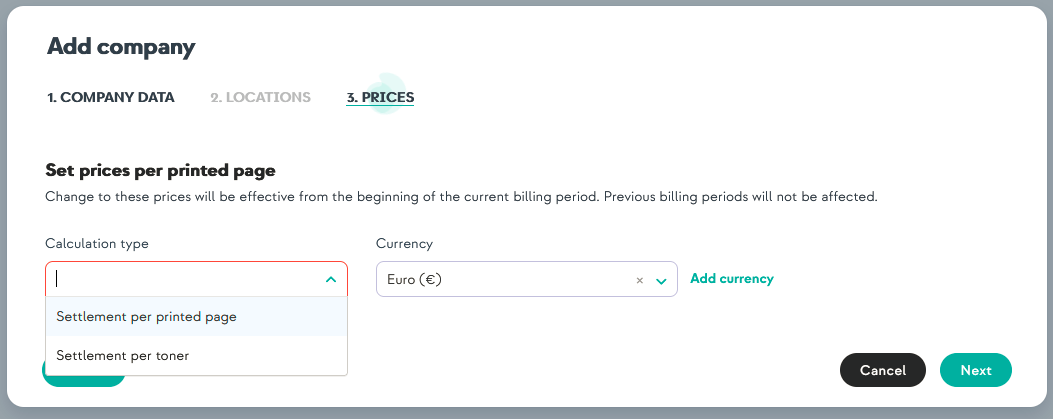
Summary
After completing the data entering, there will be a summary of the added company information. 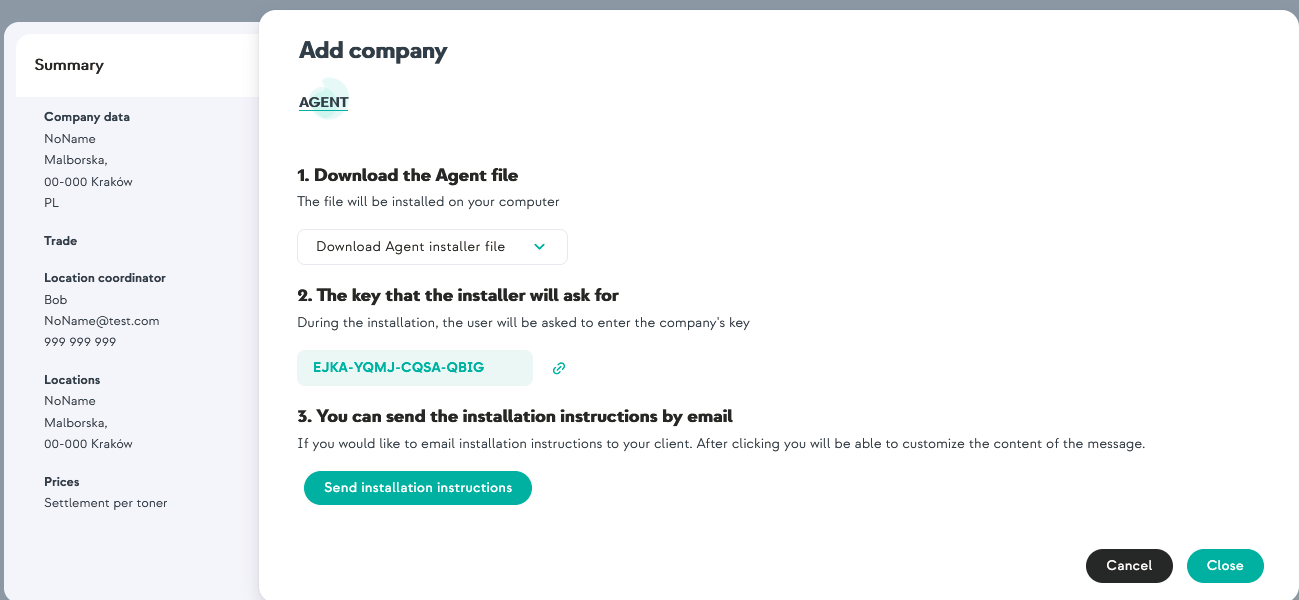
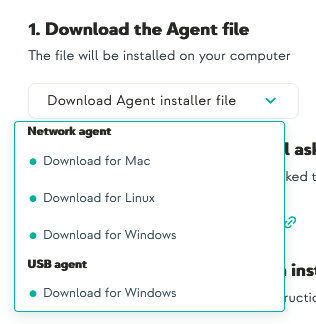
You can just close this window and go to the next step or download the Agent files now. To do that you need to select from the drop-down list the version for your device. You can also additionally send instructions with links to download the Agents to mail.
Installation of Agent
Once the company is added, the next step is to install the Agent.
The Focalist Agent is a background software that collects data from printers and sends it to the Focalist server. It’s crucial to install it on a computer that will run continuously every day. If the computer running the Agent is turned off, it will prevent feedback from being sent and disrupt the proper functioning of related services (such as consumables and maintenance) for the printers covered by the contract.
If you haven’t downloaded the Agent yet, you can find it by going to:
-
Companies > Selected company (click on the company name) > Agent > Download Agent installer file
Before starting the installation, you’ll need an Agent key. You can get it from the summary window after adding the company, or find it in the Agent settings. To access the settings, follow these steps:
-
Companies > Selected company (click on the company name) > Agent > Click on the 3 dots in the "Action" column and select "Edit".
When the company is added , the next phase would be installation of Agent. Focalist is responsible for searching for other devices in the network, checking their status and sending information about them to the server.
If you didn't download agent, you can find it at:
-
Companies > Selected company(click on company name) > Agent > Download Agent installer file
Before you start installation you need to have an Agent key. You can get it from the summary window after adding company or find it at Agent settings. To get there you have to go to:
-
Companies > Selected company (click on company name) > Agent > click on 3 dots in the column action and select edit:
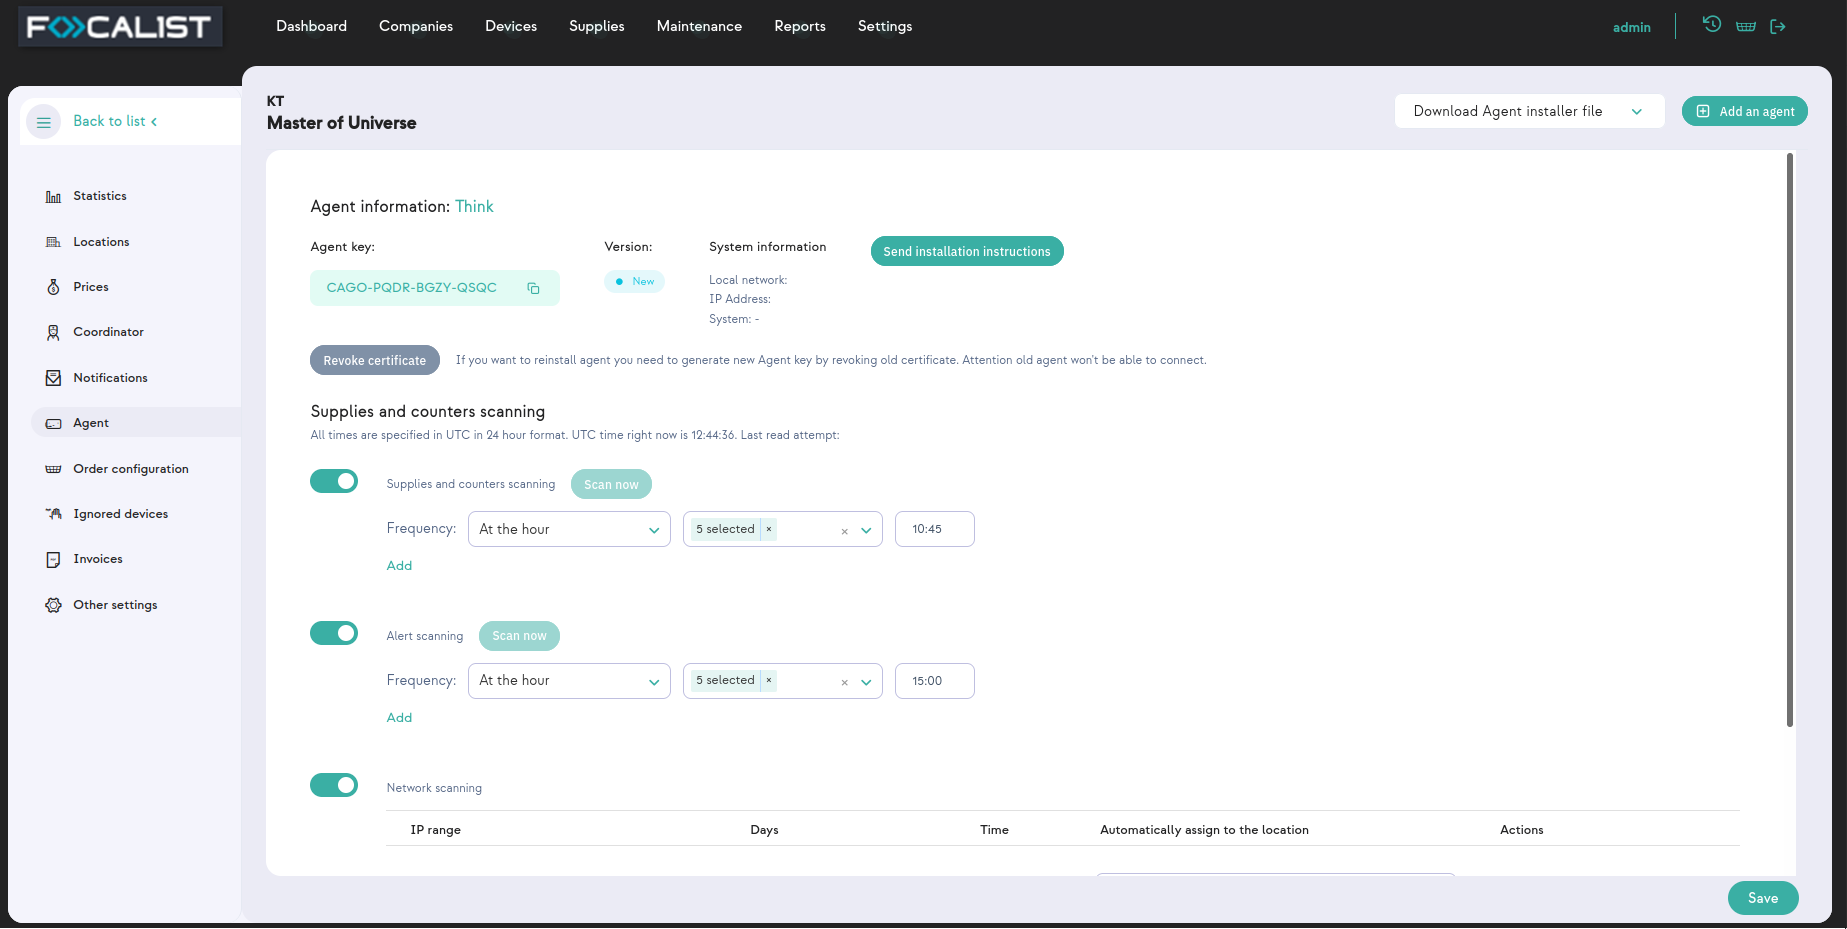
Under the company name you can find Agent Key for selected Agent. You will need it during installation.
Devices that will be used for installation need to be a part of the network where printing devices are connected. If you have printers in multiple networks you will have to install an Agent for each one.
Also for installation independently from the operating system you need to have installed JDK 8+ or JRE 8+ on your device.
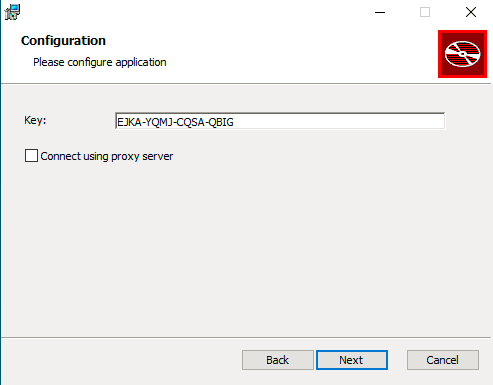
Installation on Windows
For installing Focalist Agent on Windows you need to run downloaded instalator “Focalist-agent.msi” and enter the mentioned earlier Agent key.
Installation on Linux
-
After downloading, unzip file (preferred to directory /opt/Focalist-agent).
-
Open the terminal and go to the agent destination directory.
-
Run script install_linux.sh as root.
-
Enter your Agent Key and press enter.

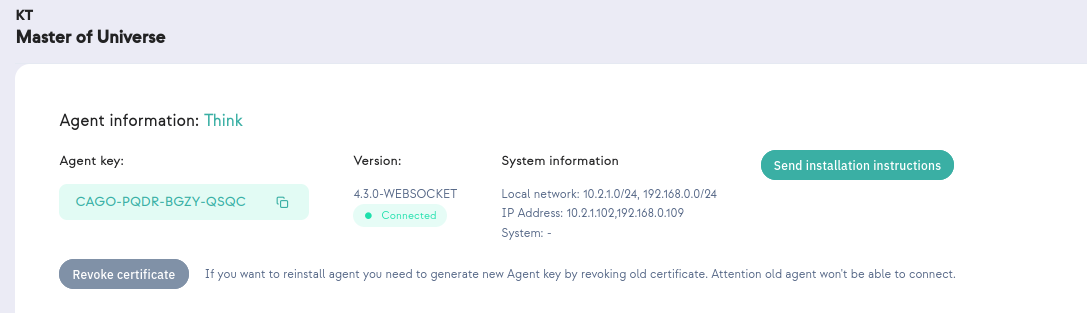
If everything went as it should be in agent settings status should change to connected.
Adding printers
Focalist is an application to manage a fleet of printers, so final steps that would allow using an app main feature is adding printers. To do that you need to make sure that installed agents are in the same network as printers and they are connected to the server.
-
Select Devices from the menu at the top.
-
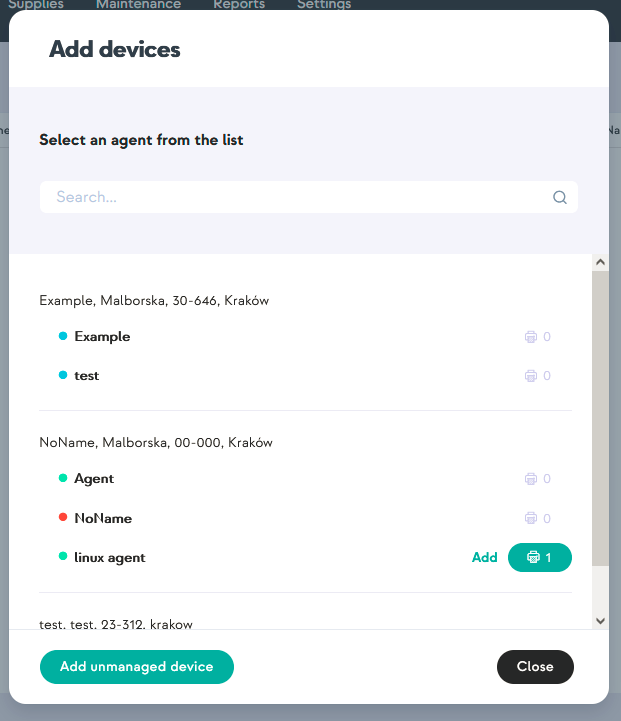
Press button Add a device.
-
You will see a list of companies and agents in them, you need to choose an agent with new device status, at the screen below it is a one named “linux agent”.
-
Before adding a device you may choose location from the list of locations added for the company(You can always change this latter in print settings).
-
Finally check the mark near the print name and press Save assigned devices.
Summary
From this point most of the application features are available. You now have remote access to things such as:
-
Collective statistics of the state of supplies for added printers and the ability to send prior notifications in the event of a lack of any resource.
-
Generating reports.
-
Remote access to device control panel.
They will be defined in detail in the description of the individual modules.