Configuring the Outlook Office 365 mail box
It is possible to configure an MS Outlook.office.365.com mailbox in Watchdoc SkyPrint.
However, as Outlook365 requires oauth2 authentication for external applications wishing to access a mailbox, Watchdoc SkyPrint must first be registered as one of the applications authorised to access Outlook365.
This configuration must be carried out in the Microsoft Azure management interface.
The steps are as follows:
-
register the Watchdoc SkyPrint application in Azure.
-
configure the Watchdoc SkyPrint application to use OAuth.
-
configure the OutlookOffice 365 mailbox in SkyPrint.
Register the Watchdoc SkyPrint application in Azure
-
Log on to your Azure portal as an administrator.
-
In the search tool, enter "App registrations".
-
In the list of results, select the "App registrations" service:

-
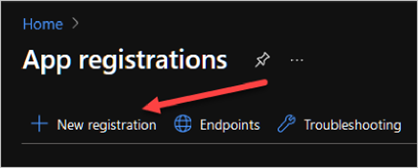
In "App registrations" interface, click on New registration":
-
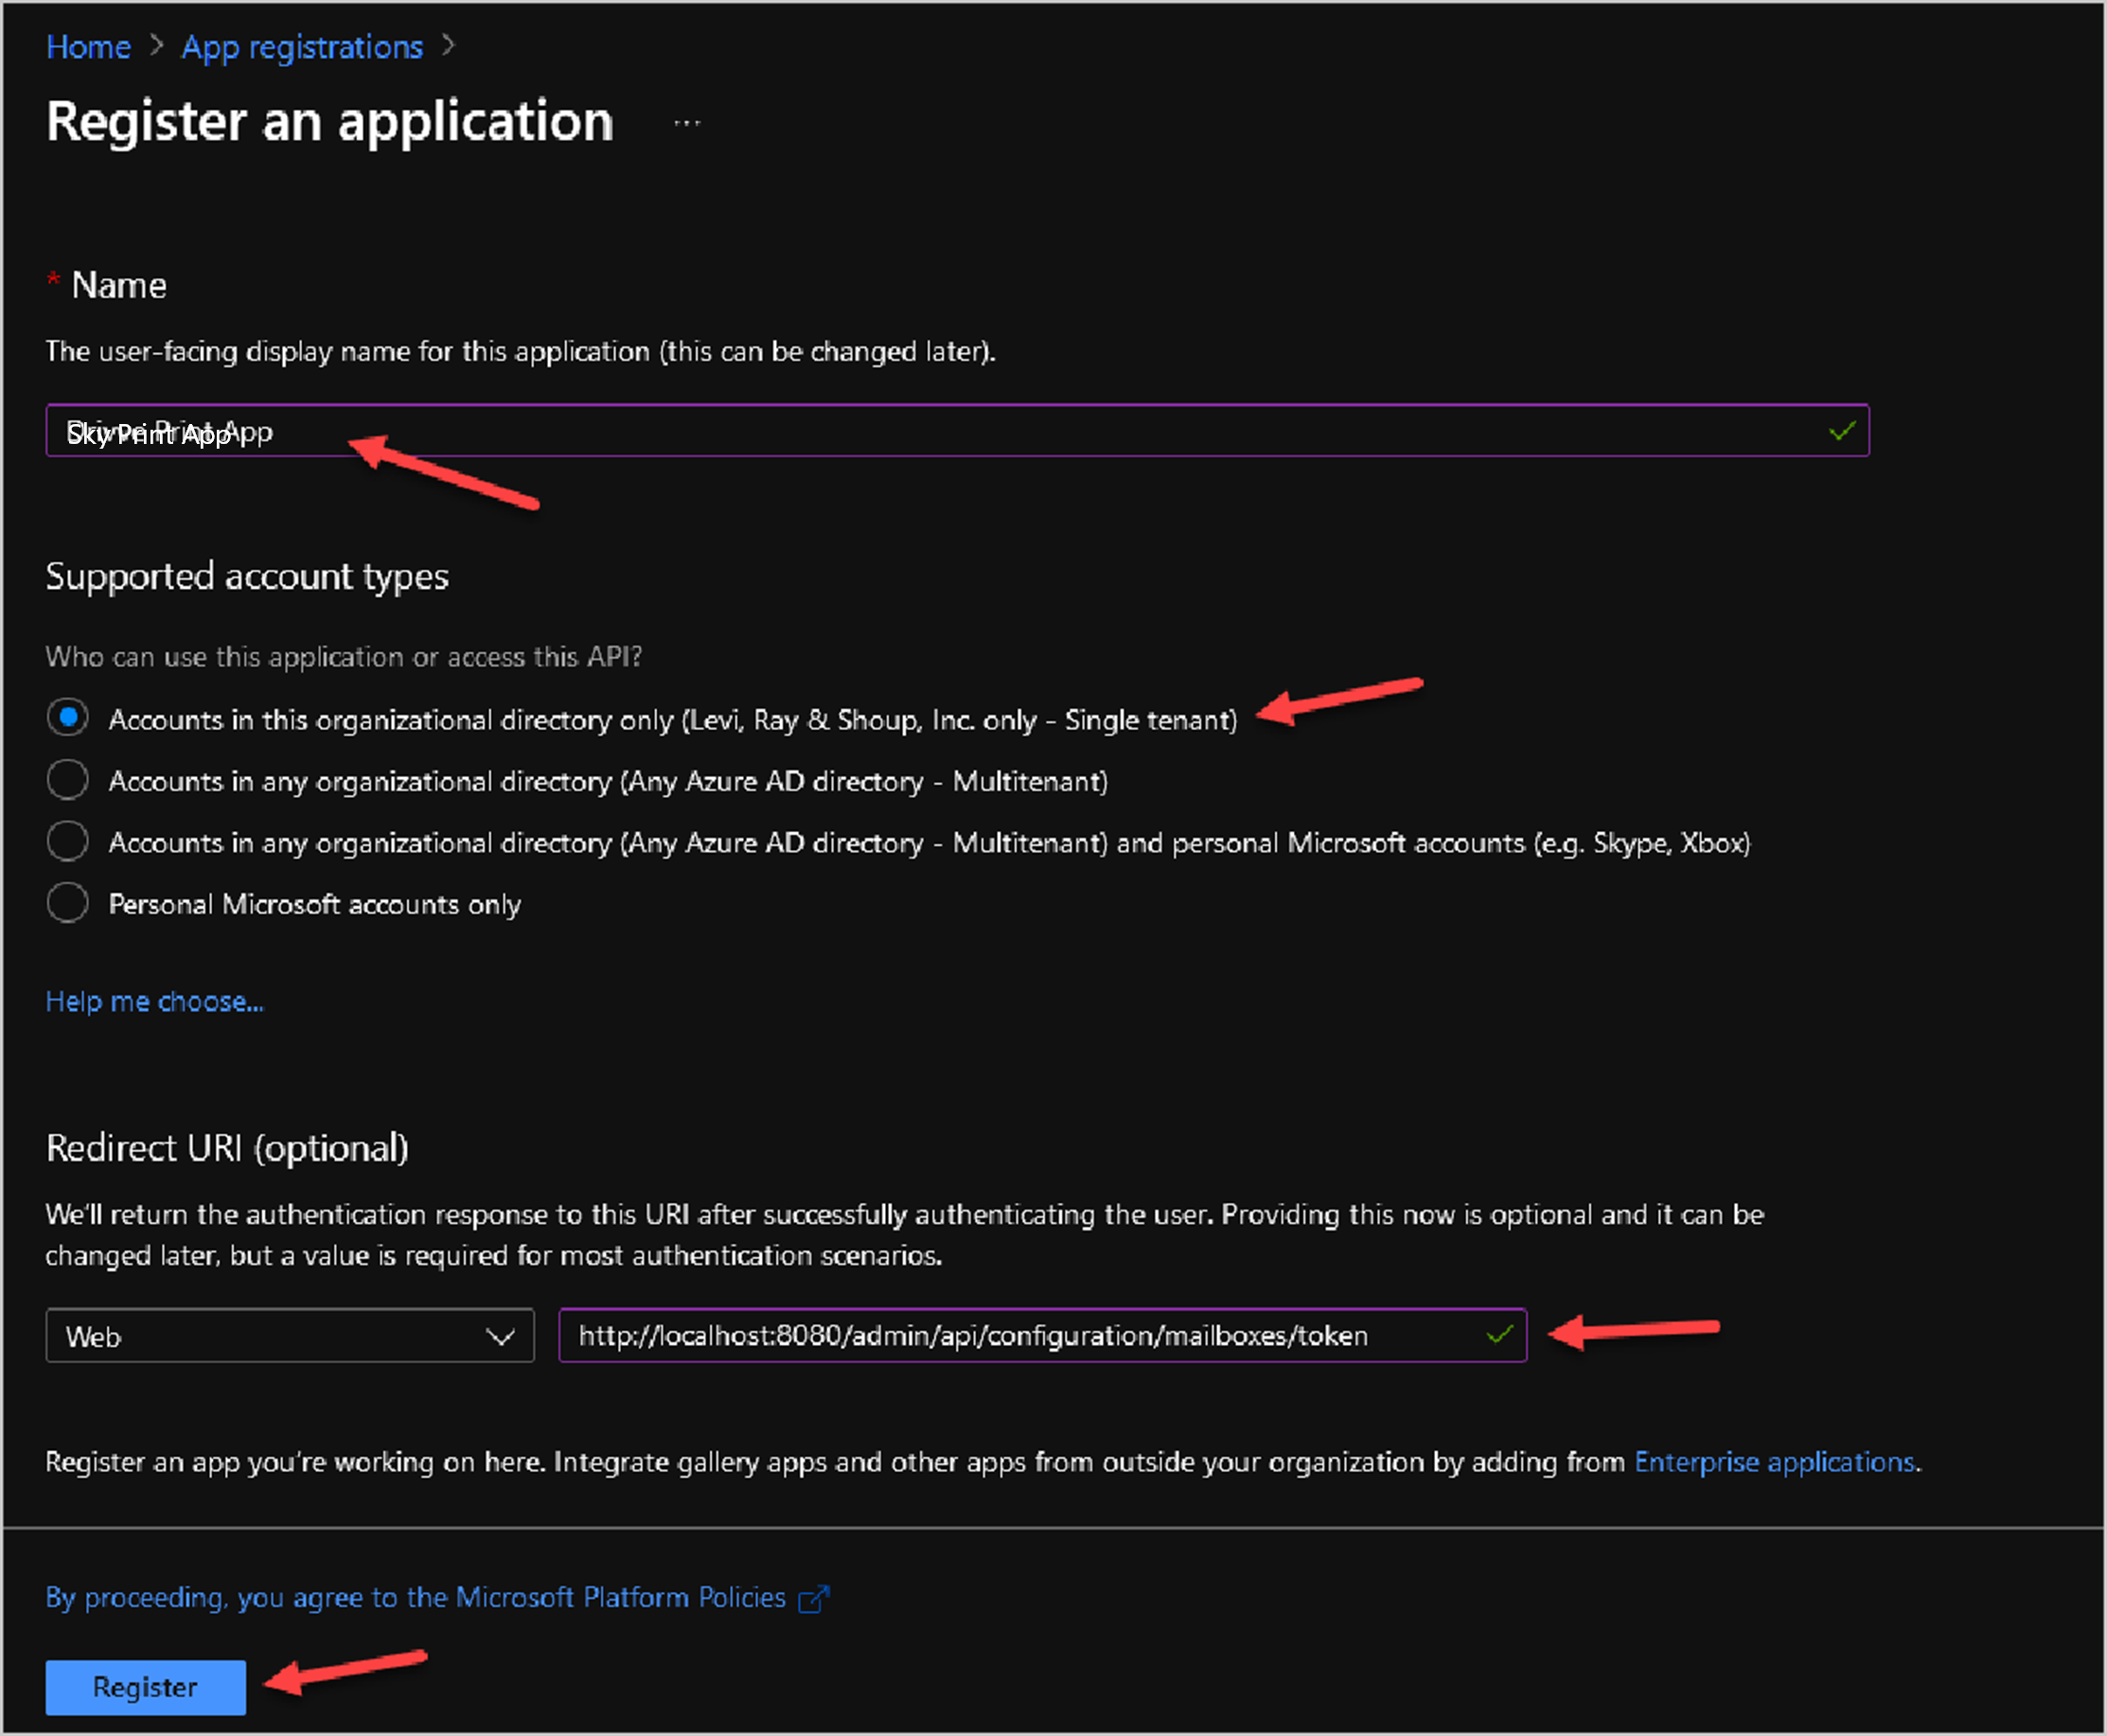
In "Registration" interfacee:
-
Name: give the application a name (Watchdoc SkyPrint, for example). This name is only displayed in the Azure administration interface.
-
Account type: select "Single tenant" to limit the use of the application.
-
Redirect URI: select the Web type, then enter the following address in the fieldhttp://localhost:8080/admin/api/configuration/mailboxes/token. This URI is used to receive the authentication token once the user has been authenticated.
-
-
click on Register.
-
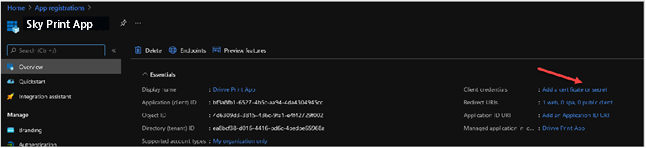
The application interface displays the information you need to configure your Outlook 365 mailbox in SkyPrint at a later date:
-
Application (client) ID: application identifier as registered in Azure
-
Directory (tenant) ID: application property identifier.
-
-
Then define the Secret (application-specific password) by clicking on Add a certificate or a secret:
-
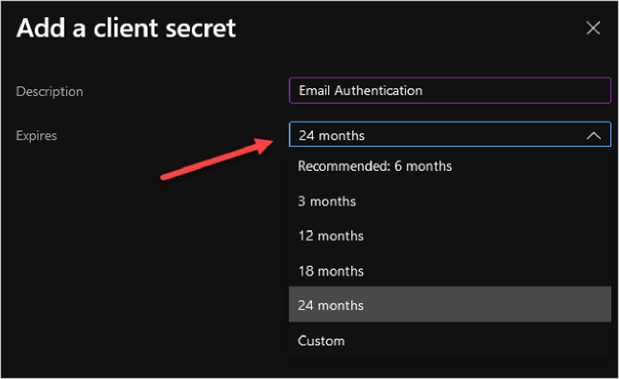
Secret: enter the password;
-
Expiration date: secret expiry date. Once the expiry date has passed, you will need to enter a new one and update the SkyPrint configuration:
-
-
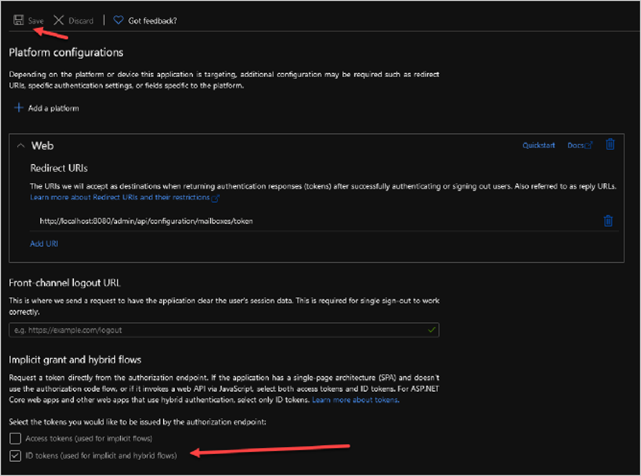
Then click on the URI link to configure it:
 4
4 -
At the bottom of the page, tick the ID tokens (used for implicit and hybrid flows) :
-
Click Save to save the settings.
-
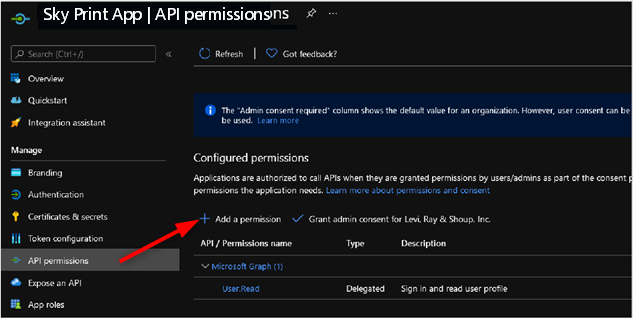
In the API Permissions interface, click on Add a permission:
-
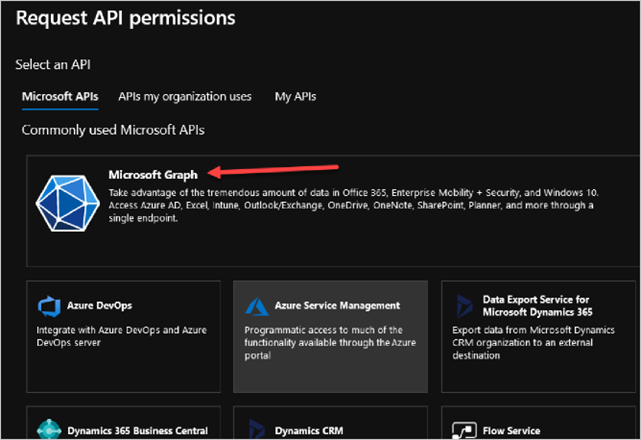
select the API "Microsoft Graph" :
-
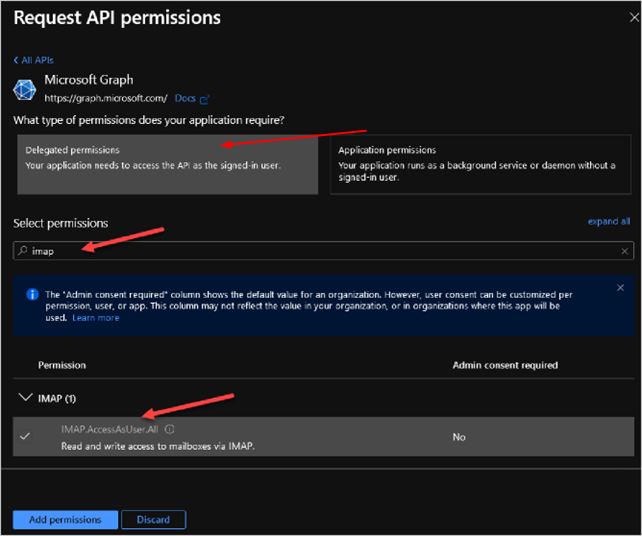
Then choose Delegated Permissions:
-
Look for "Imap" in the list of authorisations:
-
Select the "IMAP.AccessAsUser.All" permission. This will allow the application to access the Imap account of the SkyPrint email account:
-
Repeat the operation for the following permissions:
-
Mail.Read
-
Offline.access
-
User.Read
-
-
Once these permissions have been added, they will appear in the list of configured permissions:
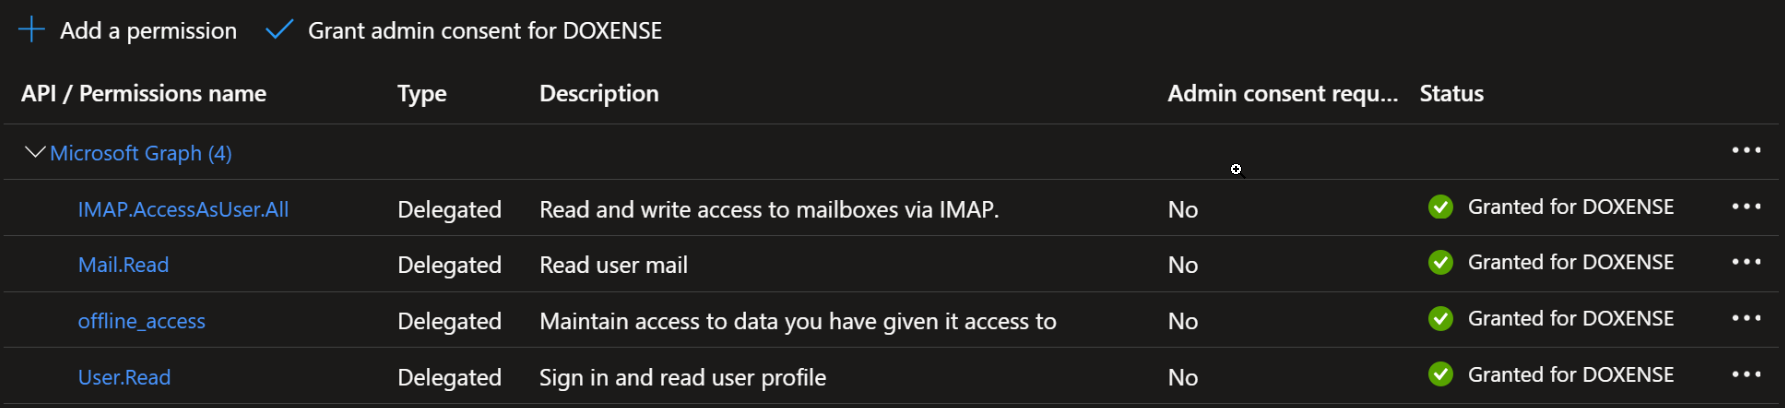
-
Grant them "admin consent" by clicking on the Grant admin consent for Doxense button.
This way, when users configure the email account for the mobile printing application, they will no longer need to provide explicit consent for these permissions: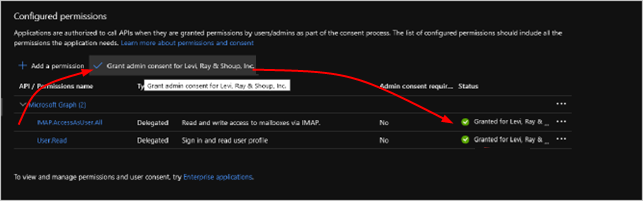
-
Exit the Azure portal and configure the SkyPrint email account using the application registration information in Azure.