Create an MS Outlook.office.365.com mailbox with OAuth2 authentication
-
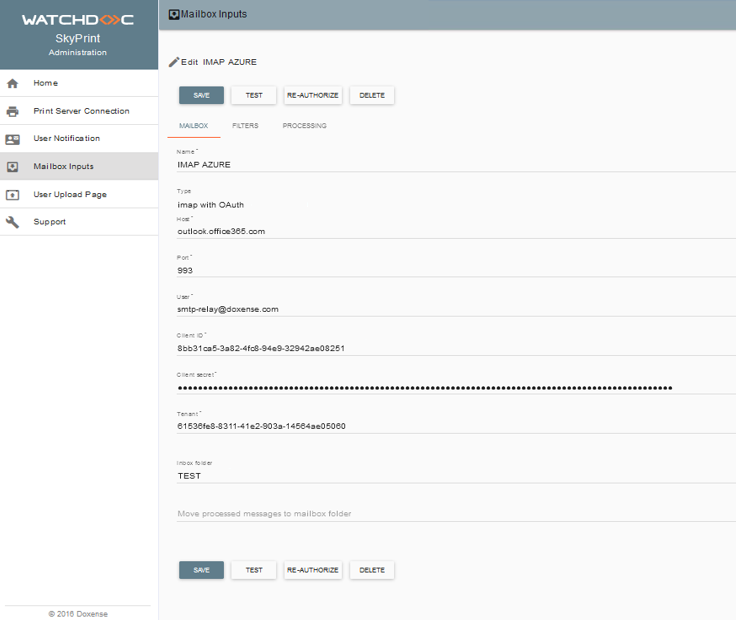
click on the Mailbox Imputs menu entry and complete the following fields:
-
Name: give a name to this mailbox
-
Type: choose imap with Oauth
-
Host: choose outlook.office365.com
-
Port: enter the IMAP port: usually 993
-
User: enter the email address you wish to use for the SkyPrint service
-
Client ID: enter the MS Outlook.officeClient.365 client ID
-
Client secret: enter the application password provided when registering the SkyPrint App in Azure (see Registering the SkyPrint App in Azure):
-
Tenant: enter the account owner number provided when registering the SkyPrint App in Azure :
-
Click on Authorize.
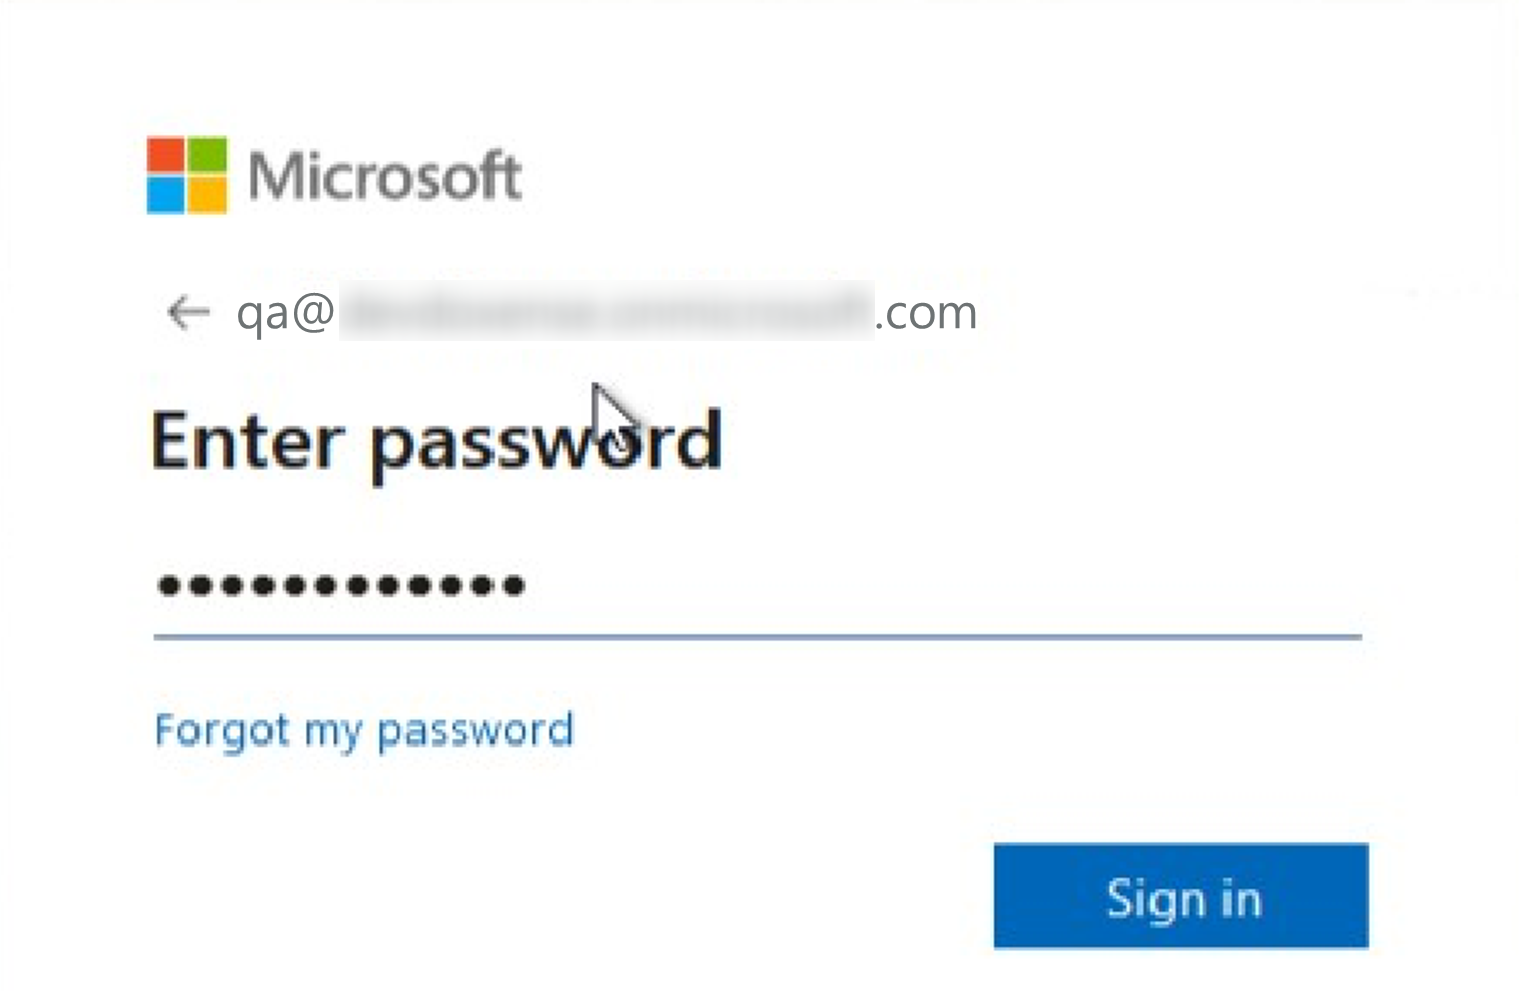
→ You will be taken to the Microsoft authentication page.
-
On the Microsoft authentication page, enter the name and Microsoft password of a user who has the right to manage authorisations:
→ Once authenticated, a confirmation SkyPrint confirmation page is displayed: 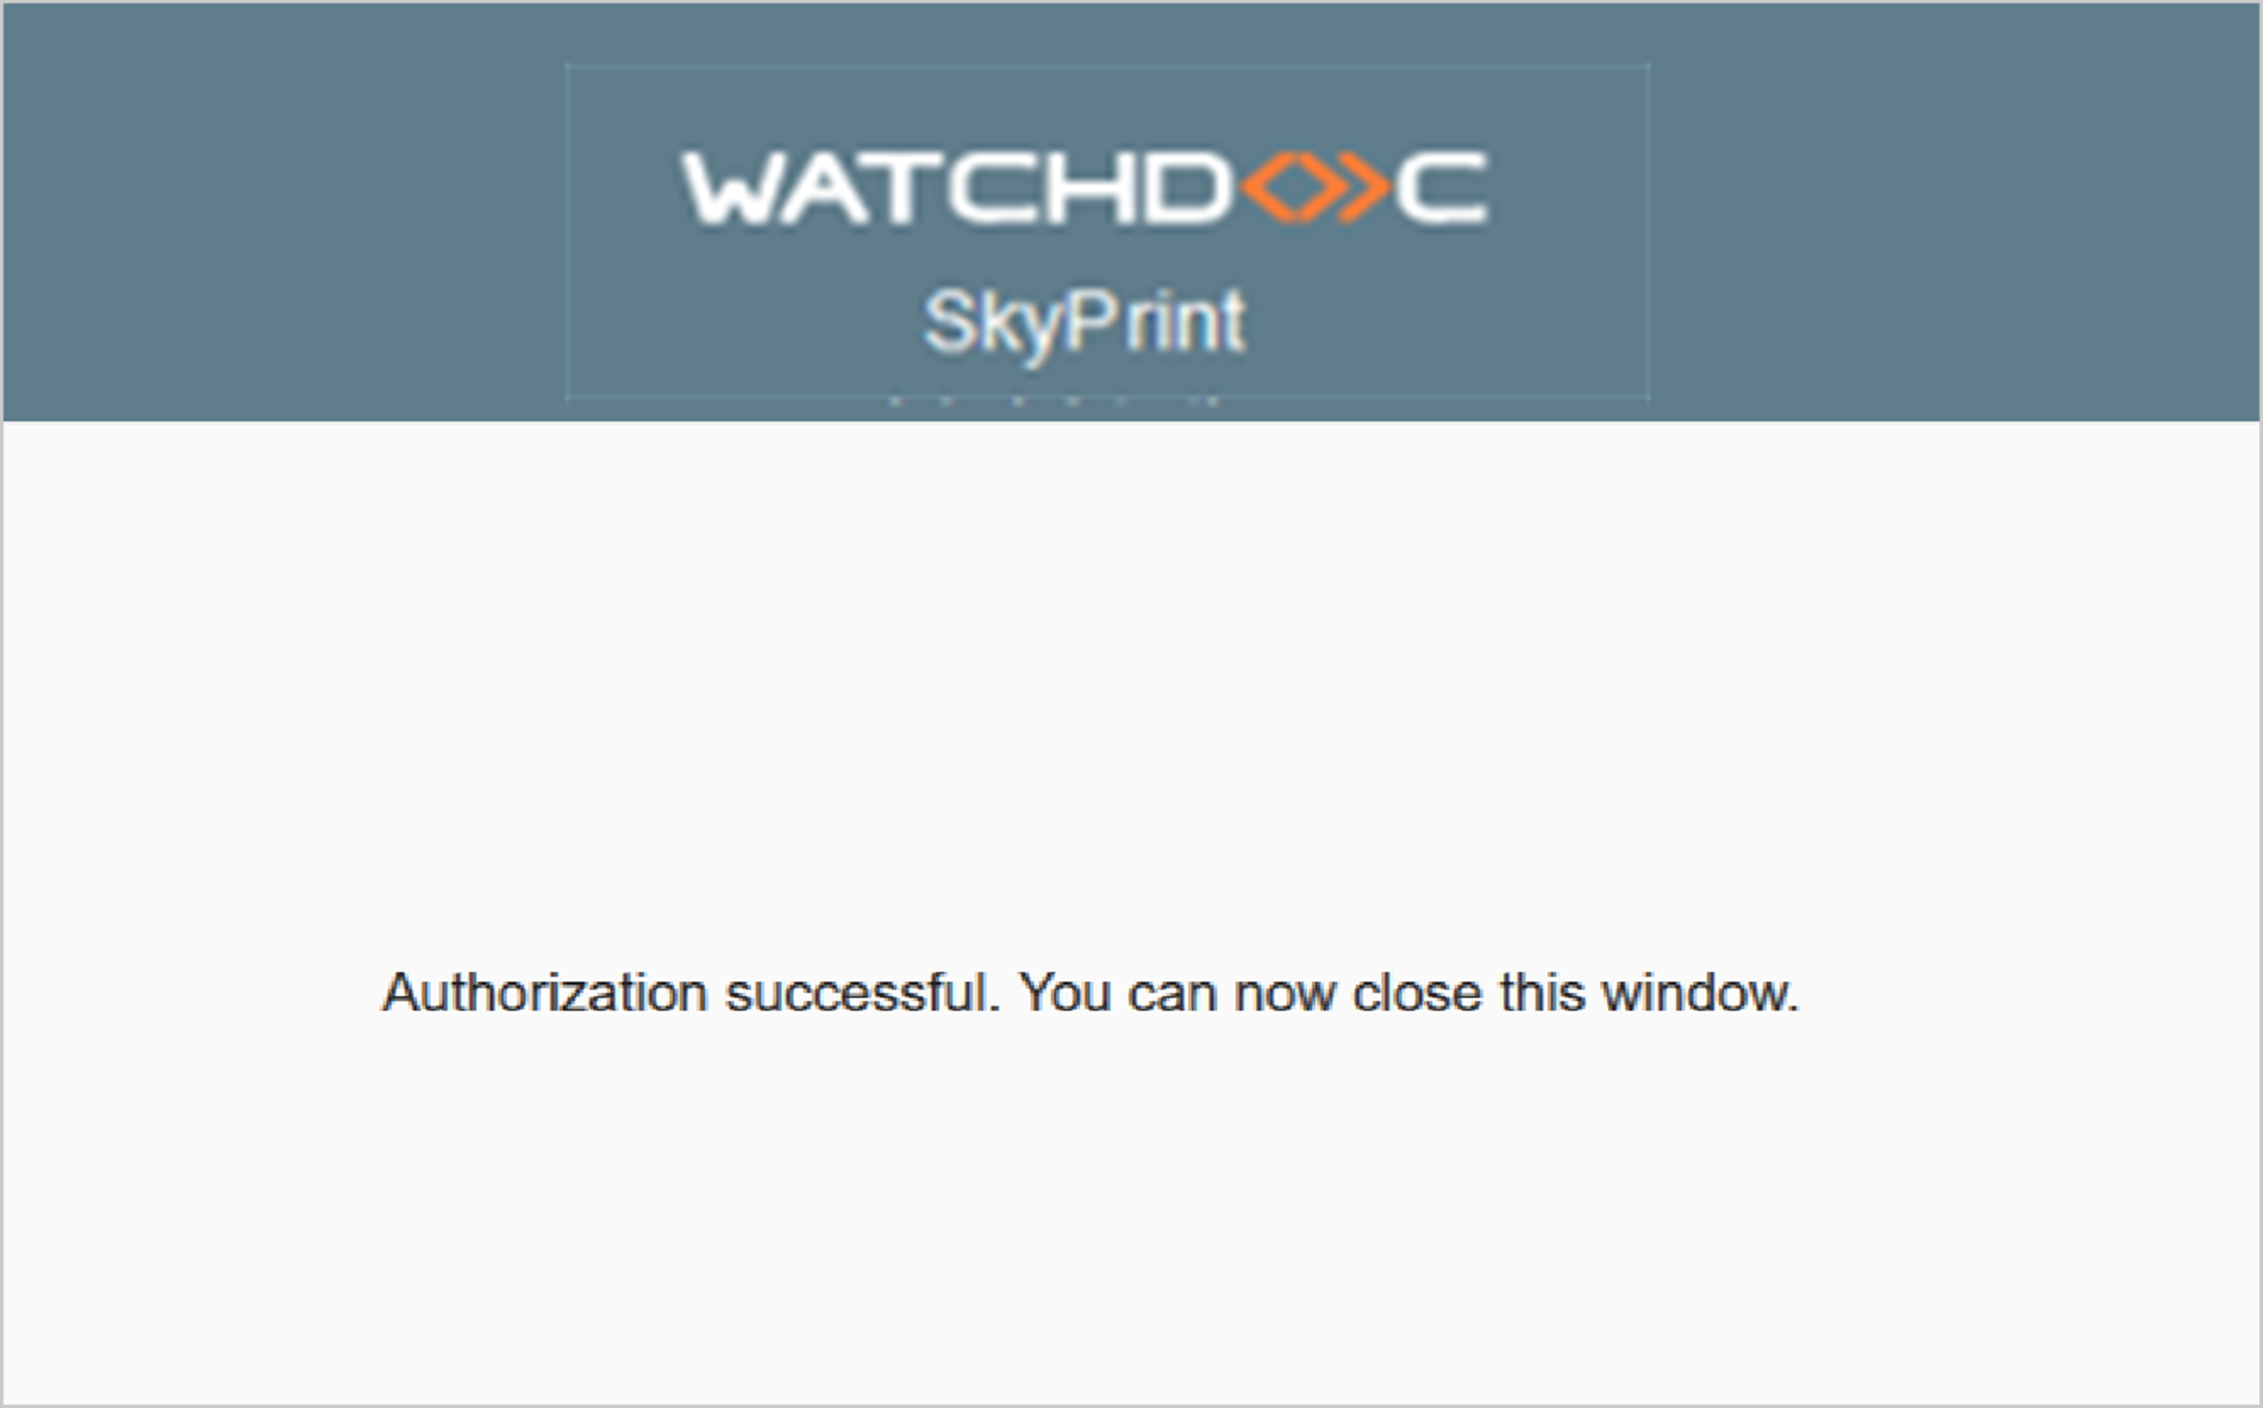
-
Close this interface and return to the mailbox configuration page.
-
In the Waiting for authorisation interface, click OK to validate the authorisation operation.
-
If an error message is displayed, click Cancel, then repeat the authentication procedure.
-
When the configuration of the Outlook Office 365 mailbox has been validated, click Test to check the configuration.
-
In the Mobile Print Inbox window, click Enable:

→ The Mobile Print Inbox Connected interface indicates that the mailbox is correctly configured: