Principle
Starting with version 6.1.1.5626, you can import locations in bulk from a .csv file. A .csv template is provided for you to fill out and import into the location management interface. Be sure to use the separators and labels (in English) for the location types listed in the template.
Procedure
Access the admin interface
Access administration interface
-
Access Watchdoc administration interface as an Administrator.
-
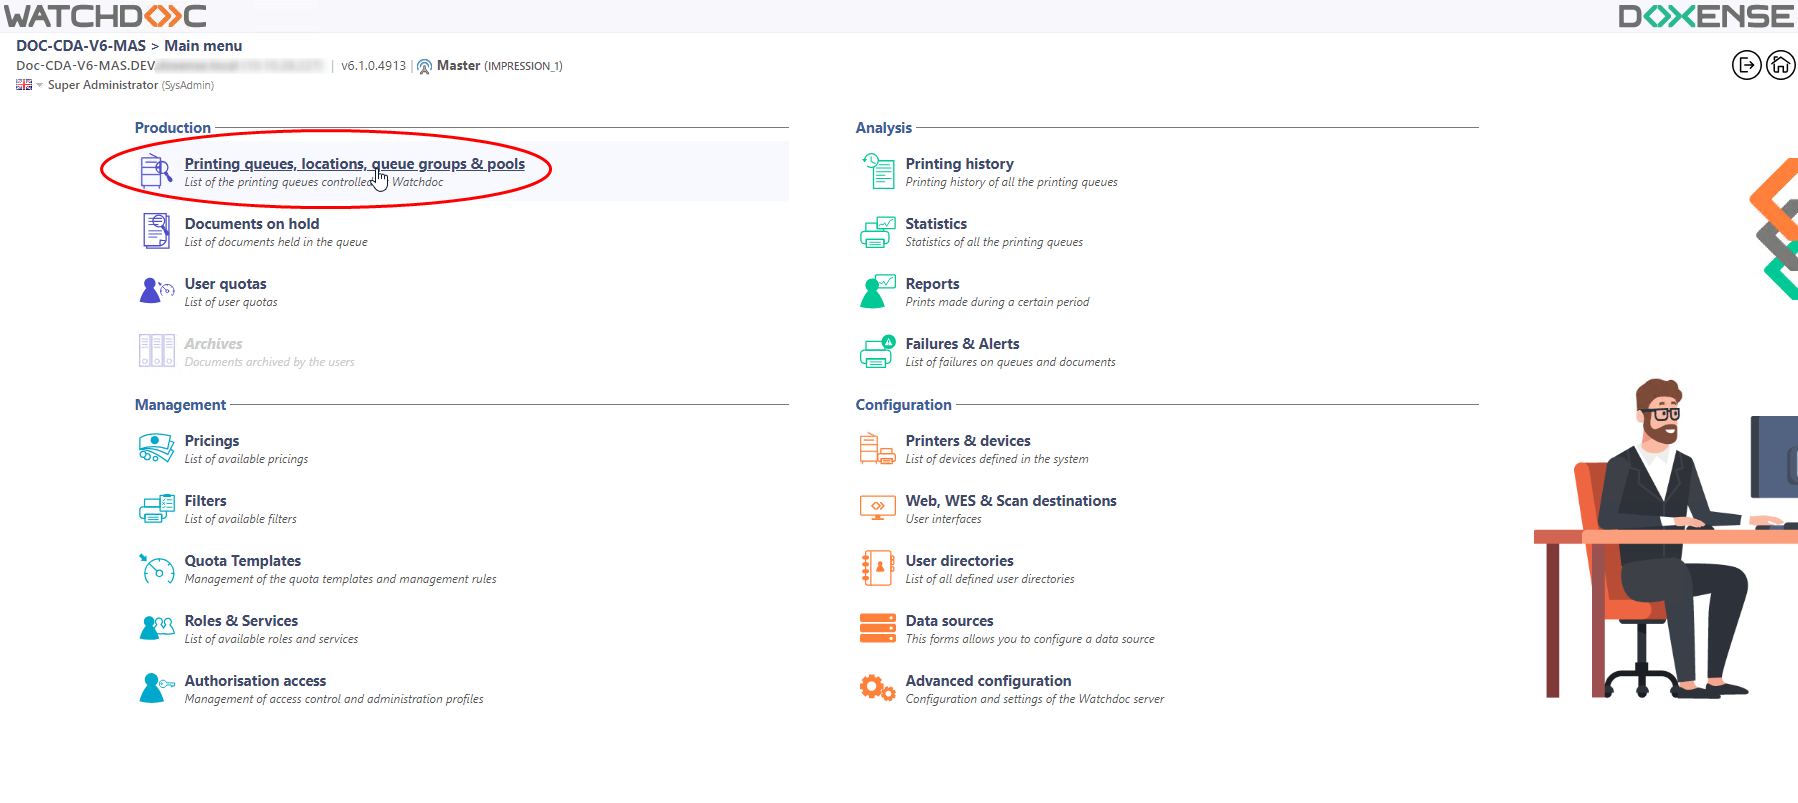
From the Main menu, section Production, click on Print queues, queue group & pools ;
-
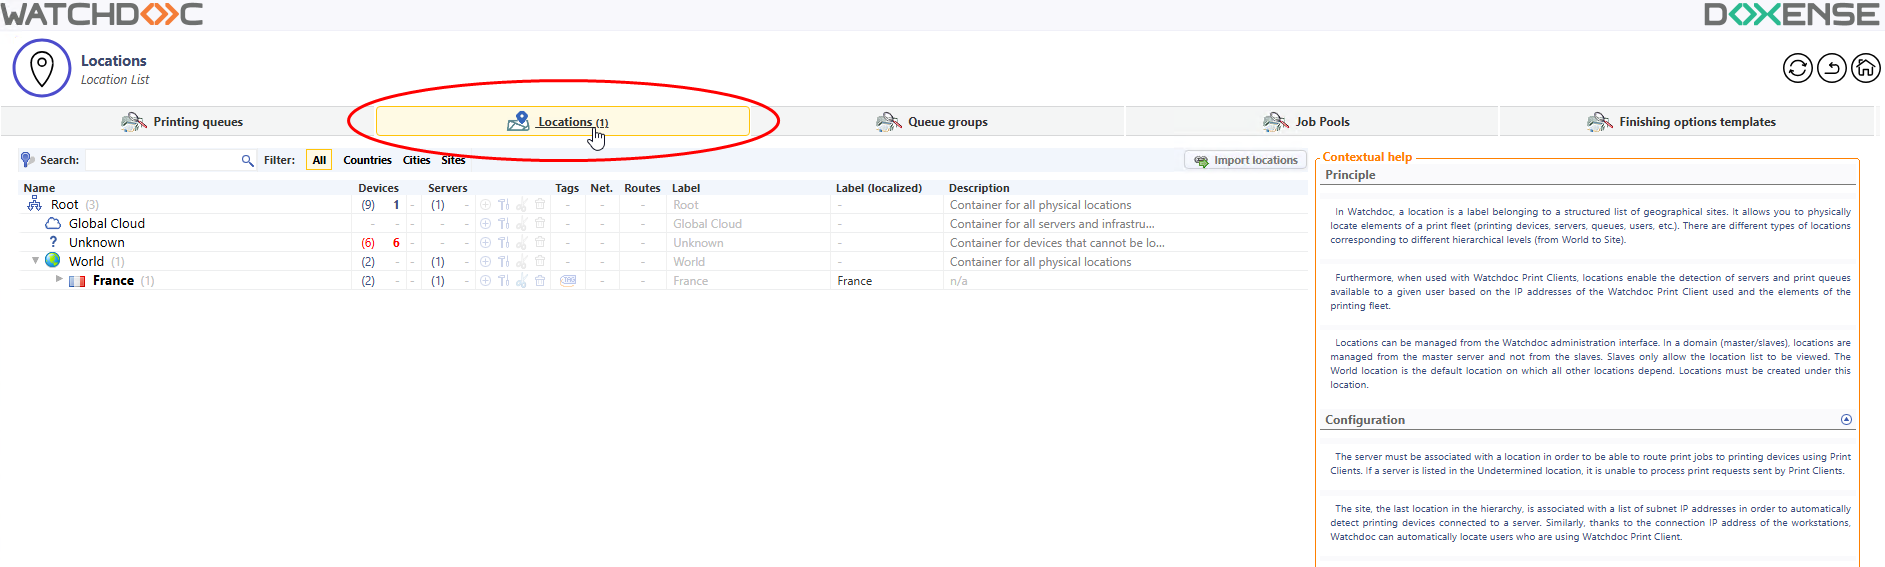
Click on Locations tab :
-
This takes you to the list of locations, which includes three default locations :
-
Cloud global : location for administration servers like Watchdoc Master
-
Unknown : used for non-localised print devices
-
World : default "parent" location, not modifiable, to which we can add "child" locations.
-
Download the .csv template
-
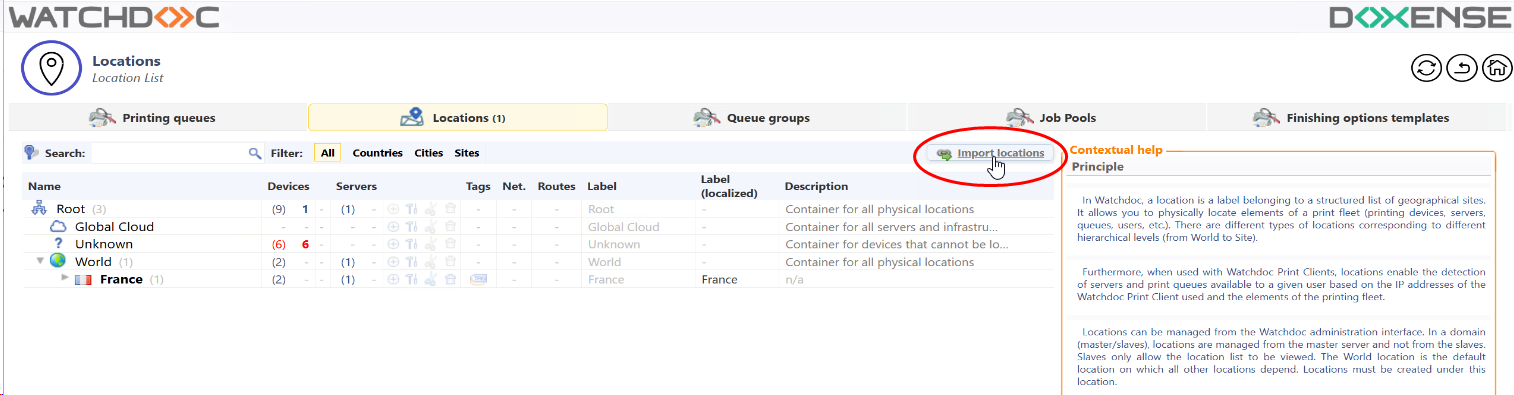
In the Locations interface, click the Import a list of locations button:
-
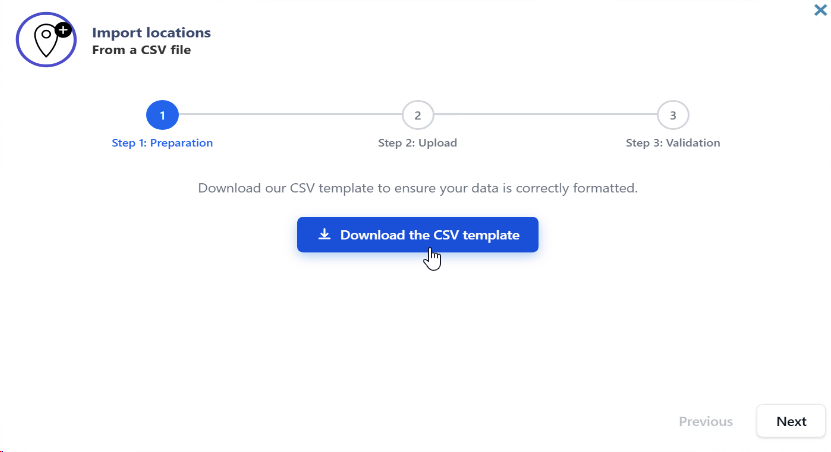
In the Import Locations interface, click the Download CSV Template button. (Note: If you already have a completed .csv file, click Next to skip the upload step);
-
from the download folder, open the .csv file using a text editor or spreadsheet program:
-
fill in the file with your locations, making sure to:
-
semicolons as separators;
-
labels corresponding to the types “Worldpart” (for a continent, for example), “Country”, “CountryPart” (for a region, for example), “City”, “CityPart” (for a neighborhood, for example), ‘Site’, and “SitePart” (to specify a location within the site, for example, 2nd floor of the North office);
-
-
save the .csv file
-
In the Import Locations interface, click the Next button.
Import the .csv
-
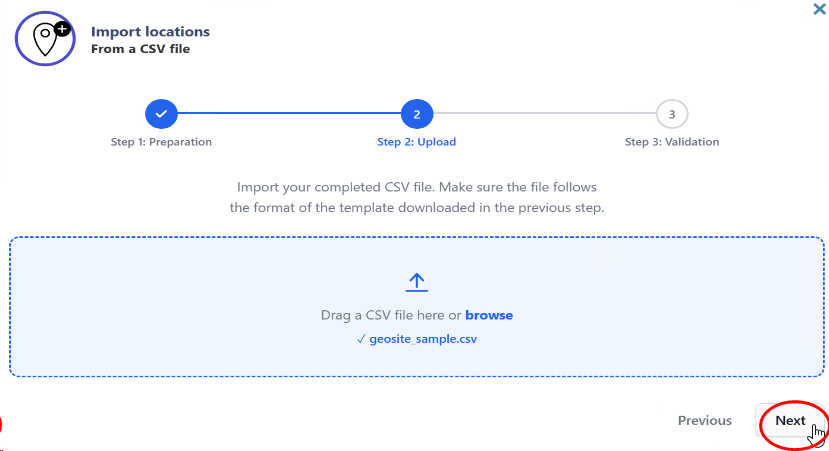
In the Import Locations interface > Step 2: Upload, drag and drop the completed .csv file into the import area or browse your workspace to select it:
-
click on Next button:
-
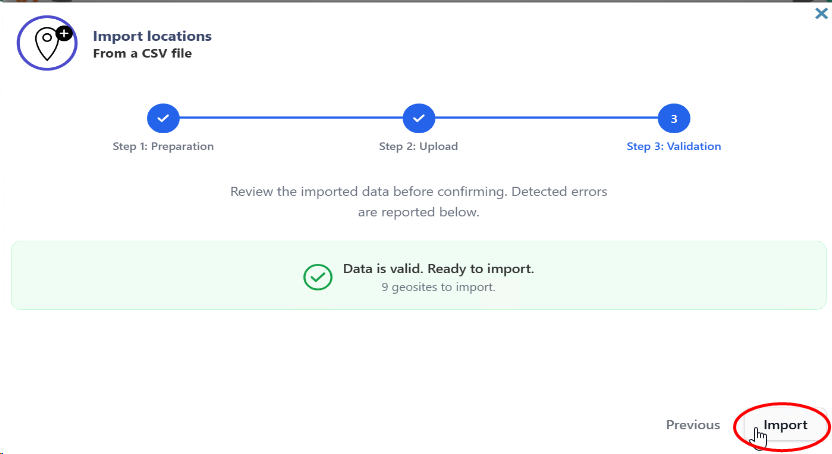
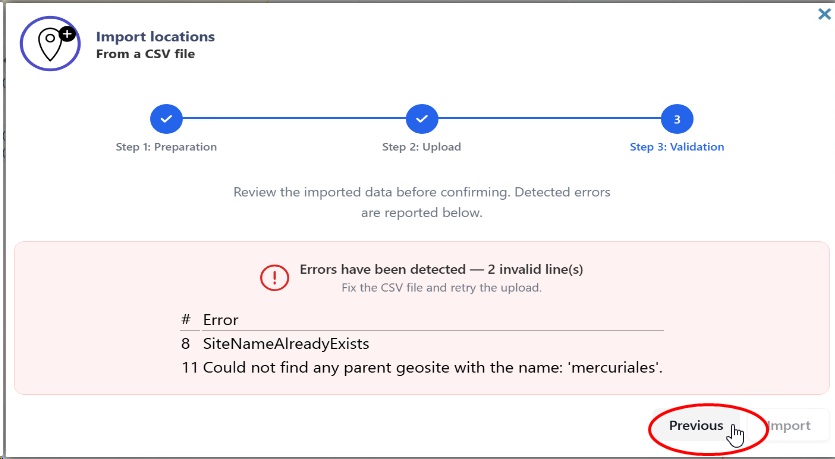
A message will inform you whether the .csv file to be imported is valid or invalid:
-
If the .csv file is valid, click Import:
-
If the .csv file is not valid, click Previous, correct the file, and then reimport it:
-
èGo to the location management interface to verify that they have been added.