Configure rules onto a printing queue
Access the configuration interface
-
From the Main menu in the administration interface,
-
in the Production section, click on Printing queues, queues groups & pools:
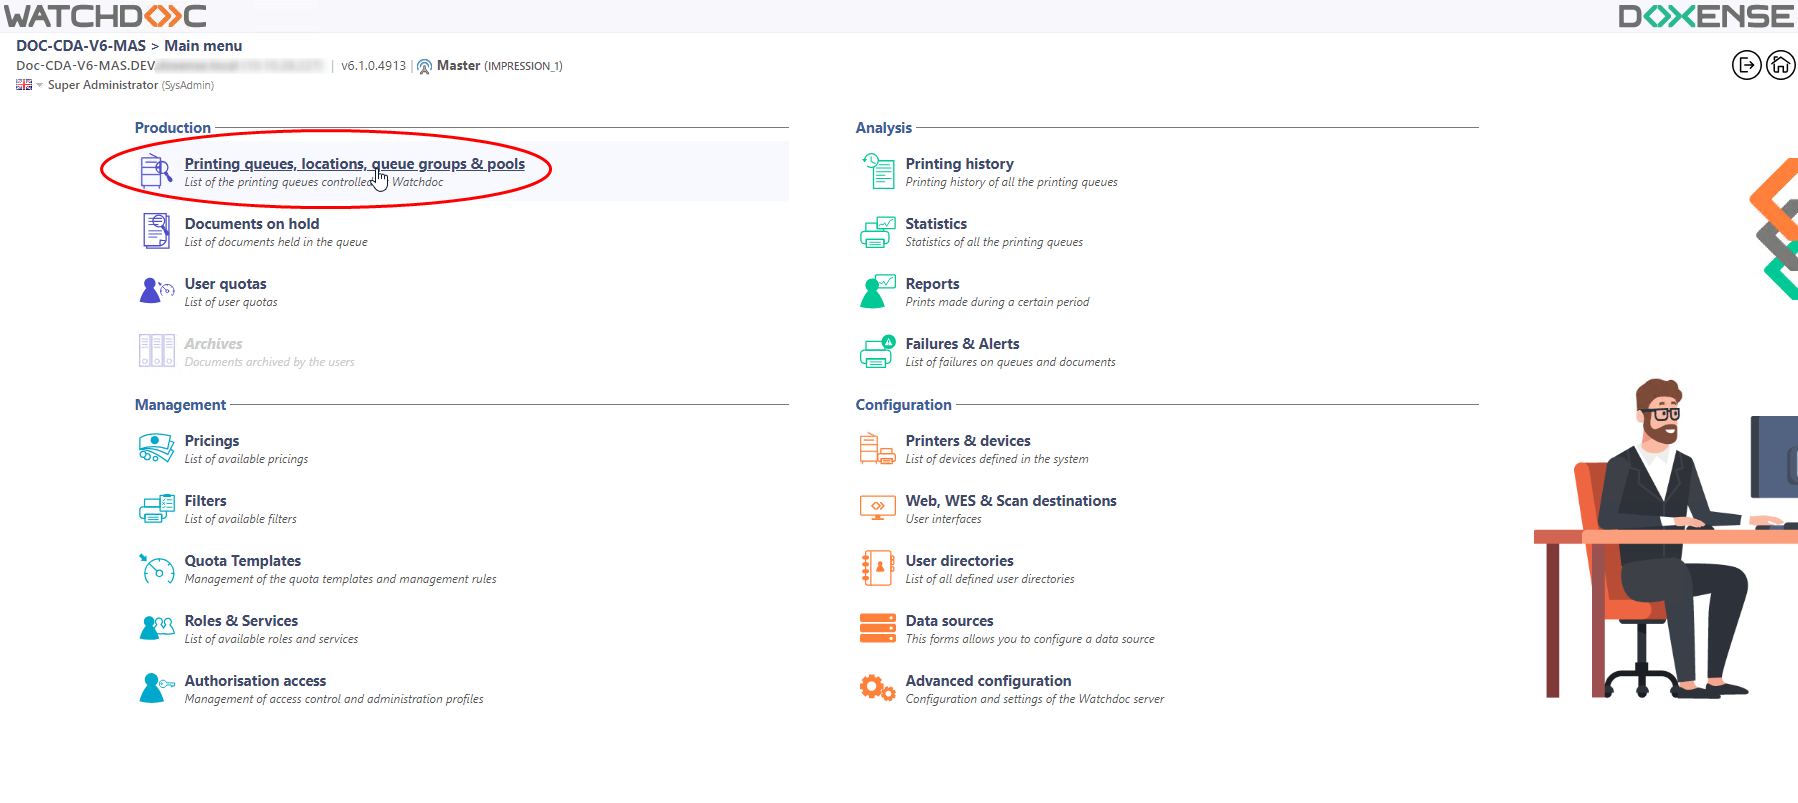
→ You will access the interface presenting the print queues. From among the queues controlled by Watchdoc select the queue you wish to apply a rule to: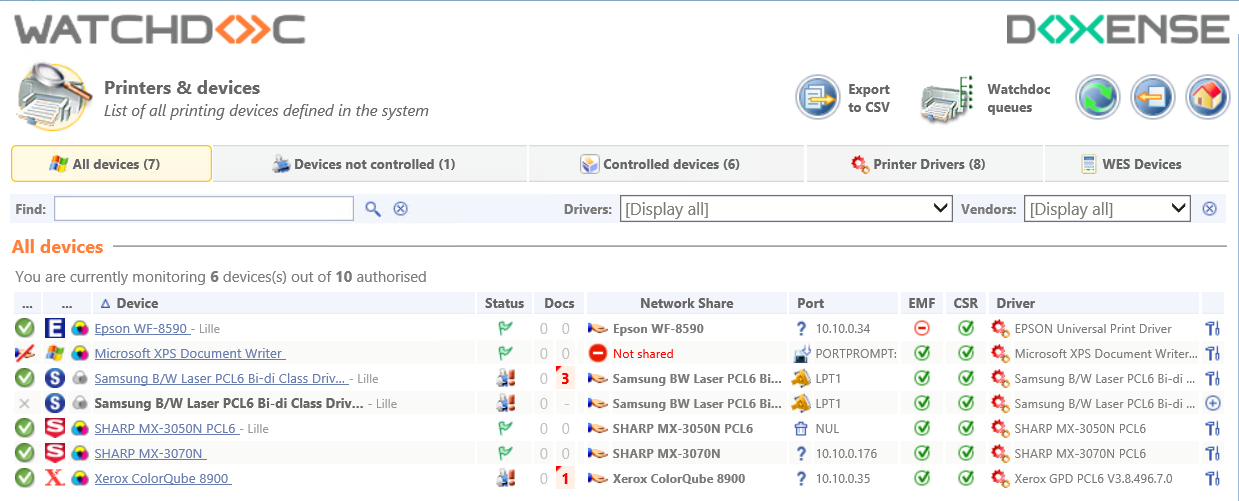
-
From this interface, click on the
 Policy button :
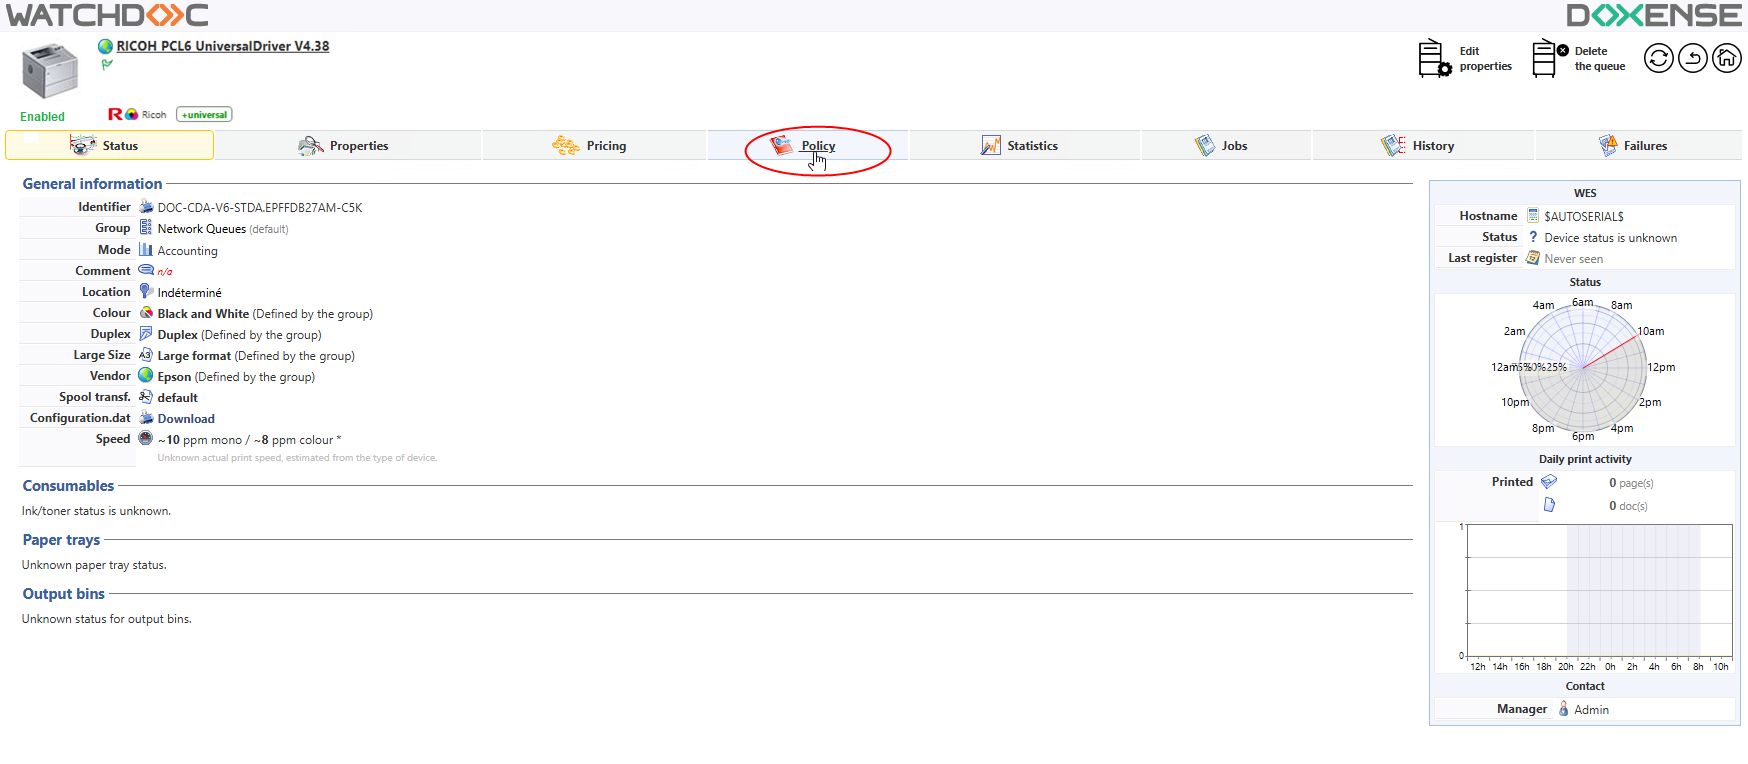
-
You will access the Events interface in the queue where the print policy rules are displayed:
-
Network Queues (Before): Actions and rules applied to the group that the current network queue belongs to. These rules are applied to all of the queues in the group and take precedence over the rules applied to a specific queue.
-
Queue (current): The actions and rules applied to the actual queue,
-
Network Queues (After): Actions and rules applied to the group that the current network queue belongs to. These rules are applied to all of the queues in the groups after the rules applied to a specific queue.
-
To apply a rule to the network queue, click on the Edit button for the current queue.
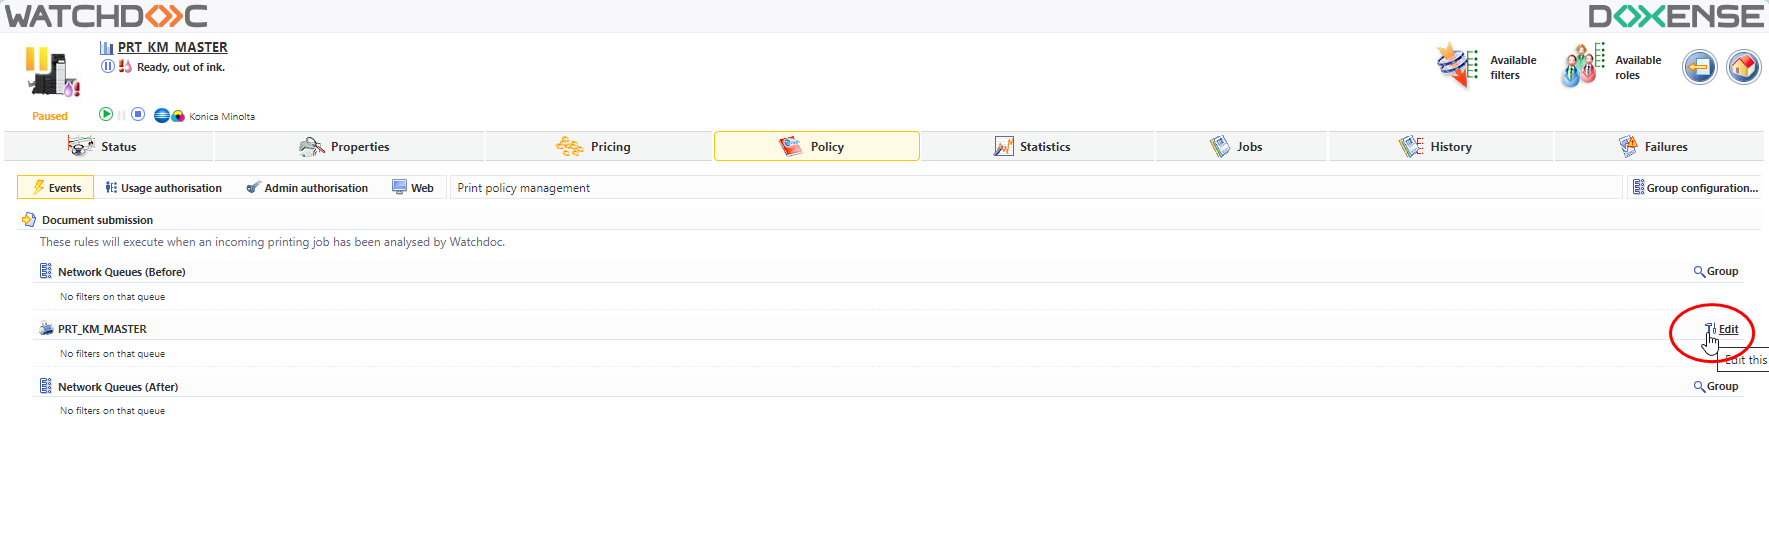
èYou will access the Events on a queue's interface.
Presentation of the interface
The Events on a queue's interface comprises of a section where you define the events to apply when submitting a document on this queue. This interface comprises:
-
 positioning buttons used to move the rules in the list of all of the rules that apply to a queue,
 -
the Filter (or filters) selection field applied to the queue,
-
the Action applied to the document corresponding to the filter (this action is symbolised by pictograms),
-
the Configuration completing some of the actions, to be selected from a box,
-
a button
 used to delete the event.
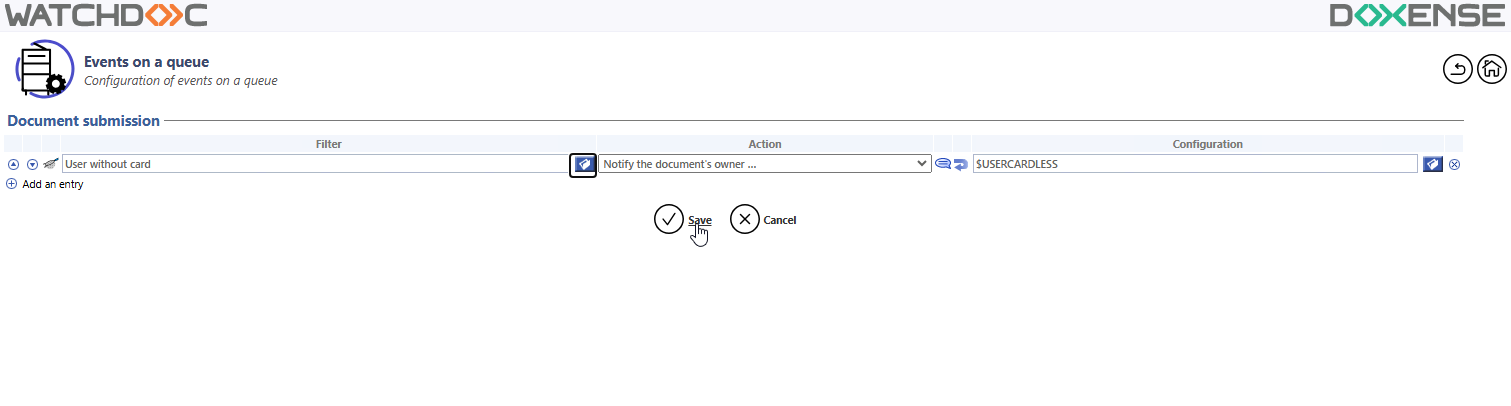
Configure the rule onto the queue
-
From the Document submission,
-
in the Filter field, click on the button
 to access the list of filters and roles available and select the one you wish to apply,
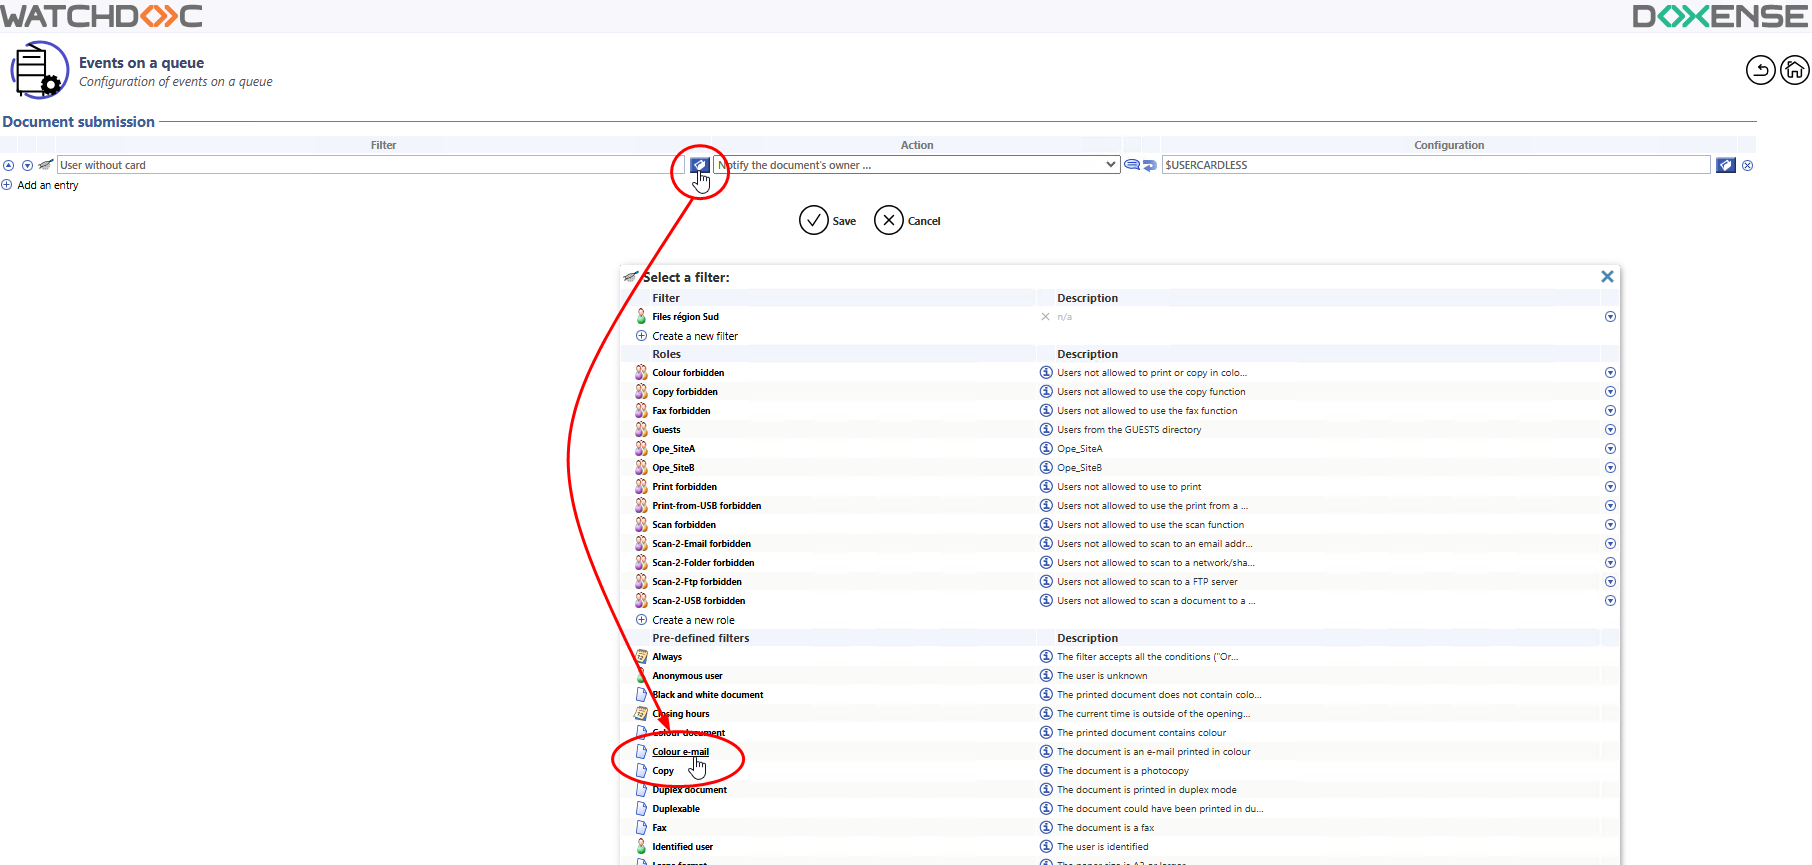
-
From the list, select the Action to apply to the documents covered by the filter. This action is symbolised by two pictograms.
If the Configuration field is framed in red, complete the action with the help of a mandatory parameter:
-
click on the
Browse button to access the list of parameters assigned to the chosen action, -
choose the parameter,
-
validate your choice by clicking on the
 OK button.
| Action | Parameter |
| Redirect the document to... | Another network, to be selected from a list. |
| Set the document priority... | to a level to be selected from one of seven levels. |
| Set the type of application to... | another type of application, to be selected from a list. |
| Set the customer code to... | a code (PUK, PIN) to be entered in a field. |
| Notify the document owner... | using a type of message to be selected from a list (messages configurable in the Watchdoc Notifications). |
-
Where one or more events apply to the queue, click on the button
 and repeat the previous operation.
 -
Once all of the events relating to the queue are configured, click on the button
 to Save the configuration.