Creating a Quota Template
To create a quota,
-
In the Quota Templates list, click on one of the Create a new quota buttons:
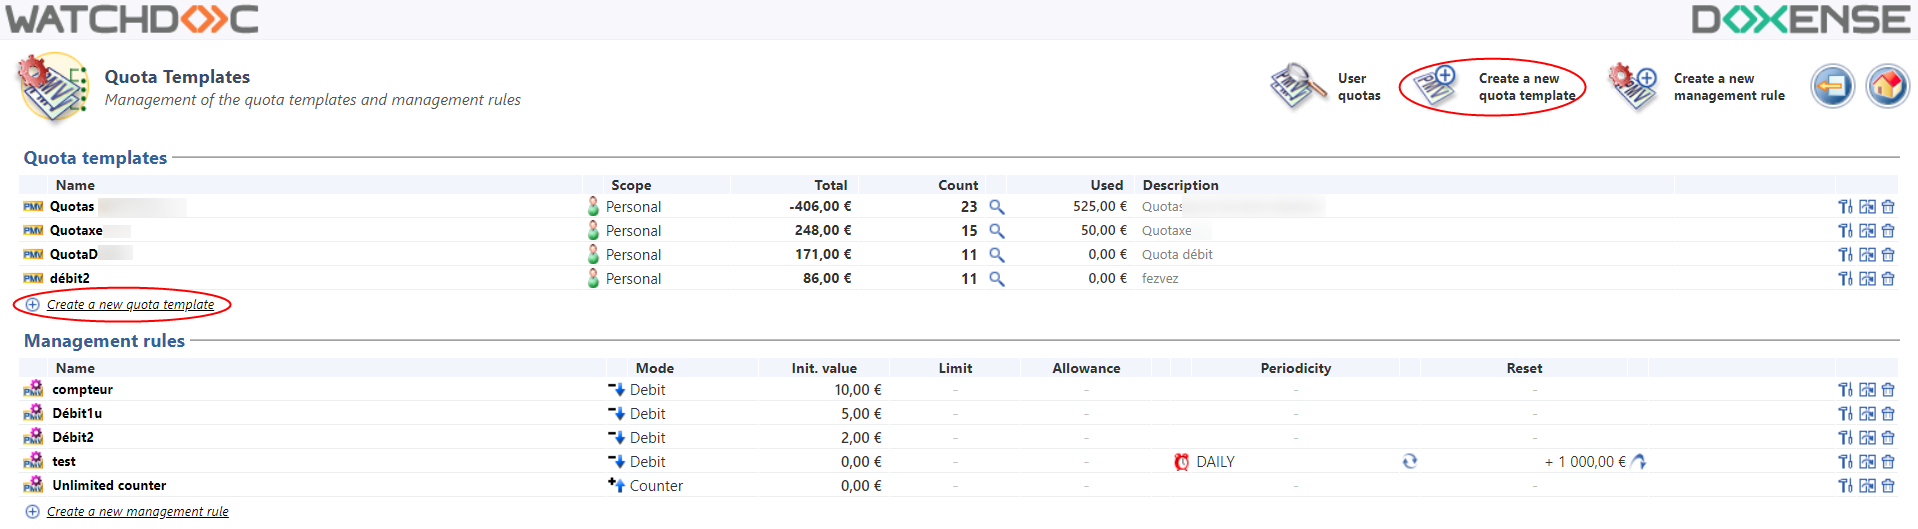
→ The Creation of a quota interface will be displayed and comprises several sections.
Configuring the Quota Template
Configuring the Quota section
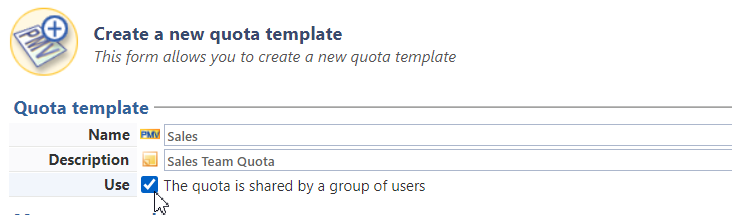
Use this section to enter the general information on the quota:
-
Name : assign an explicit name to the quota. Mandatory: this name is the one displayed in the administration interface.
-
Description: where necessary, add a comment to the name to help describe the quota's intended use;
-
Use: tick this box if you want to share the quota between a group of users. When this box is ticked, you must define a group Management Rule.
Configuring the Management rules section
-
Single:select this option if a single management rule is applied to the quota, without condition, then click on the
 button to select a management rule from the list of existing rules.
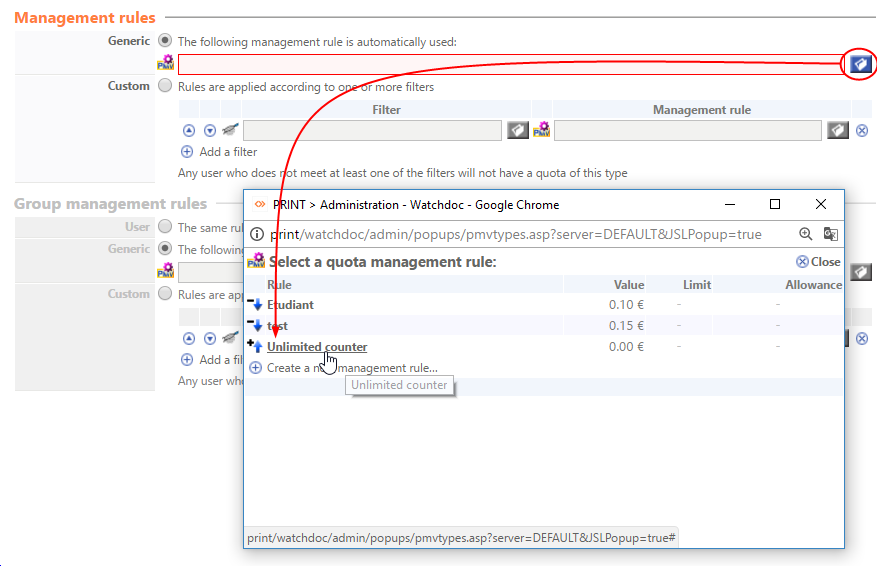
-
Specific: :
-
select this option if the management rule(s) chosen is applied to the quota after having been verified by the configured filters,
-
click on the
button to select a Filter from among the list of existing filters, -
click on the
button to select a Management rule from among the list of existing management rules.
-
Configuring the Group Management rules section
This section is only active if the quota is shared by a group of users. The configuration is identical to that of the management rules governing users.
-
User: select this option to apply the same rule to the group as that applied to the user.
-
Single:select this option if a single management rule is applied to the quota, without condition, then click on the
button to select a management rule from among the list of existing management rules (see procedure below). -
Specific: select this option if the management rule(s) chosen is applied to the quota after having been verified by the configured filters (see procedure below).
Information on the History section
The History section displays information regarding updates made to the current interface.
Confirming and applying the Management rule
-
Click on the
 button to Confirm the configuration of the quota.
 -
Then apply the quota to a print queue.