Creating a Role
-
From the Main menu in the Watchdoc administration interface,
-
In the Management section, click on Roles.
→ You will access the list of roles declared in Watchdoc.
-
To create a role, in the list of roles, click on the Create a new role
 button:
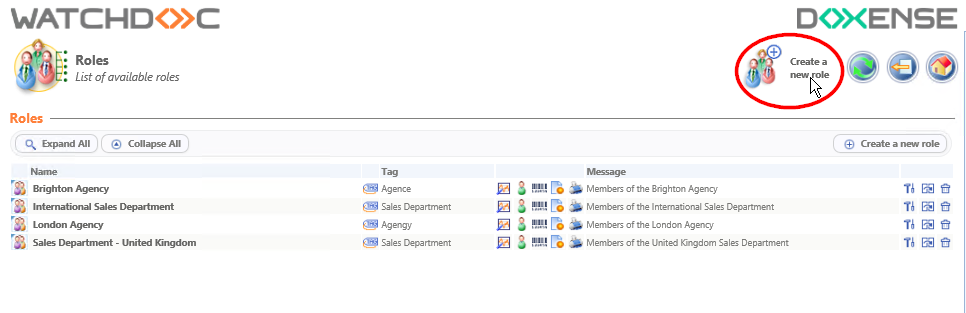
→ You will access the Create a role interface comprising the Role and Members sections.
Configure the Role
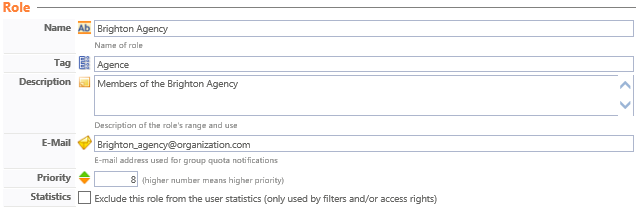
Role Section
-
Fill-in the following fields:
-
Name: Assign a name to the newly created role. This name is only displayed in the administration interfaces and is used primarily for statistical purposes. It must describe the user category that it contains, as accurately as possible. For example: "Outside Students, International Sales Department, Sales Department France, Users Registered On-site, Users Registered Off-site, etc.",
-
Tag: Assign a tag to your role if the latter belongs to a specific group. The tag will then form the group where a number of roles are brought together. You can, for example, create the "Sales Department" tag that will group the "Sales Engineers France", "International Sales Engineers", "Sales Secretaries" roles, etc.
-
Description: If necessary, use this field to enter information on the declared role, especially to set out print related specificities,
-
E- mail: If there is one, use this field to enter the generic e-mail address for the role. It will be used to send print related information (e.g. like role quota notifications) to all of the members,
-
Statistics: Tick this box in cases where you do not want the role to be taken into account for printing statistical analysis purposes. When the box is ticked, this assumes that the role was created to allow filters or access rights to be set
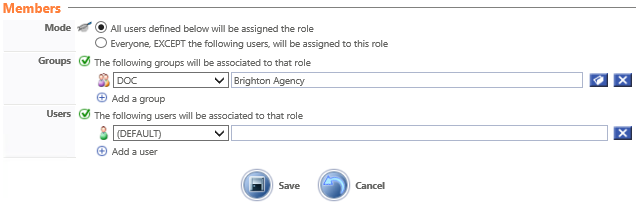
Members Section
-
Use this section to define the rule make up:
-
Mode: The role can be made in an inclusive or exclusive mode. Opt for one of the two modes offered,
-
Groups: From the drop-down list, choose a directory, then by clicking on the
 button, choose the group to assign to the role. You can repeat the operation a number of times to assign a number of groups to the role,
 -
User: From the drop-down list, choose a directory then enter the user login to include in the role.

Validating and using the configuration
1. Click on the  button to Validate the role configuration,
2. The newly created role may now be used to define a filter or a rule on a queue and to refine print statistics.