WEScan - Configure a Scan To OneDrive destination
Steps
To allow users to upload their scanned documents to their Microsoft OneDrive account, follow these steps:
-
Add OneDrive to the list of authorized APIs in Microsoft Azure®;
-
Configure the connection between Watchdoc and Microsoft OneDrive in External Services;
-
Configure Microsoft OneDrive as a scan destination in WESCan.
Add OneDrive to the authorized APIs in Microsoft Azur
-
Sign in as an administrator to your Microsoft Azure® portal.
-
In the Management menu, click Authorized APIs.
-
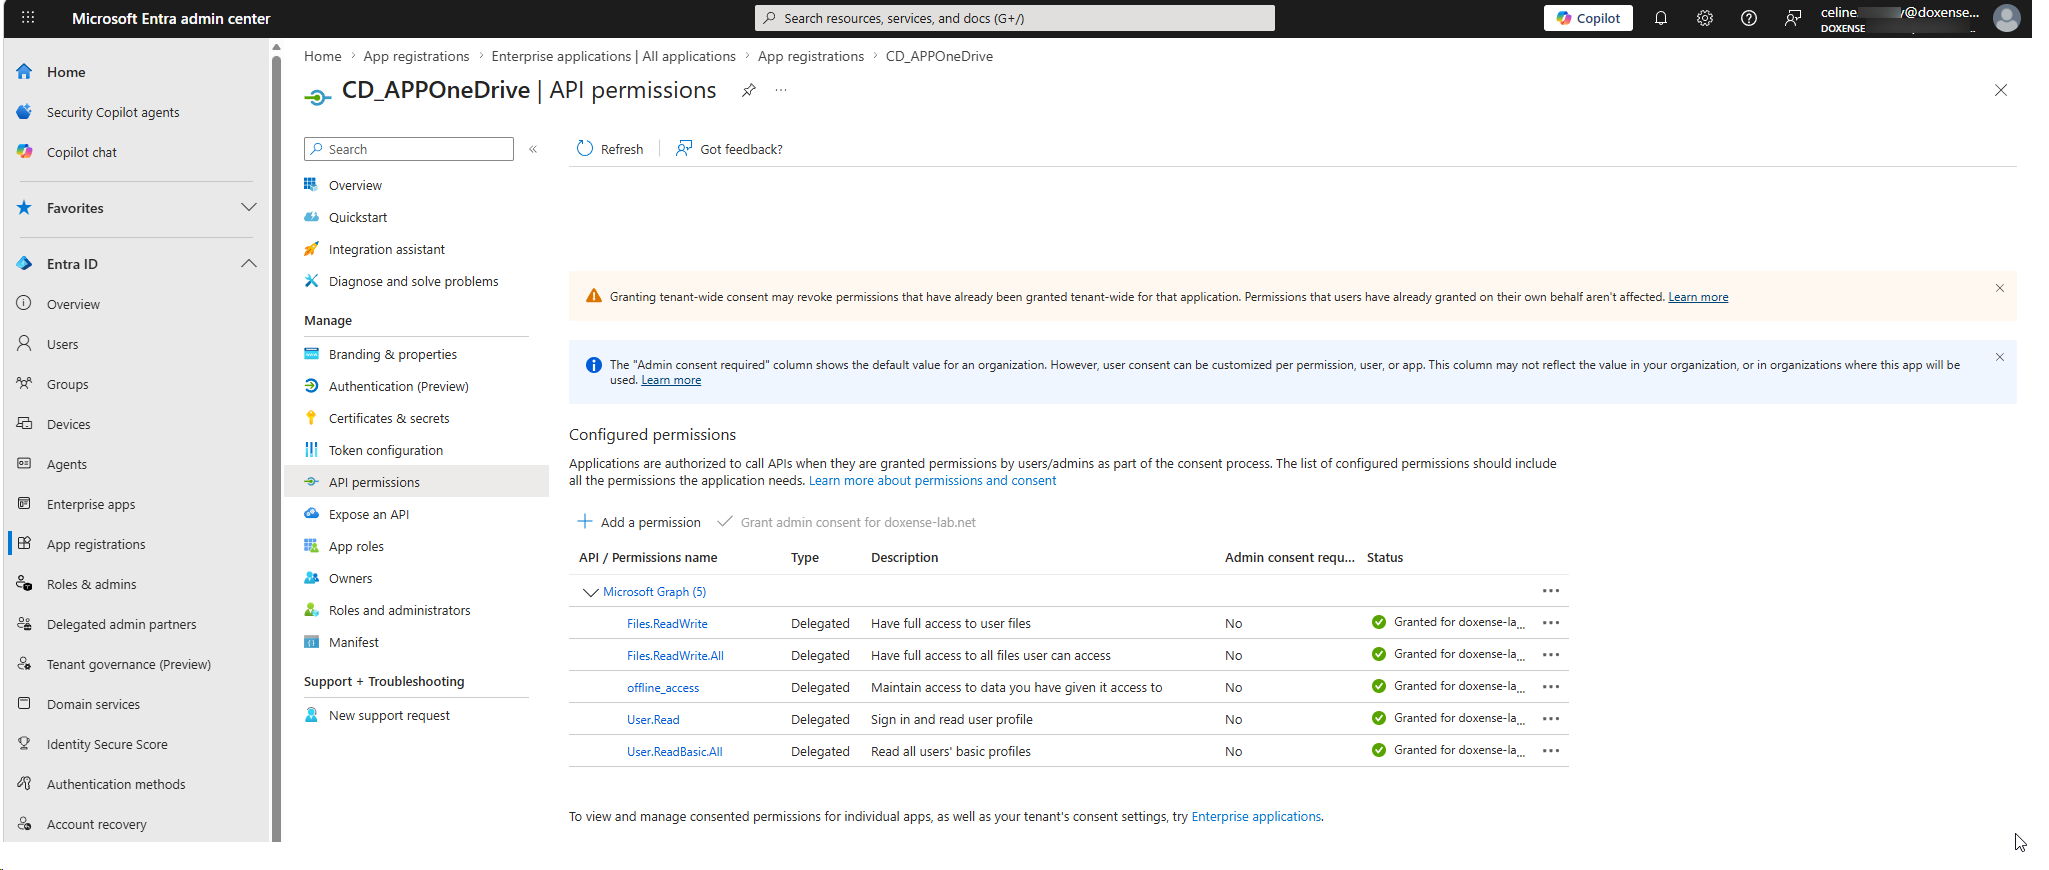
In the interface, add the OneDrive API to the authorized APIs by granting the following Microsoft Graph permissions:
-
Files.ReadWrite, Delegated type, granted to Doxense;
-
Files.ReadWrite.ALL, Delegated type, granted to Doxense;
-
offline_access, Delegated type, granted to Doxense;
-
User.Read, Delegated type, granted to Doxense;
-
User.ReadBasic.All, Delegated type, granted to Doxense:
-
-
Once the API has been created, copy and paste the application values required for its configuration in Watchdoc, namely:
-
the Tenant ID;
-
the Client ID;
-
the Client Secret: please note that since the secret value is only displayed during creation, it is essential to copy and paste it and save it in a password manager. Once this step is complete, the password will no longer be available.
-
Set up the OneDrive connection in Watchdoc's External Services
-
Log in to the Watchdoc administration interface as an administrator;
-
from the Main Menu > Configuration section, click Advanced Configuration;
-
in the Advanced Configuration interface, click External Services;
-
in the External Services Connection interface, under the OneDrive section, check the Enable OneDrive connection box;
-
Fill in the Azure® settings using the credentials you have saved: Tenant-Id: enter your Microsoft Azure® tenant ID; Client-Id: enter the ID of your client application created in Microsoft Entra ID; Client-Secret: enter the secret value (application password) associated with the Client-Id.
-
Confirm the addition of the OneDrive connection.
-
Log in to the Watchdoc administration interface as an administrator;
-
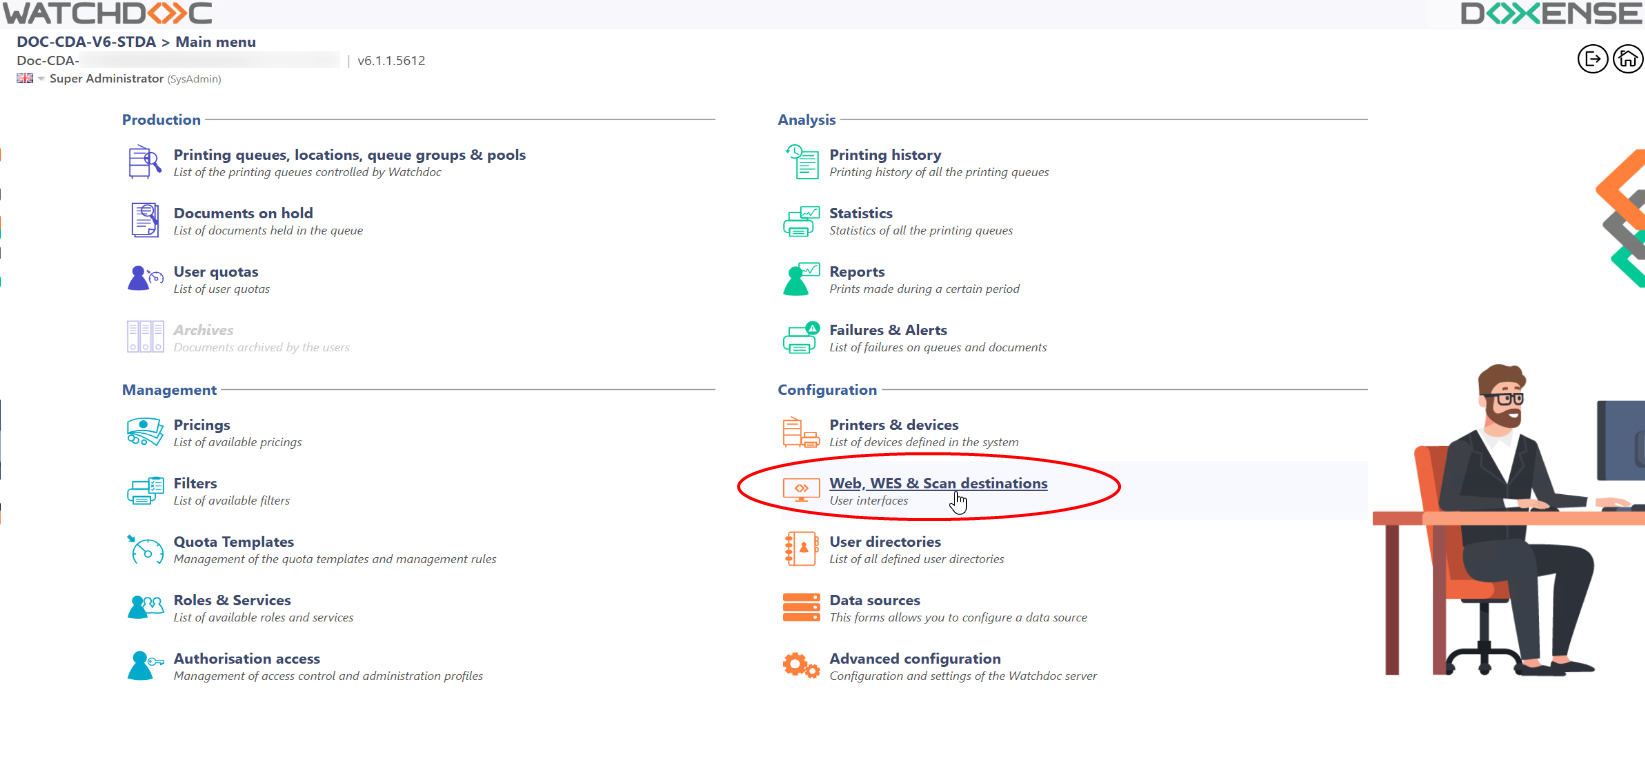
from the Main Menu > Configuration section, click on Web, WES & Scan Destination:
-
In the web interface, in the Scan destinations section, click on Create a new destination:
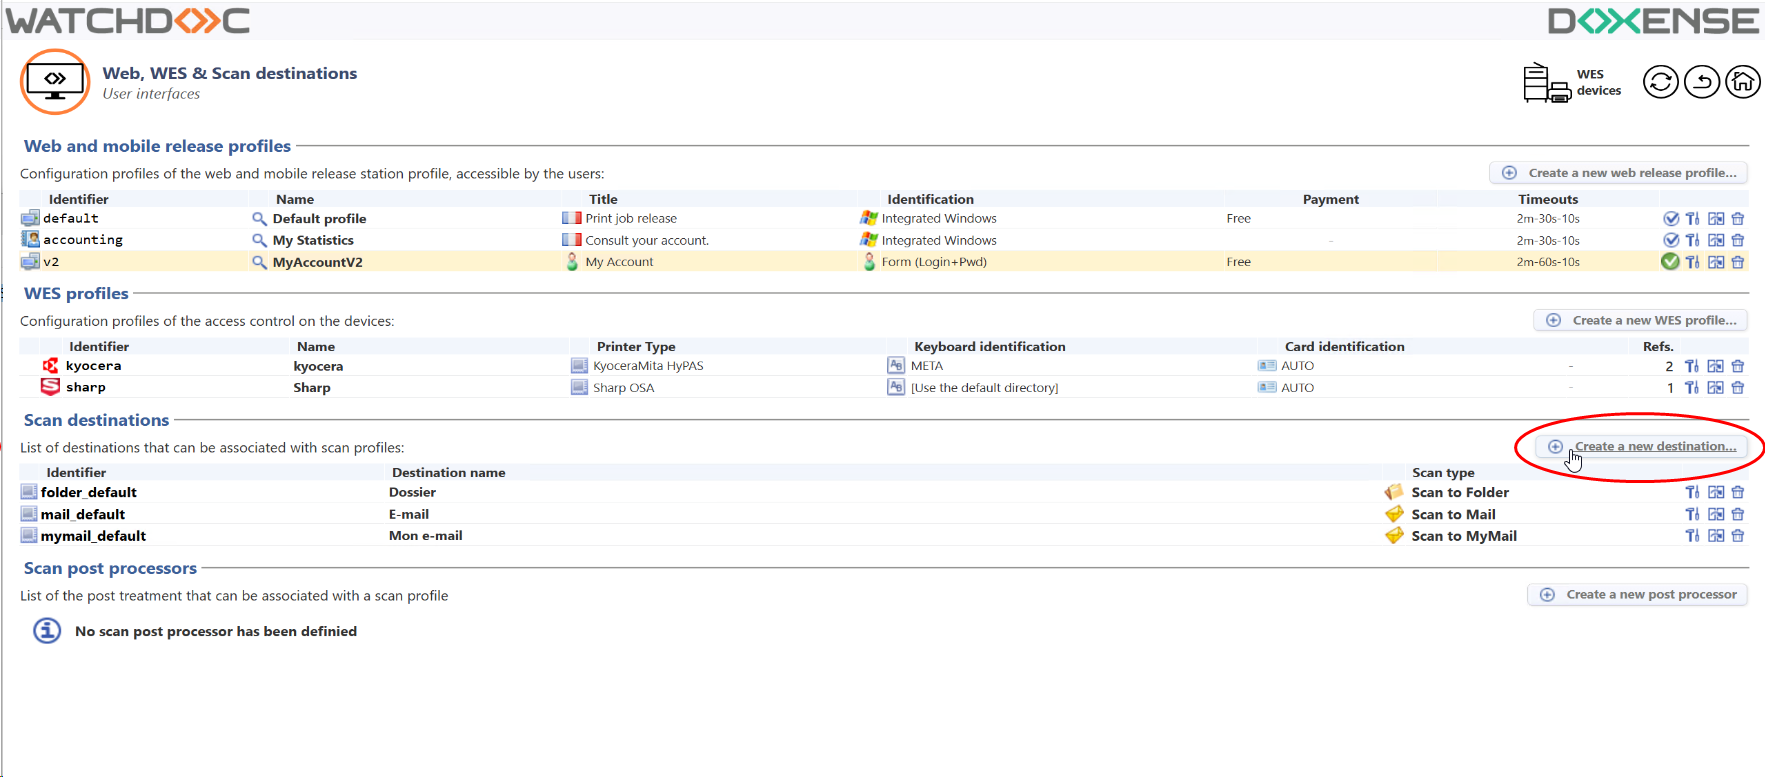
è You access the Scan Destination Creation interface.
-
In the Create a New Scan Destination interface, under the Settings section, select the OneDrive destination type;
-
then fill in the following settings:
-
Settings section
-
Identifier: Enter the web profile ID. It can consist of letters, numbers, and the ‘_’ character, up to a maximum of 64 characters. This ID is displayed only in the administration interfaces. Once saved, this ID cannot be deleted.
-
Label: Enter the destination name in this field;
-
Global: Check this box if the server belongs to a domain and the destination, configured on the Master server, needs to be replicated on the slave servers.

-
-
OneDrive Section :If you haven't set up your OneDrive connection yet, click the button to set it up (see above);
-
Folder section :
-
Sub folder : Specify the name of the subfolder where the scanned documents should be saved;
-
Can be edited by user in the WES interface: Check this box to allow the user to change the setting associated with it from the device interface;
-
Create sub folder if it doesn't exists: Check this box to allow Watchdoc to create the folder if it does not exist in OneDrive;
-
-
File name : In this field, enter the name you want to give the scanned document sent to OneDrive (for example: “My scanned document”);
-
Can be edited by user in the WES interface: Check this box to allow the user to change the file name from the device interface.

-
-
-
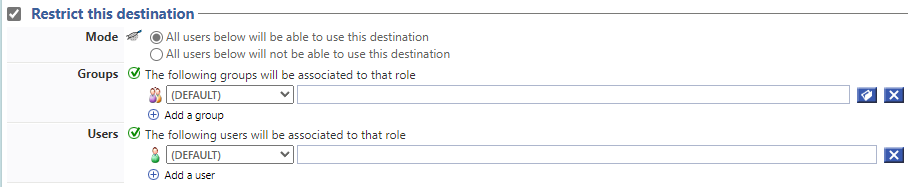
Restrict this destination: section. Tick this box so that the destination can only be used by certain users or groups of users:
-
Mode: select whether this destination can be used by all users (default) or tick All users below will not be able to use this destination to restrict. The precise:
-
one or several Groups in the list: these users groups will not be authorised to use this destination.
-
one or several Users in the list: these users will not be authorised to use this destination.
-
-
-
Click on the Register
 button to create the destination.