Watchdoc - Configure post-scan processor
Presentation
Documents scanned by WEScan are saved in a hotfolder. Third-party tools process the scanned documents and then save them in an output folder.
In Watchdoc, the post-scan processing configuration consists of specifying:
-
the location of the input folder (hotfolder monitored by the third-party tool) in which WEScan saves the documents once they have been scanned;
-
the location of the folder to which the third-party tool sends the documents once processing is complete and from which WEScan retrieves the documents for further processing. If several processing steps are likely to be applied, subfolders can be added to the folder to organise the processed documents more effectively.
Procedure
Access the interface
-
Access the Watchdoc administration interface as an administrator;
-
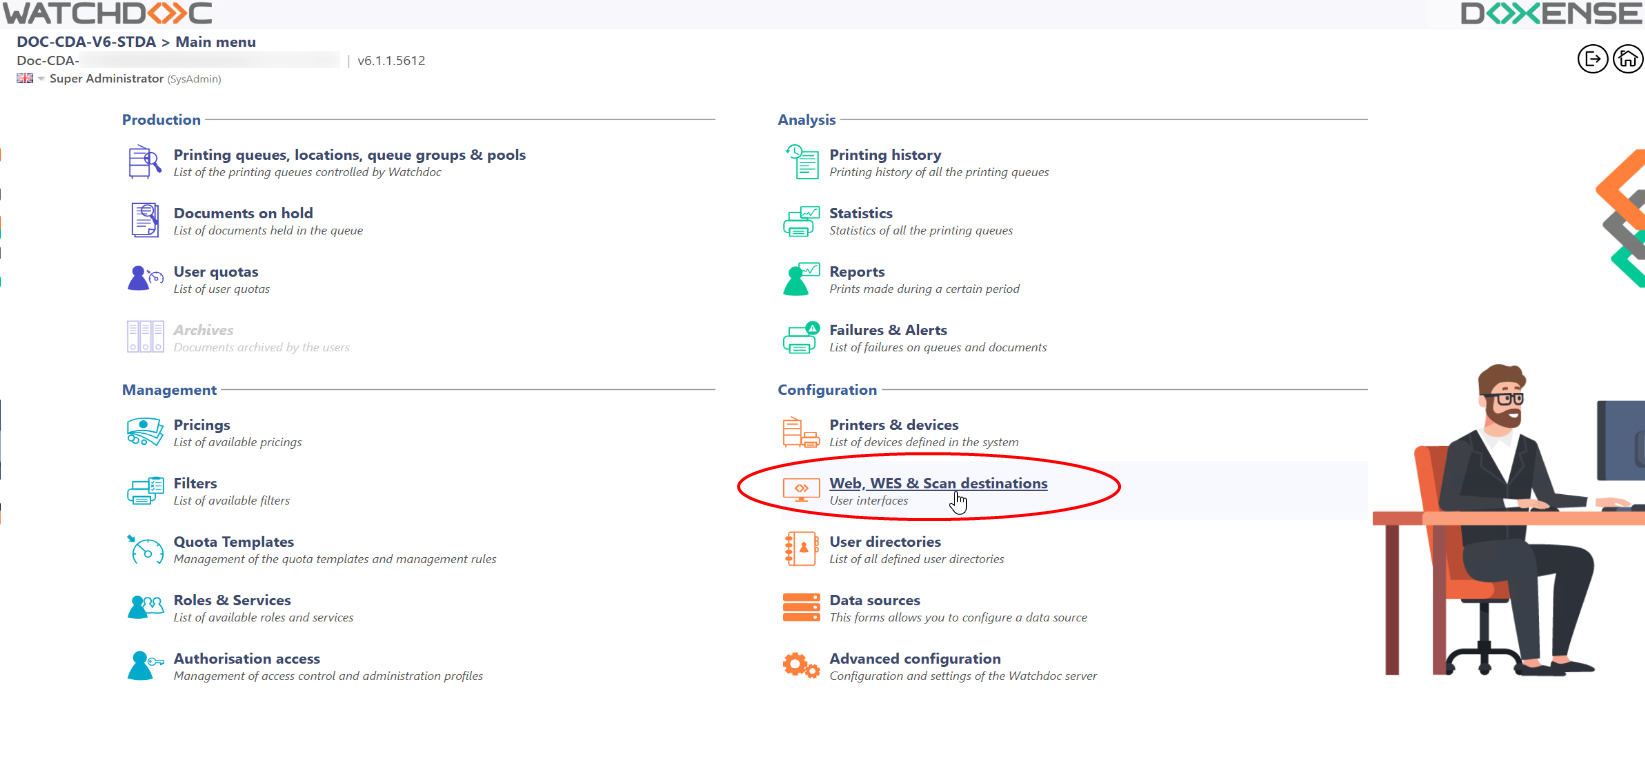
from the Main Menu > Configuration section, click on Web, WES & Scan Destination:
-
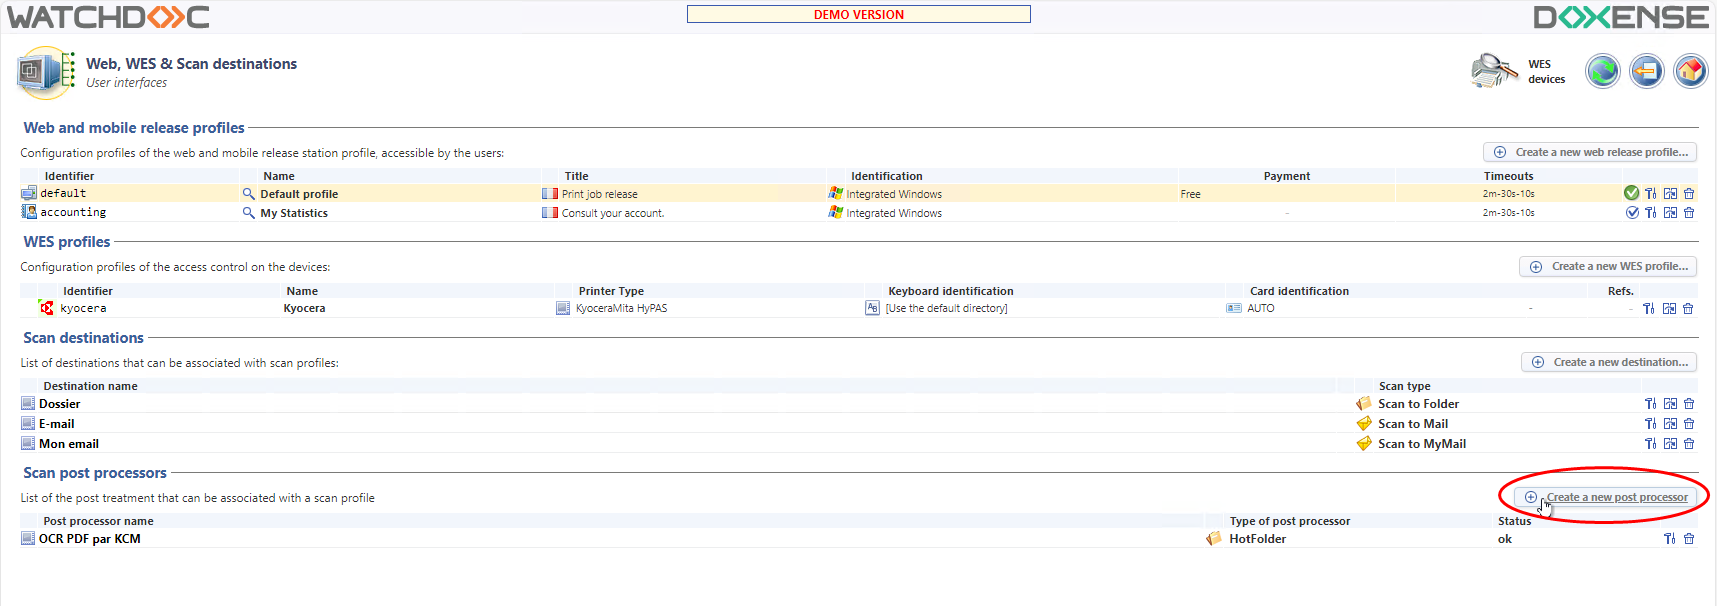
In the Web interface, WES & Scan Destinations, in the Scan Destinations section are the post-scan treatments created.
-
Click on the Create a new post processor button:
Configure the processor
-
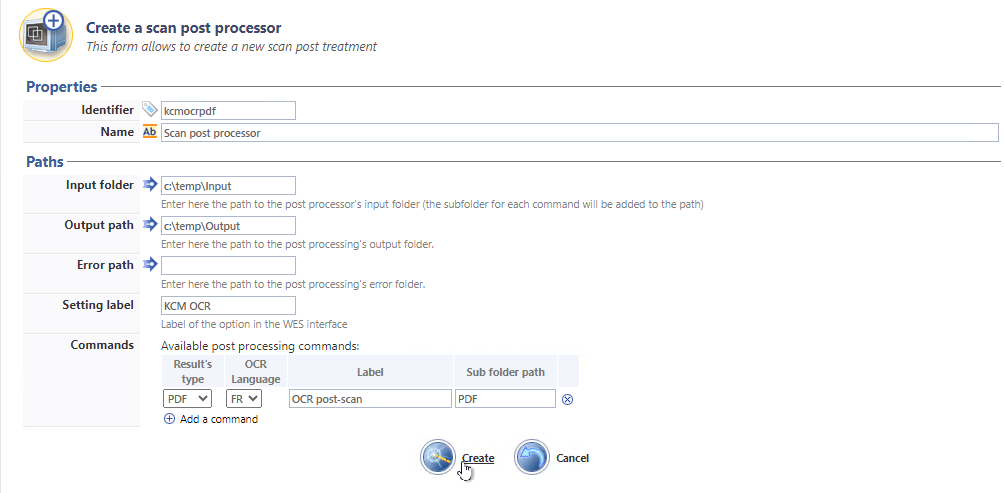
In the Create a scan post processor, complete the fields :
-
Properties section
-
Identifier: enter the treatment identifier (internal K identifier displayed in administration web interface).
-
Name: enter an explicit name for the post-scan processor.
-
-
Paths section
-
Input folder: specify the path to the folder where WEScan saves scanned documents (hotfolder monitored by the third-party tool);
-
Output folder: specify the path to the folder where the third-party tool saves documents once it has processed them;
-
Error path: specify the path to the folder where the third-party tool saves documents with errors;
-
Setting label: enter the name under which the process is presented in the WEScan interface (for example: "Multiformat OCR" for a process that generates OCR files in MSWord, MSExcel and PDF, for example)
-
-
Commands: indicate the process(es) to be applied to the files stored in the input folder;
-
Result's type: indicate the type of documents to be processed;
-
OCR Language: indicate the language in which the OCR will be performed;
-
Label: enter here the label under which the processing is presented in the WEScan interface (e.g. "OCR to PDF", "OCR to Word", etc.).
-
Sub folder path: enter the name of a sub-folder in which the files will be saved once they have been processed:
-
-
Click on Create to save the post-scan processor.
Apply the post-scan processor
Once you have created the treatment, apply it to the WES profile:
-
in the Web interface, Web, WES & Scan destinations, click on the WES to which you want to apply the processor;
-
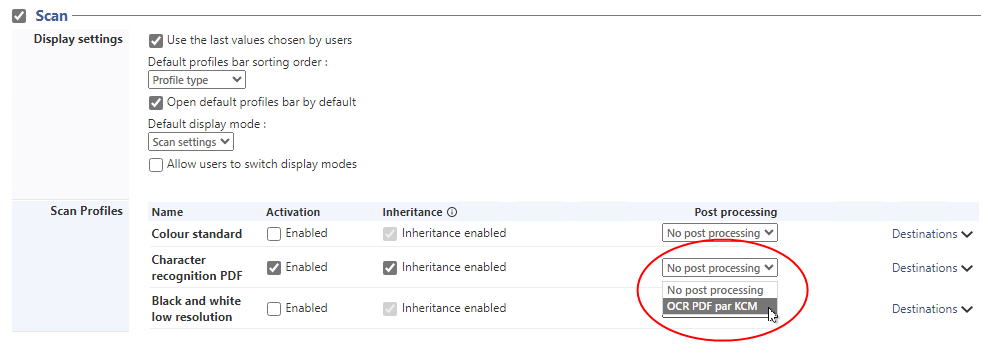
in the WES Profile configuration interface, in the Scan section, activate the Scan Profiles to which you want to apply the processor;
-
From the list, select the Post processing you want to apply, then configure the destination;
-
Click Saveto validate the scan profile.