Create a printer Template
preamble
A ‘printer template’ is a model of a printing device configured according to certain parameters to meet predefined requirements. Saved in WSC, this template can then be applied to several devices of the same brand and requiring the same configuration.
Note that a driver must first be installed to create a template.
Access the print manager
-
As an administrator, access the print server;launch the Microsoft Windows Print Manager (Print Management);
-
from the manager, add a print device or select one of the devices already installed;
-
right-click to access the print device properties, then the print settings (options, preferences, settings, depending on the model);
-
define precisely all the print settings for this device (colour or black and white, single-sided or double-sided, format, etc.);
-
save the print device profile.
Access the supervision interface
-
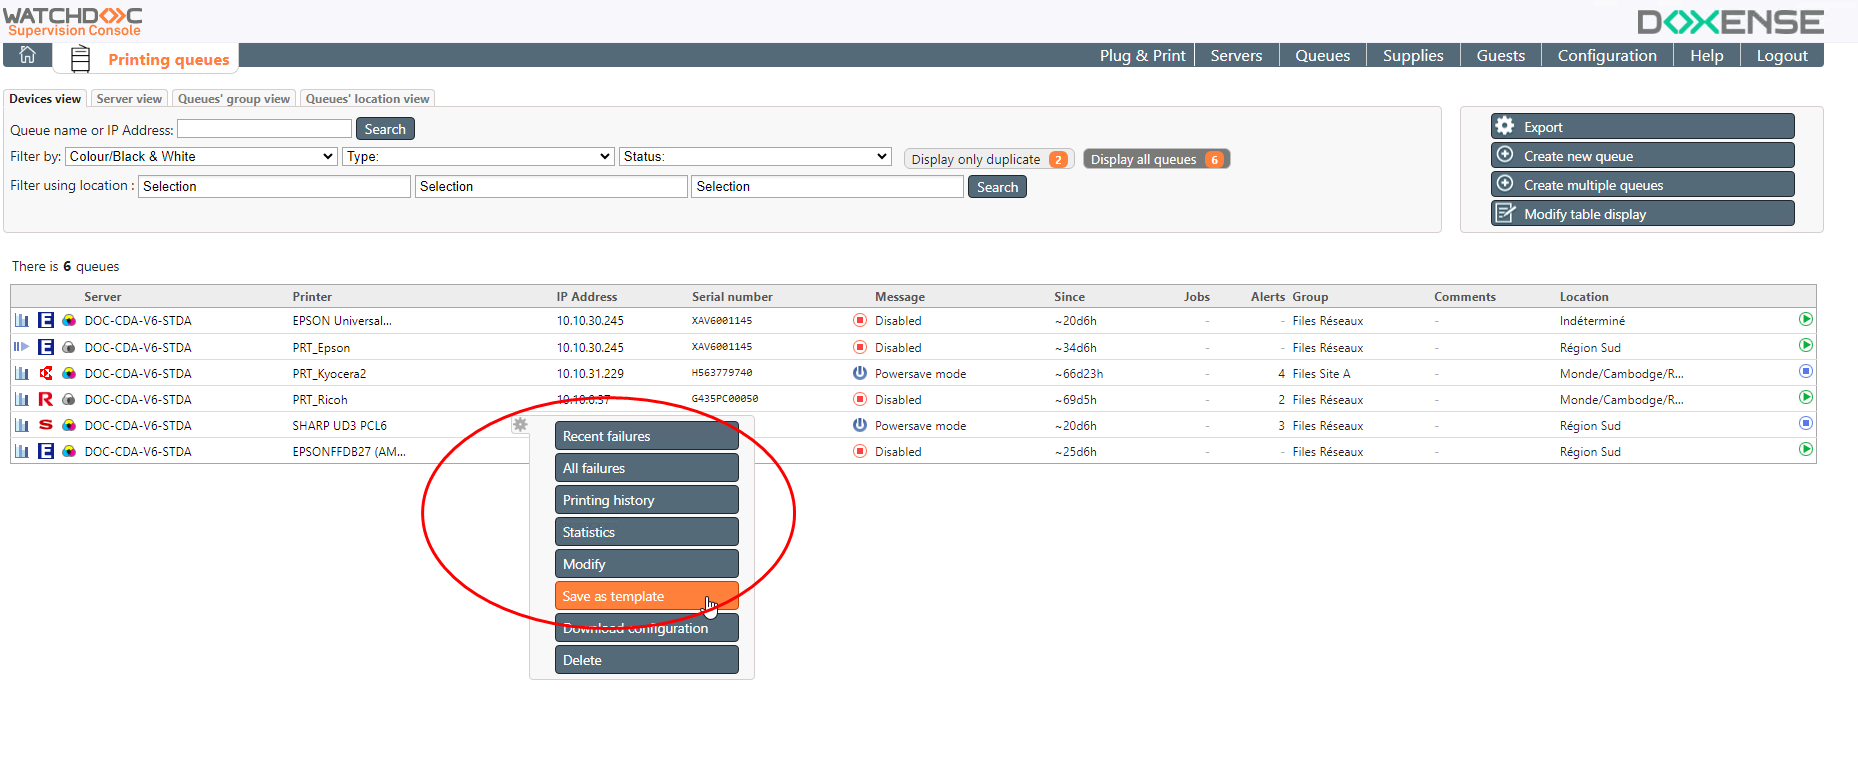
From the WSC Main Menu, click on Printing Queues entry;
-
In the list, locate the queue whose parameters you have just defined and click on the gear wheel to access the menu.
-
In the menu, click Save template ;
-
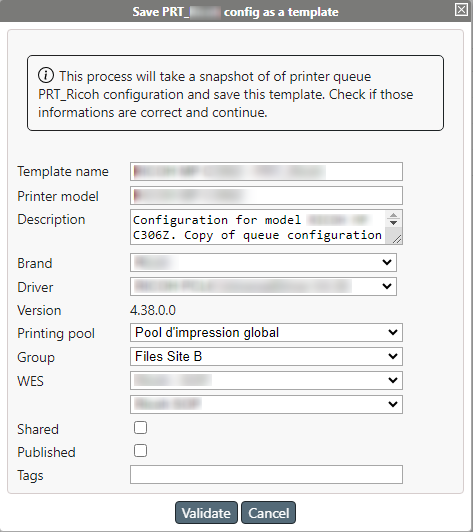
in the Save configuration as template interface, check the following parameters and complete them if necessary:
-
Template name: enter the name of the template (displayed in the management interfaces). We recommend using the commercial name of the device for ease of use, but you are free to enter any other value.
-
Printer model: enter the printer device model (for management purposes).
-
Description: add a comment to the name and model to indicate how the device is used.
-
Brand: from the list, select the brand of the printing device.
-
Driver: from the list, select the driver you wish to associate with the printing device. If the driver you wish to associate does not appear in the list, add the driver (see Create a driver in WSC).
-
Version: the version of the selected driver is automatically displayed.
-
Print pool: from the list, select the print pool into which you want to integrate the printer model.
-
Group: from the list, select the group of queues into which you want to integrate the printer template.
-
WES: from the list, select the WES you wish to apply to the printer template, or leave the default value Off to apply no WES.
-
Shared/published file: tick the box if the file that depends on the template is to be shared and/or published.
-
Keywords: enter one or more keywords associated with the printer template. These keywords will be used as filters when searching for templates.
-
Click Validate to save the template.
→ Once the printer template has been saved, you can create one or more print queues from this template. All print queues will then be configured in the same way.