Download the installation package
From Connect, the Doxense partner extranet, download the Watchdoc Monitoring Console installation package;
On the server that will host WSC, unzip the .zip installation folder. This folder contains the .NET framework installation files and the Supervision Bootstrapper.exe file.
Install WSC
-
In the unzipped installation folder, click on the Supervision Bootstrapper.exe executable to launch the installation;
-
the executable checks the presence of .Net Framework and installs it if it is not the case;
-
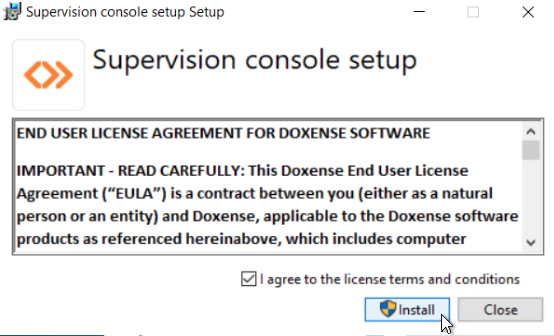
in the Watchdoc Supervision Console setup interface, read the conditions, check the box to accept the conditions, then click on the Install button:
-
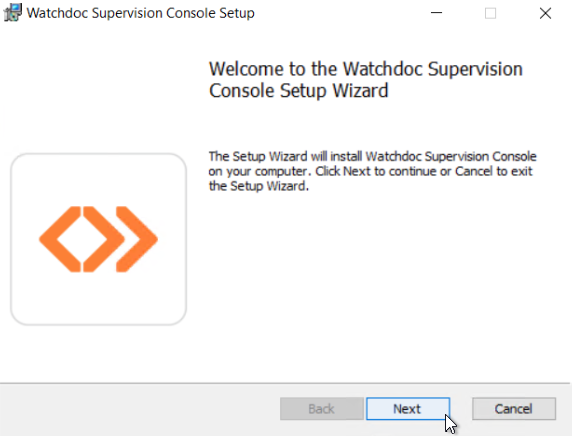
in the welcome interface, click the Next button to continue the installation:
-
in the welcome interface, click the Next button to continue the installation:
-
In the Options interface, choose the administration language and enter the password for the maintenance account giving access to all WSC administration functions.
-
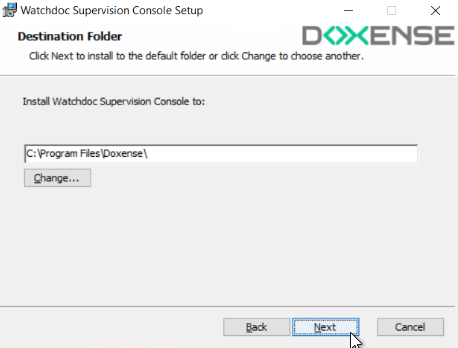
In the Destination Folder interface, specify the path to the folder where WSC should be installed or keep the default folder:
-
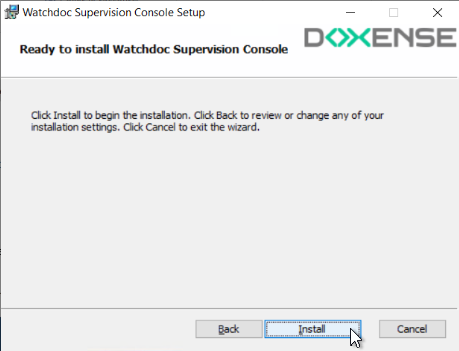
Once the installation folder is defined, click on Install to continue the installation;
-
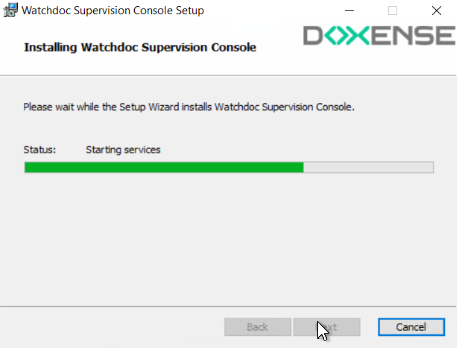
a cursor indicates the progress of the installation:
-
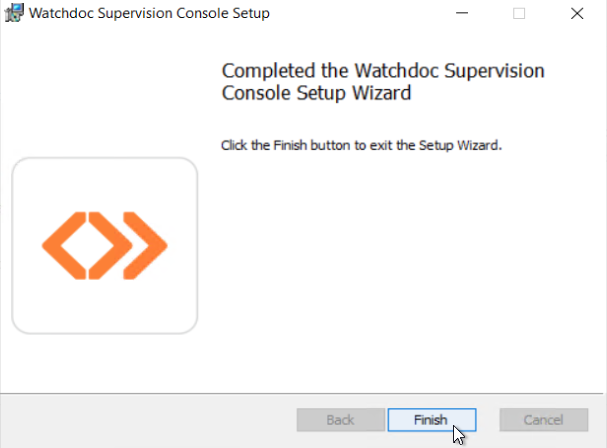
At the end of the operation, a message indicates the success of the operation. Click Finish to complete the installation:
-
during the operation, the icon
 was added as a shortcut on the server desktop.
Resetting the WSC license
If you are installing Watchdoc and WSC for the first time, you do not need to perform this step: the WSC licence installed by default is FREE and requires no modification.
On the other hand, if you are updating a WSC version prior to V6, you need to reset the licence by following the steps below:
-
From the server desktop, click on the Supervision Console shortcut to access its administration interface;
-
authenticate as administrator to access the WSC Main Menu :
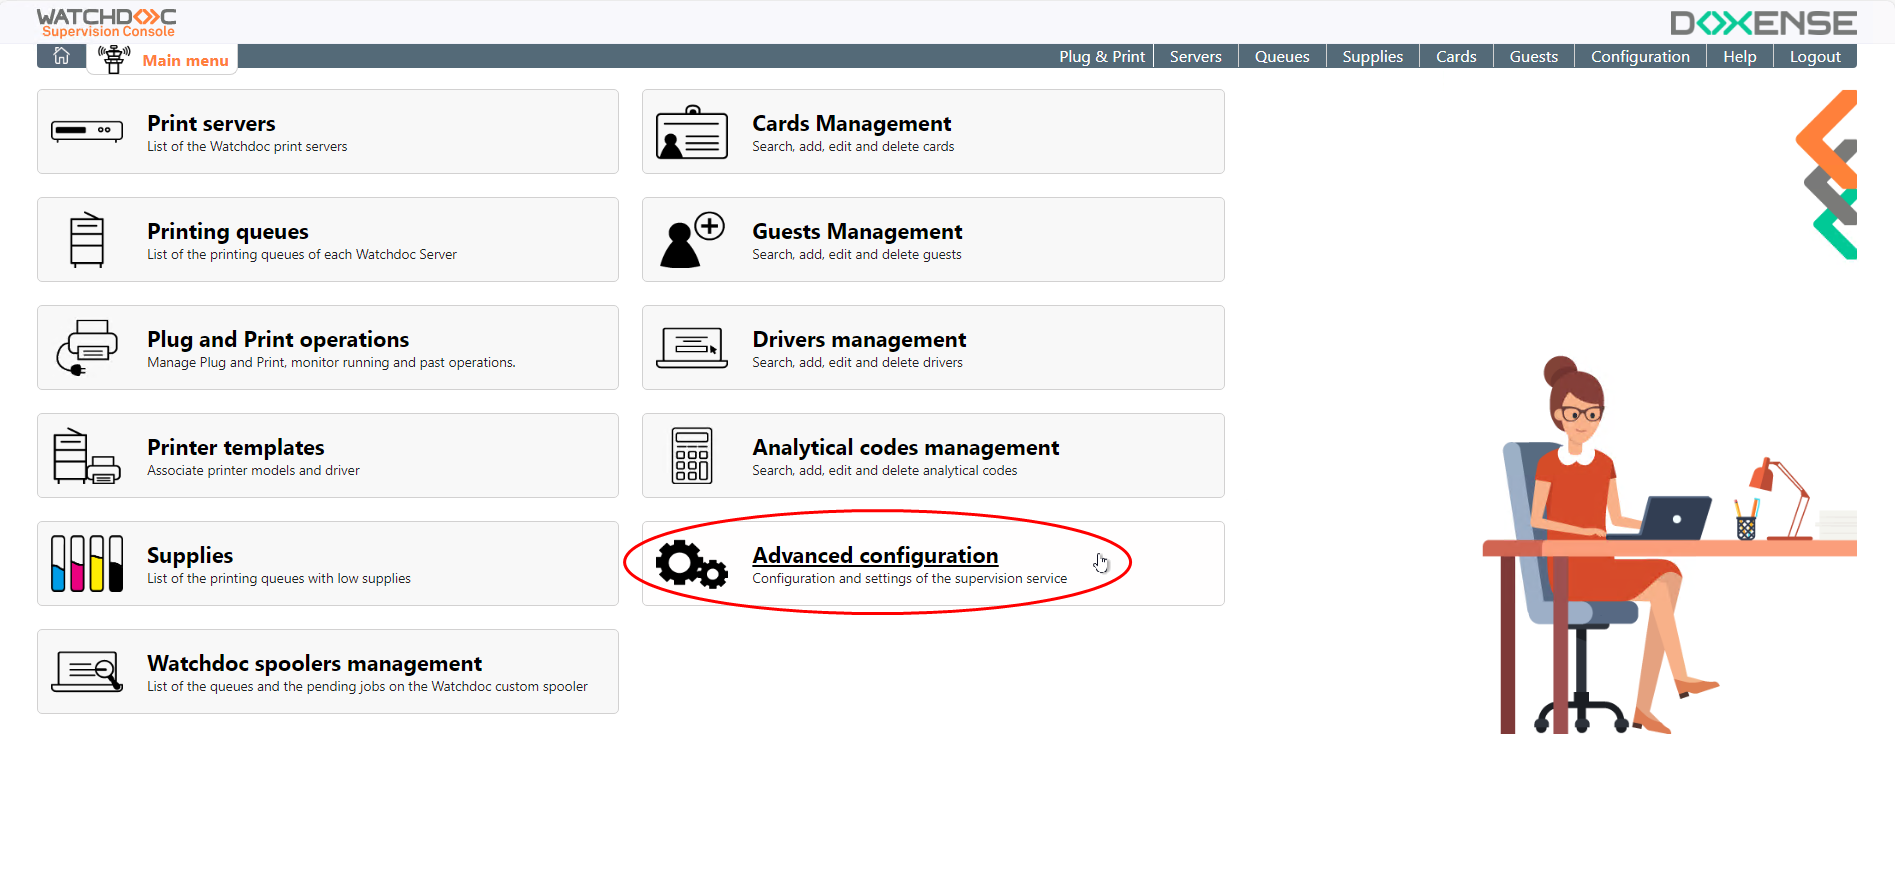
From the WSC Main Menu, click on the Advanced Configuration section:
-
From the Advanced Configuration interface, click on the Licence Management section:

-
In the License Management > Current License interface, click the Reset License button:
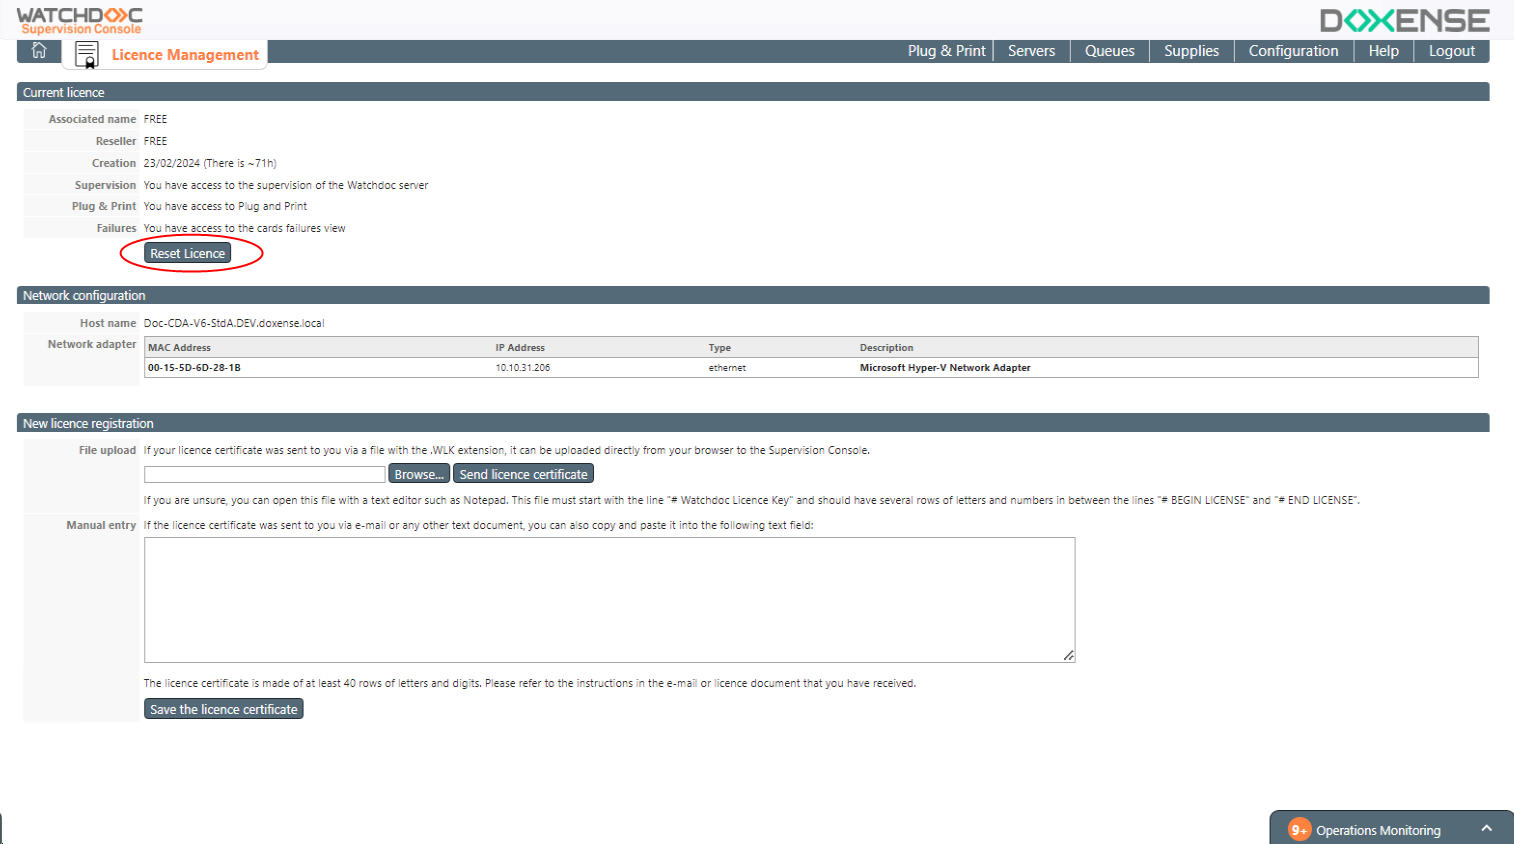
è In the Current License section, the Name and Reseller values display FREE.