Principle
The Watchdoc Supervision Console allows you to program the sending of emails intended to alert the administrators in charge of the printing fleet in the event of malfunctions of the servers, queues and critical levels of supplies.
This function requires an SMTP server (dedicated or the SMTP server from Watchdoc) that must be configured. Gather the data relating to the requested SMTP server beforehand.
Access the Supervision interface
-
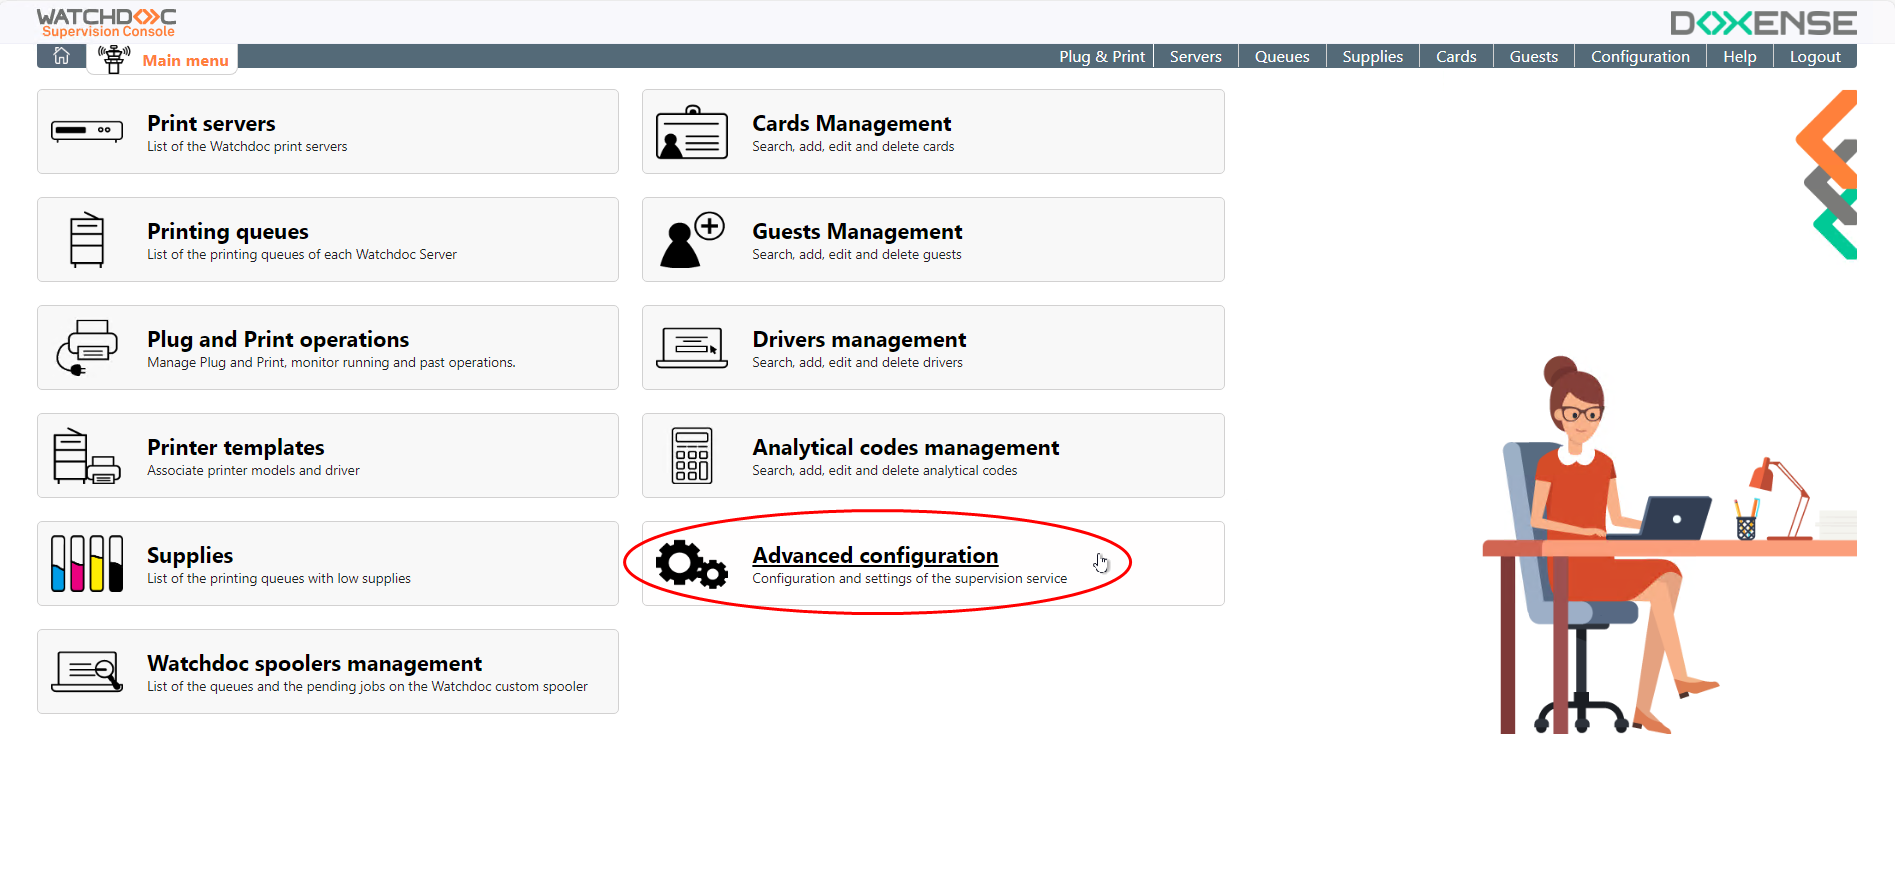
From the WSC Main menu, click on the Advanced Configuration button:
-
In the Advanced configuration interface, click on E-mails notifications button:
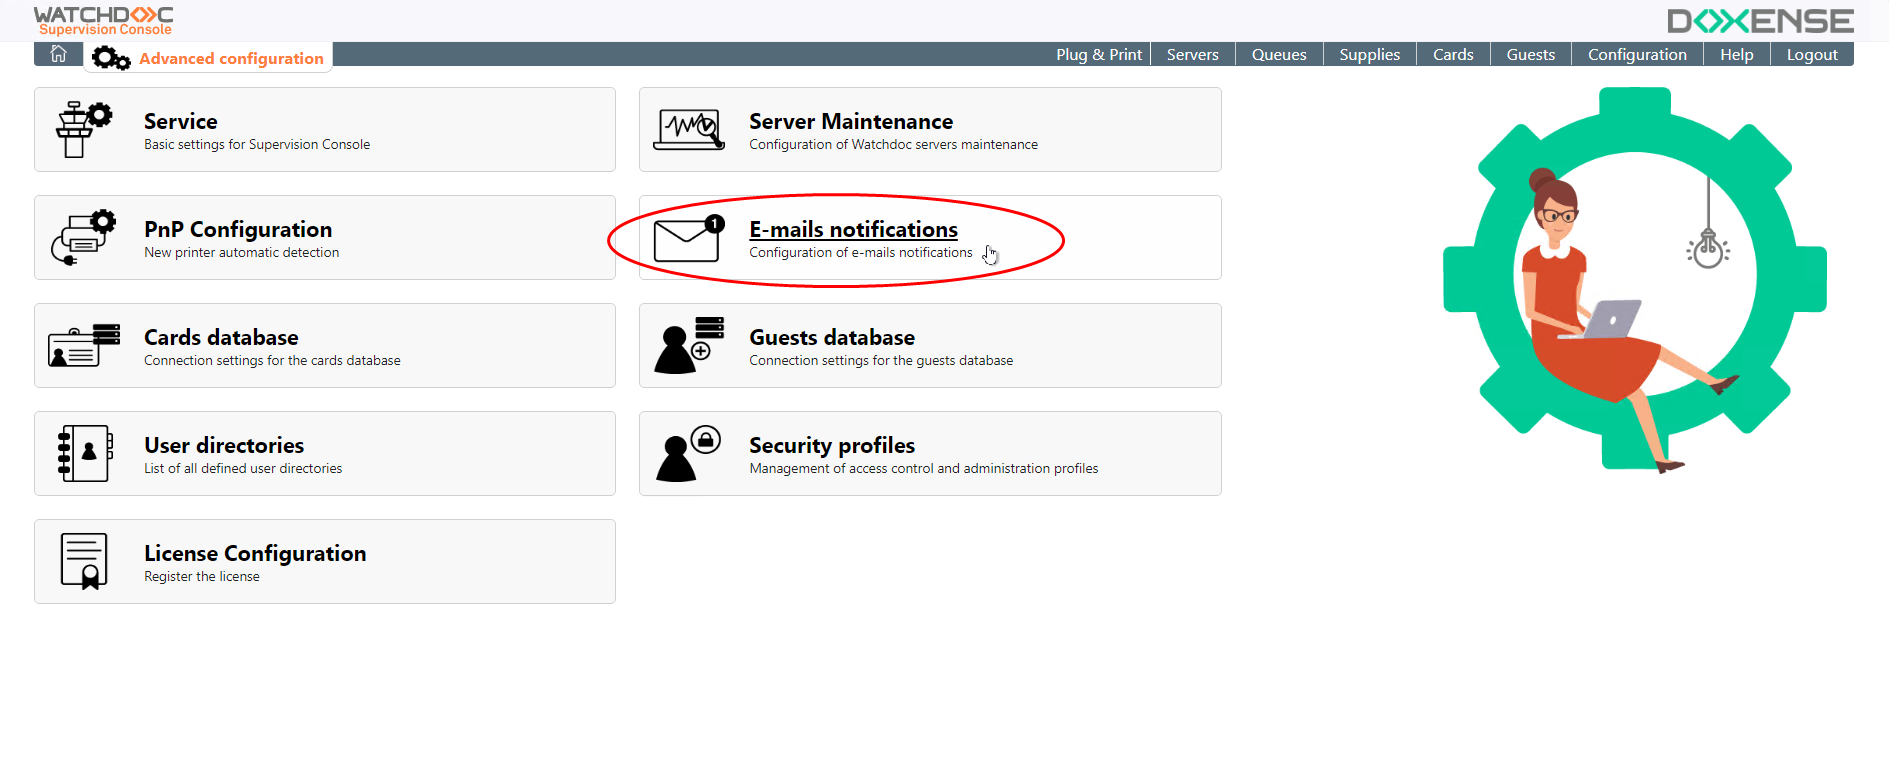
→ you access the E-mails notifications interface in which you can configure the SMTP server and the notifications: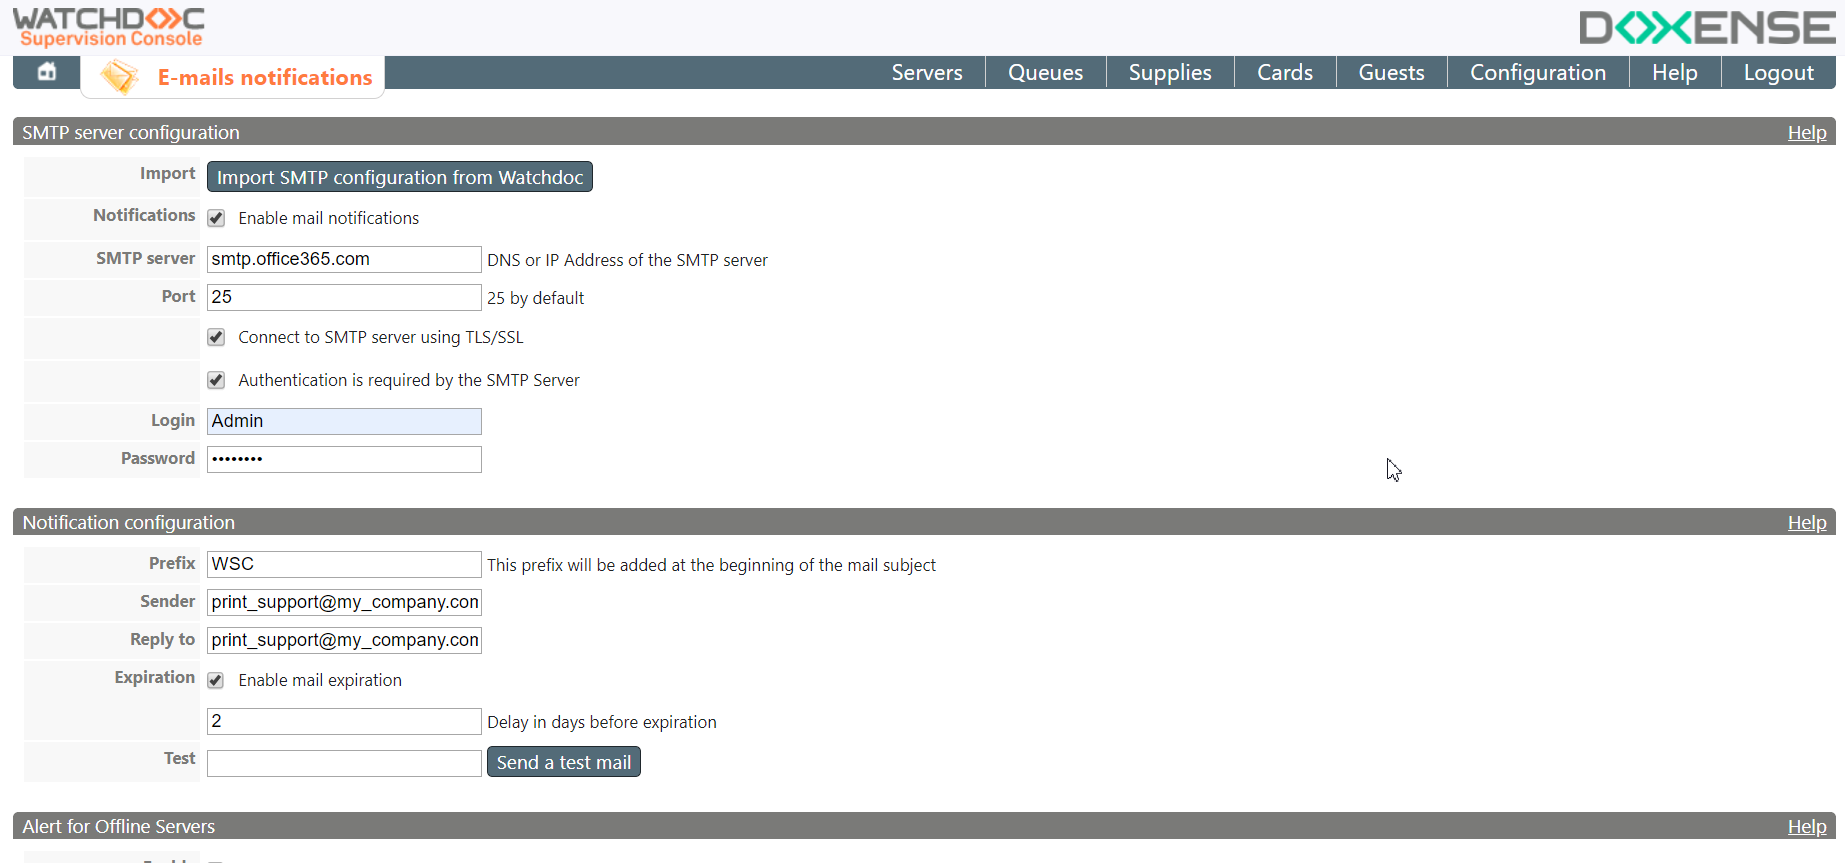
Configure the SMTP server
-
In this section, configure the SMTP server on which the mail sending feature is based:
-
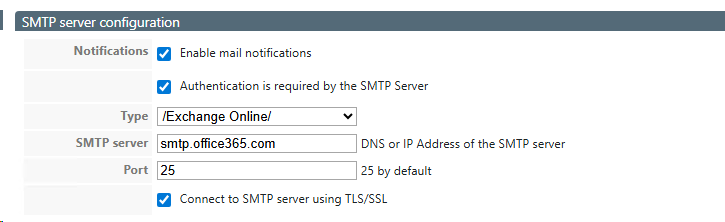
Notifications: tick the box to activate the e-mail notification feature;
-
Identification required: check this box if the SMTP server requires identification. Specify the identification details in the dedicated fields of the form (account/password or Exchange Online settings).
-
Type: select:
-
Login & Password if this is the identification method, then enter the Loginand Password of a user allowed to access the SMTP server;
-
Exchange Online: MS Exchange is changing its authentication method (between September 2025 and October 2026) to replace basic SMTP authentication with OAuth2 authentication. To communicate with an Exchange SMTP server, you must therefore complete the Exchange Online section (below) with the settings specific to this Microsoft® application :
-
-
SMTP server: indicate in this field the DNS name or the IP address of the SMTP server;
-
Port: indicate in this field the access port to the SMTP server, or let the default port (25);
-
Connect to SMTP server using TLS/SSL: tick this cette box if the connection to the SMTP server is securized;
-
Configure Exchange Online
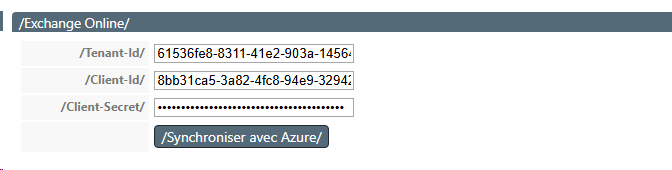
If you selected Exchange Online in the previous section, complete the following settings:
-
Tenant ID: enter the tenant ID (for the MS Azure Exchange Online application);
-
Client ID: enter the application ID configure in Entra ID;
-
Client-Secret: enter the application secret. N.B.: the Secret expires after a predefined period in MS Entra ID. It is therefore necessary to update it as soon as it is renewed, otherwise you will no longer be able to use the Notifications function and will receive the alert message “Failed to get an accessToken from Azure”.
Configure Notification
In this section, configure the notification: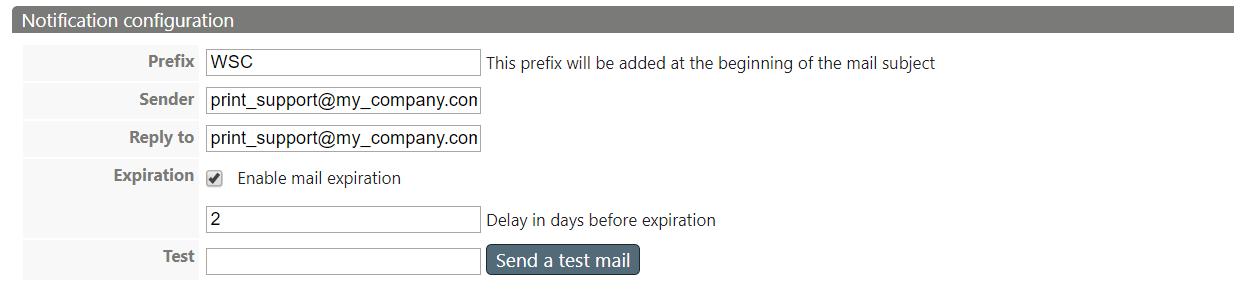
-
Prefix: enter in this field the prefix displayed in the mail object, allowing to identify quickly the source and nature of the message and to sort the messages;
-
Sender: enter in this field the e-mail address used by the service to send notifications.
-
Reply to: enter in this field the e-mail address to which the answers to the notification might be sent;
-
Expiration: tick this box to activate an expiration delay, if the e-mails were not to be sent. In the following field, indicate the delay, in days, of this expiration delay;
-
Test: enter in this field the e-mail address (or e-mail addresses, separated by a semicolon) of the recipient of the test mail.
Configure alerts
Alerts presentation
Alerts is messages sent automatically in the event of a malfunction of the servers or print queues, after a predefined delay:
-
offline servers;
-
blocked queues.
Configure alerts
Activation and configuration of the feature is the same for the two alerts:
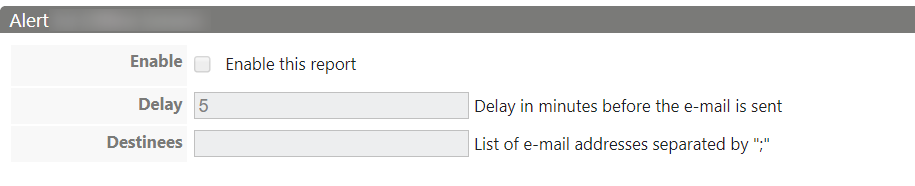
In this section, configure the alerts regarding off-ligne servers (that do not answer yet):
-
Enable: tick box to enable this type of alert;
-
Delay: enter, in minutes, the delay between the beginning of the trouble and the sending of the mail;
-
Destinee: enter in this field the e-mail addresses of the alert's recipients, separated by a semicolon/
Send reports
Reports presentation
The reports are regular statements summarizing the state or the elements of you printing fleet, according to a predefined frequency:
-
servers status report: mail summarizing the state of the servers;
-
queues status report: mail summarizing the state of the print-queues;
-
supplies status report: mail summarizing the state of the devices supplies;
-
cards audit report: mail summarizing the actions done during the cards audit(deletion, fusion, reallocation, etc.);
-
WES Usage report: mail summarizing the use made of WES on the various devices of the fleet.
Configure the notification
The activation and the configuration is the same (except for a few details) for different reports:
-
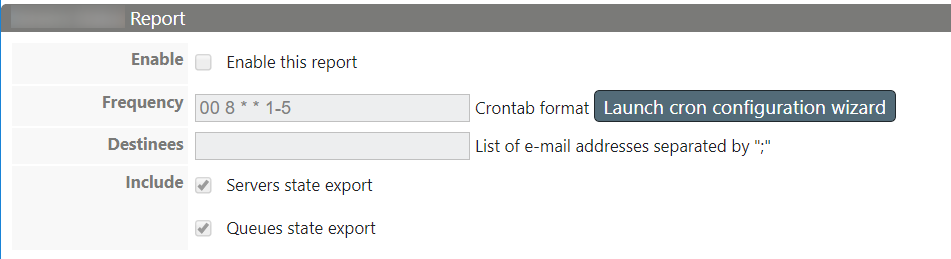
Enable: tick this box to enable this type of report;
-
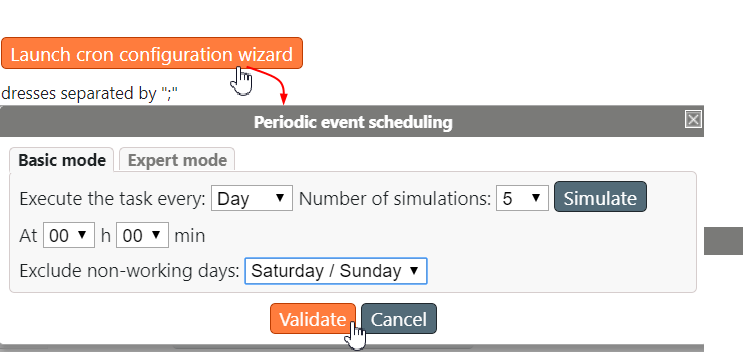
Frequency: indicate, respecting the "cron" format, how often you want the report to be sent. Click on the. Launch cron configuration wizard button to complete the field if you don't know the "cron" format syntax:
-
Destinee: enter in this field mail addresses of the alerts recipients, separated by a semicolon:
Include:
-
Servers state export:check this box to obtain in attachment the .csv file export of the servers status;
-
queues state export: check this box to obtain in attachment the .csv file export of the queues status(only for the server configuration);
-
-
Notification: (specific to the WES usage report) allow Doxense to get a copy of this report: tick this box so that the report might be sent to Doxense®.
WES license usage report
Activation and configuration are the same as for other reports.
The only difference is the following checkbox:
-
Notification: check this box if you want the report on the WES licenses in your fleet to be forwarded to Doxense® via the address contact@doxense.com.
To change the destination address, modify the "other/contact-mail" node in the WSC configuration file (wts_config.xml). If the node doesn't exist below the other node, you must create it
èAt the set frequency, the recipient receives the Watchdoc licence usage report: