Watchdoc - Reports Schedule - Procedure
Access the configuration interface
-
To access the configuration interface, log in as an administrator on the Watchdoc administration interface;
-
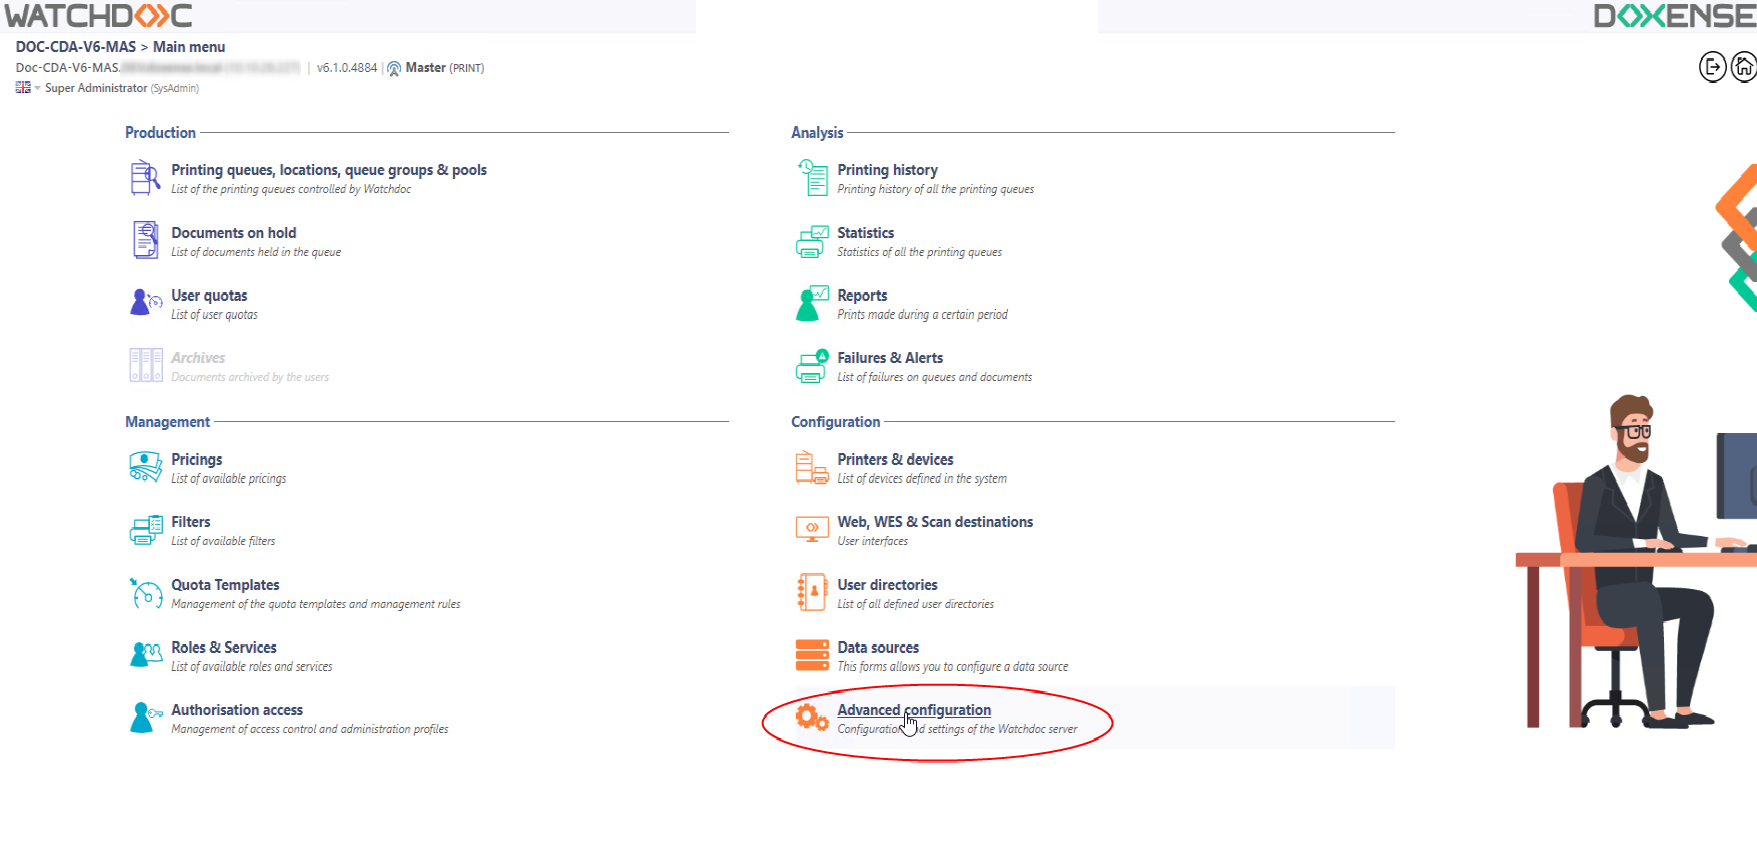
from the Main Menu, Configuration section, click on Advanced Configuration:
-
in the [Name_of_the_server]> Advanced Configuration click on Reports schedule;
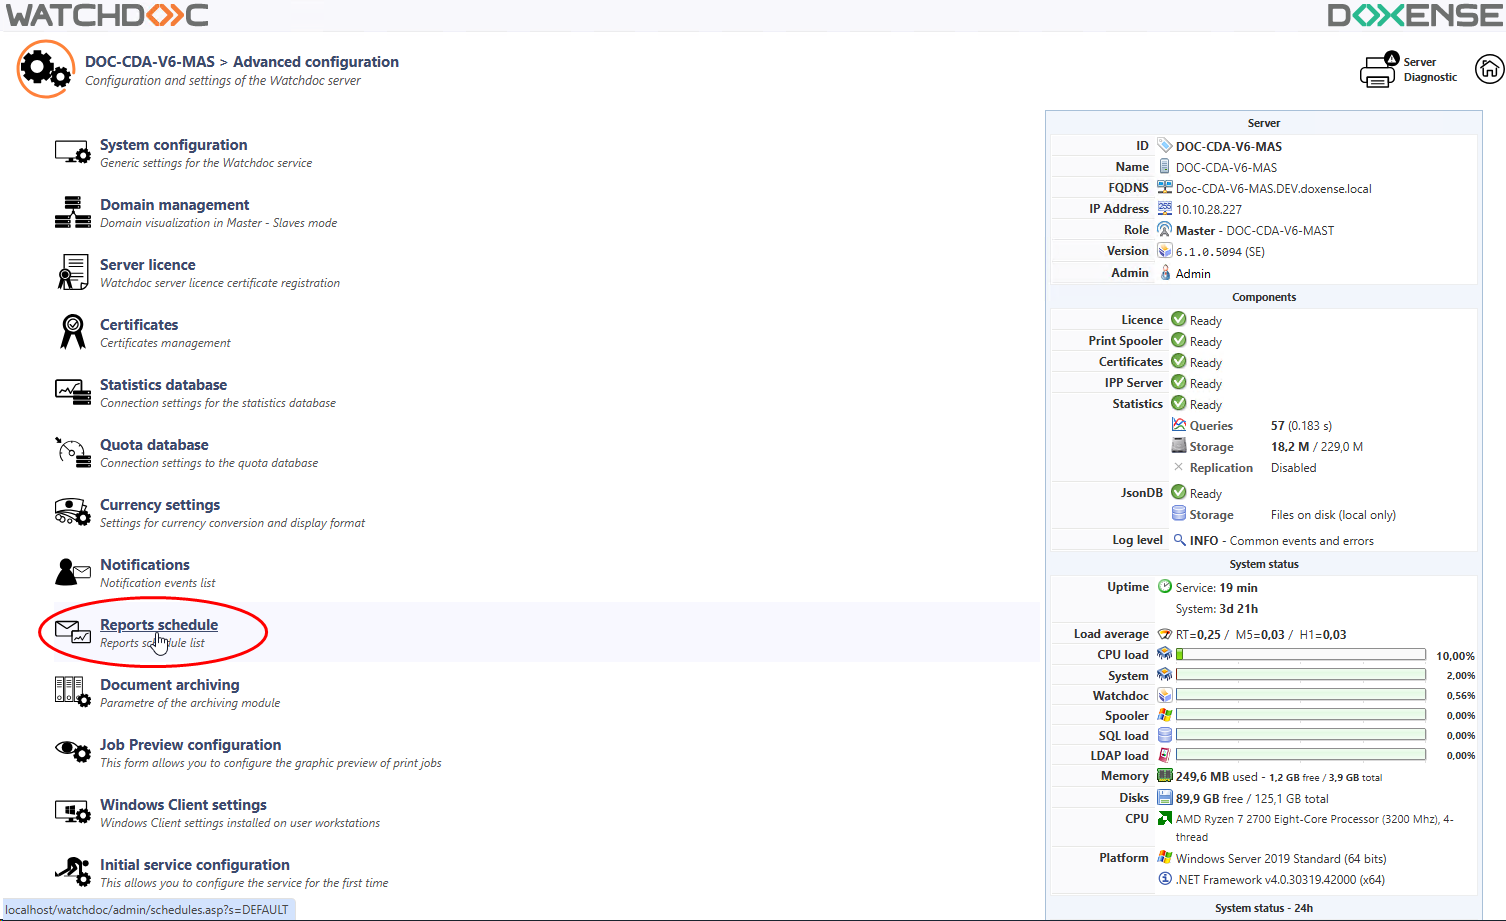
è You access the Reports schedule interface:

In this interface is displayed the list of all the reports already configured, with their properties:
-
the model on which the designed report is based;
-
the periodicity of sending;
-
the date of the last execution;
-
the execution report status.
-
In the last column are tools that allow:
-
 to run the report manually;
 -
 to edit the planning parameters;
 -
 to duplicate the planning so that it can be reused for another use;
 -
 to delete planning.
Above the list are two buttons:
-
 Notification configuration gives access to the report service configuration form;
 -
 Create a Schedule gives access to the reports schedule form.
Report scheduling is based on the configuration of email notifications. If notifications are not enabled, a message will prompt you to enable them:
Configuring the reports notification
-
To configure the notification, from the Reports schedule interface, click on the
Notification configuration button: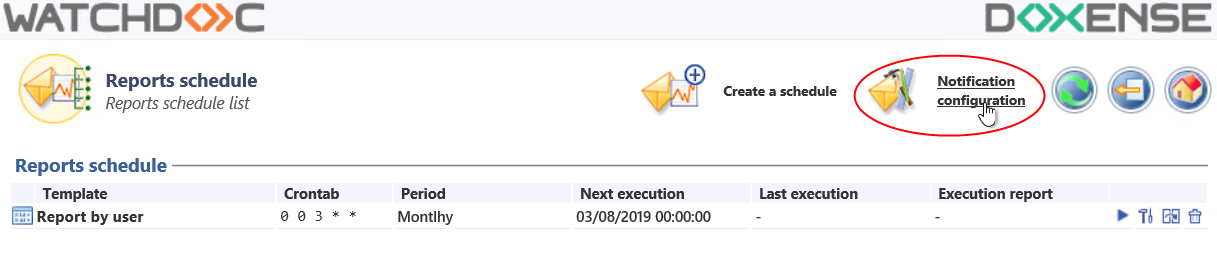
-
In the Notifications configuration form, if they're empty, fill the fields of the Contact section that permit to identify the personne in charge of this service:
-
Administrator: enter the name of the service's administrator;
-
E-mail: enter the e-mail address of the service's administrator;
-
Téléphone: enter the phone number of the service's administrator du service;
-
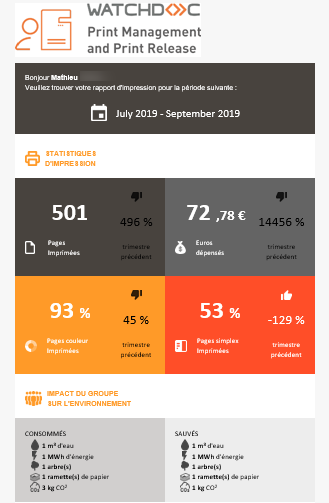
Message: enter in this field additional information that will be displayed in the header of the e-mail that presents the report.
-
-
in the Reports schedule section:
-
Notifications: tick the box to activate this service;
-
Theme: customize the reports e-mails:
-
logo: in the field, enter the path to a picture's file that will customize the header of the information e-mail;
-
secondary color: enter the hexadecimal code that precises the insert of the simple printed pages.
-
primary color: enter the hexadecimal code that precises the main labels and the insert of the printed coloured pages;
-
primary text colour: enter the hexadecimal code that precises the main labels colour;
-
secondary text colour: enter the hexadecimal code that precises the secondary labels colour

-
Schedule the sending of a report
-
To schedule the sending of a report from the Reports schedule interface, click on the
Create schedule button:
-
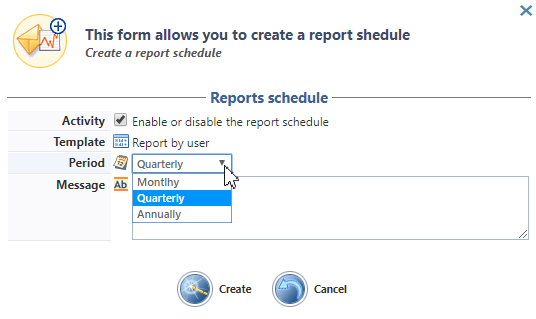
in the Create a schedule form:
-
Activate: tick the box to activate the schedule;
-
Model: select in the list the report model on which the designed report is based ;
-
Periodicity: in the list, select how often you want to send your report;
-
Message : enter in this zone the message of the e-mail introducing the report.
-
-
click on the Create
 button to validate the report creation;
è the created report is added to the list of existing reports. All the information relating to its sending is displayed in the table, so you can control the correct execution of the tasks.