Creating and configuring a virtual queue
Process
To create a virtual queue:
-
from the server, access the Windows Print Manager. You can launch printmanagement.msc to access the interface;
-
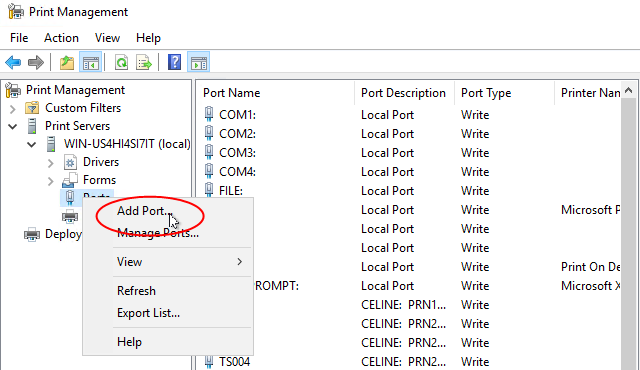
in the Print managment tool, click on Print servers > Ports > Add Port:
-
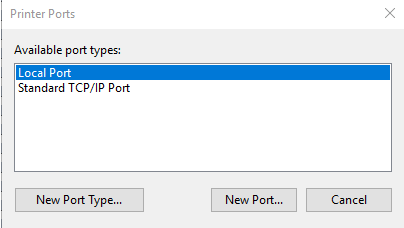
in the Printer Ports interface, select the Local Port type:
-
click on New Port button;
-
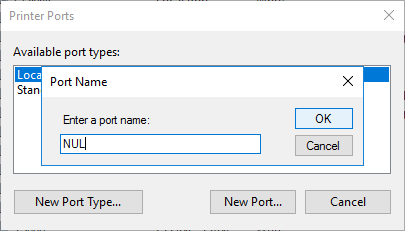
in the Port Name box, enter the value NUL;
-
validate by clicking on OK ;
-
click on Close to come back the Print Management tool;
-
from the Print Servers menu, select the print server, then click-right on Printer> Add Printer;
-
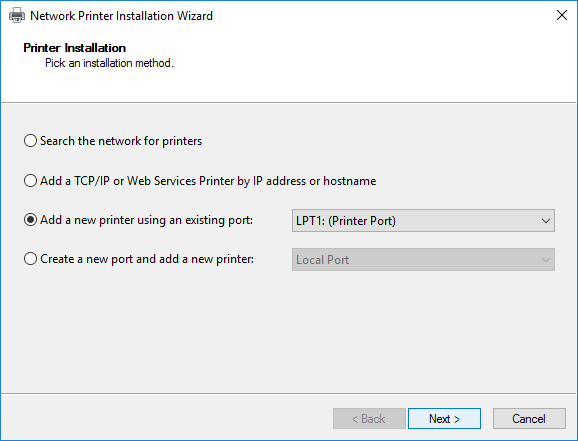
in the Printer Installation box, select Add a new printer using an existing port, then select the NUL port;
click on Next:
-
in the Printer Driver list, select a driver compatible with the devices to which the virtual queue is likely to send its print-jobs;
-
click on Next;
-
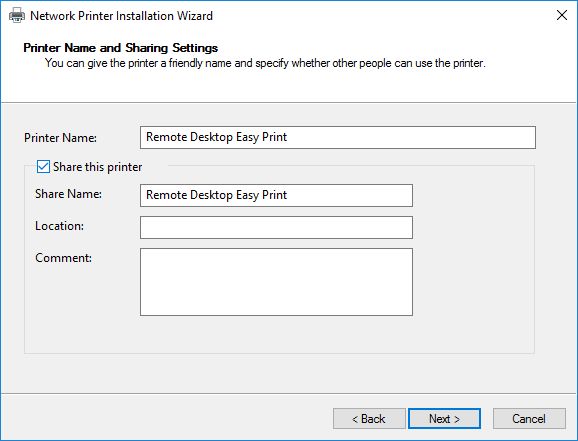
in the Printer Name and Sharing Settings box, give an explicit name to the virtual queue;
-
tick the Share this printer box, then click on Next;
-
The print queue is added on the server. You can therefore configure it in Watchdoc.
Configuring the virtual queue
To configure the virtual queue :
-
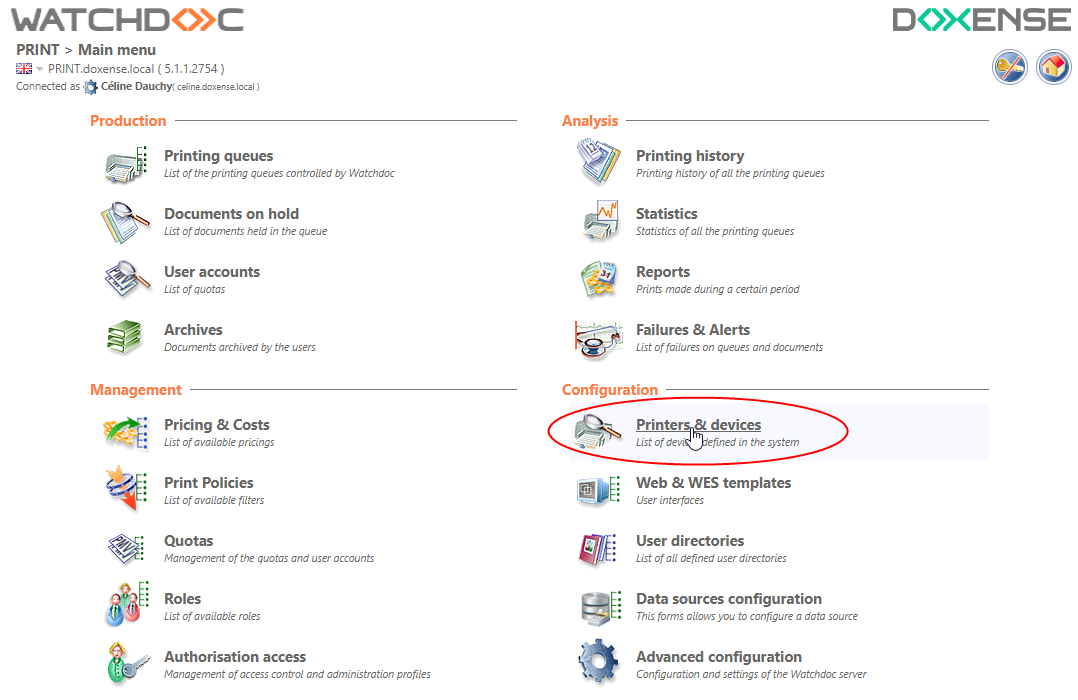
from the Watchdoc Main menu, Configuration section, click on Printers and devices;
-
in the Printers & devices list, select the virtual queue created at the former step;
-
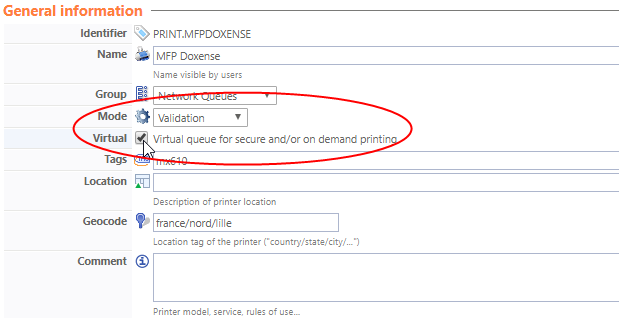
in the Printer queue properties interface, General information section, complete the following parameters:
-
Mode: select the Validation mode;
-
Virtual: tick the Virtual queue for securised printing and/or on demand printing box:
-
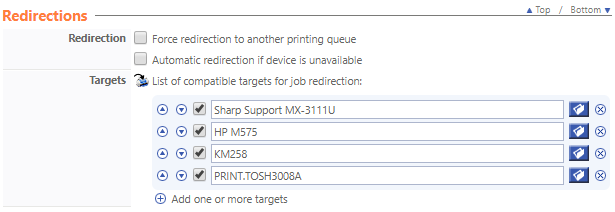
in the Redirections section, in the Targets list, select the print queue or the print queues to which the print-jobs are likely to be sent;
-
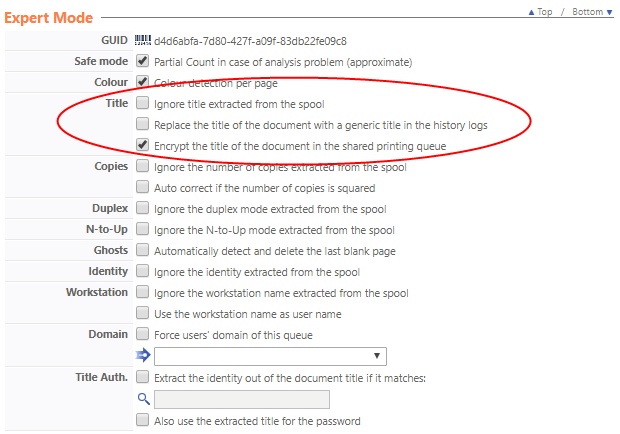
in the Expert Mode section, tick the Encrypt the title of the document... box if you want not to display the print-job title in the share print queue: