Process
Configure the printing queues and/or the printing queues groups
To activate the SSO Agent on a printing queue:
-
access the Watchdoc administration interface as an administrator;
-
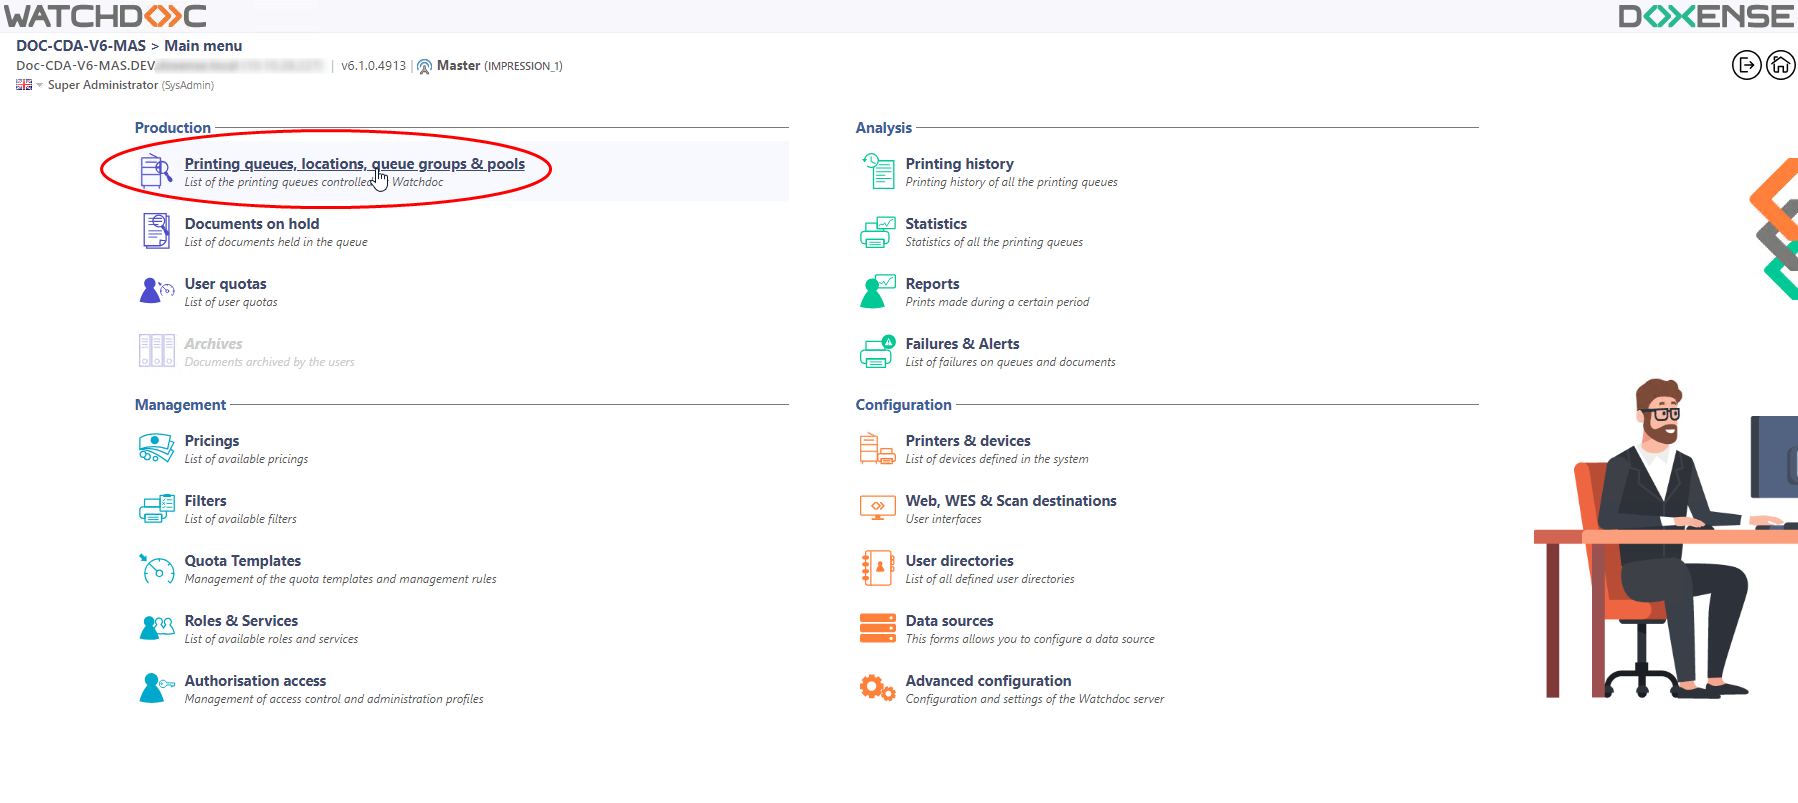
from the Main Menu, Production section, click on Printing queues, queue groups & pools ;
-
In the queues list, select the one for which you are configuring the SSO Agent;
-
in the print-queue configuration interface, click on the Edit properties
 button;
 -
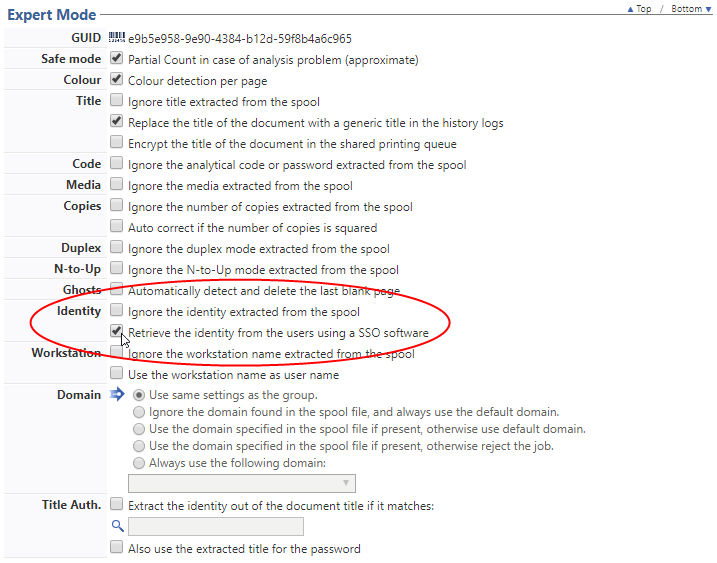
in the Printing queue properties interface, Expert Mode section, Identity setting, tick the box Retrieve the identity extracted from the spool;
Install the SSO Watchdoc Agent
Configure WatchdocSSOAgentDeployer.bat
To install the SSO Watchdoc Agent:
-
in a network directory accessible from all client workstations that require SSOAgent, create a folder dedicated to the SSO Agent (for example C:\temp\Watchdoc SSO Agent\...) ;
-
unzip the archive WatchdocSSOAgent.rar (provided by Doxense®) and save all the unzipped files in this folder;
-
in the .bat file, customize the values of the sets so that they correspond to the values of your environment;
-
set networkLocation=C:\Temp\WatchdocSSOAgent (path to the folder on the network shared directory);
-
set watchdocServerName=localhost
-
set watchdocServerPort=5754
-
set watchdocServerSecure=false
-
set identityIgnoreDomain=true
Create the Windows service
To create the Windows service:
-
on the client computer workstation, launch a command prompt as an admininistrator;
-
enter the following commands:
sc create “Watchdoc SSO Agent” binPath= “C:\temp\Watchdoc SSO Agent\WatchdocSSOAgent.exe” start= auto
sc start “Watchdoc SSO Agent”
-
Theses 2 commands create a Windows Service that automatically launches the SSO Watchdoc Agent , qui lance automatiquement l'Agent Watchdoc SSO each time the station is started.
-
Connect the SSO software and WatchdocAgentSSO
-
To connect the SSO software and Watchdoc Agent SSO, ask the SSO software editor to configure its software so that it launches the two following commands lines:
-
Logon SSO : “C:\temp\Watchdoc SSO Agent\WatchdocSSOAgent.exe” /standalone /event LogOn /user “DOMAIN\USER” (DOMAIN\USER is the connected user login (domaine facultatory);
-
Logoff SSO : “C:\temp\Watchdoc SSO Agent\WatchdocSSOAgent.exe” /standalone /event LogOff
Troubleshooting
When the SSO Agent runs correctly, the following data are displayed in the Watchdoc logs file:
- Logon
- Logoff
- Minute event of a device (one, at least, when a logon is done);
- When a print job has been well mapped;
Moreover, when a user logs on and logs off, the information is saved in a file named sso.json near to the WatchdocSSOAgent.exe file (it contains a json object with 2 properties).
The JsonDB Watchdoc database is then enriched with a list of events that have occurred on the workstations ;
%WATCHDOC_PATH%\Data\SSO.jsdb\Hosts (1 json file per client workstation containing the events list.