Watchdoc - Manage the security profiles / ACLs
Principle
In Watchdoc, it is possible to set permissions and actions allowed or denied to a group of users on a given device (or group of devices).
The types of users (for example: "members of the Marketing Service") can be combined with a context of use (for example: "weekend").
All of these rights and conditions constitute a Security Profile:
For example, on a color device:
-
members of the Marketing Service have rights to print in color and in large format from a USB key, except on weekends;
-
members of the Trainees group haven't no right to print in color, on large format and from a USB key, except if they are included in the Marketing Service.
Once the Security Profile configured, it must be applied onto the queue or onto the queue or onto the concerned queue's group.
Instructions
Accessing the configuration interface
-
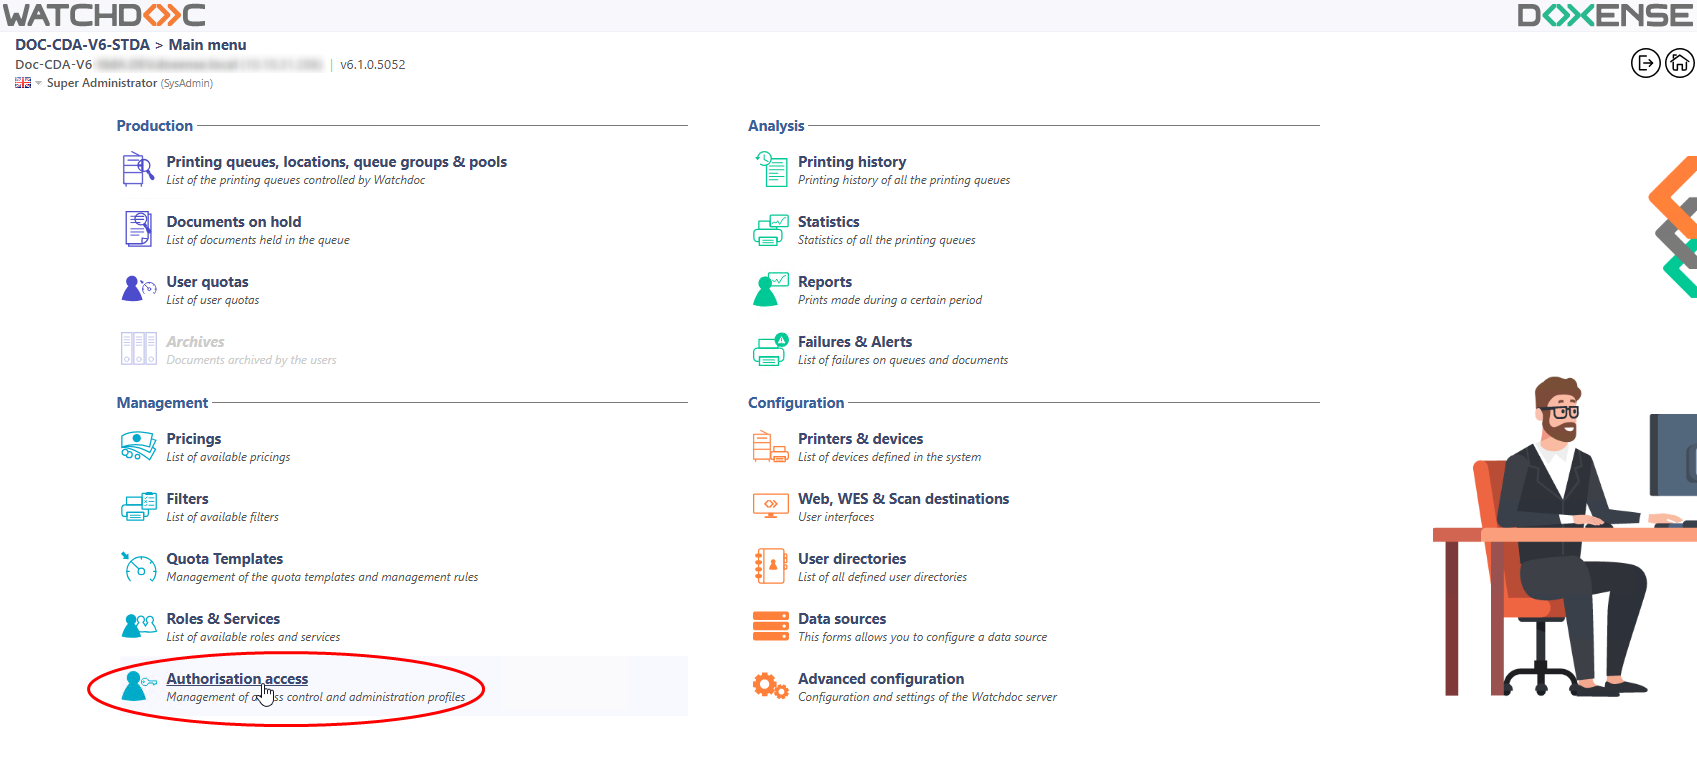
from the Watchdoc Main Menu, Management section, click on Authorisation access:
-
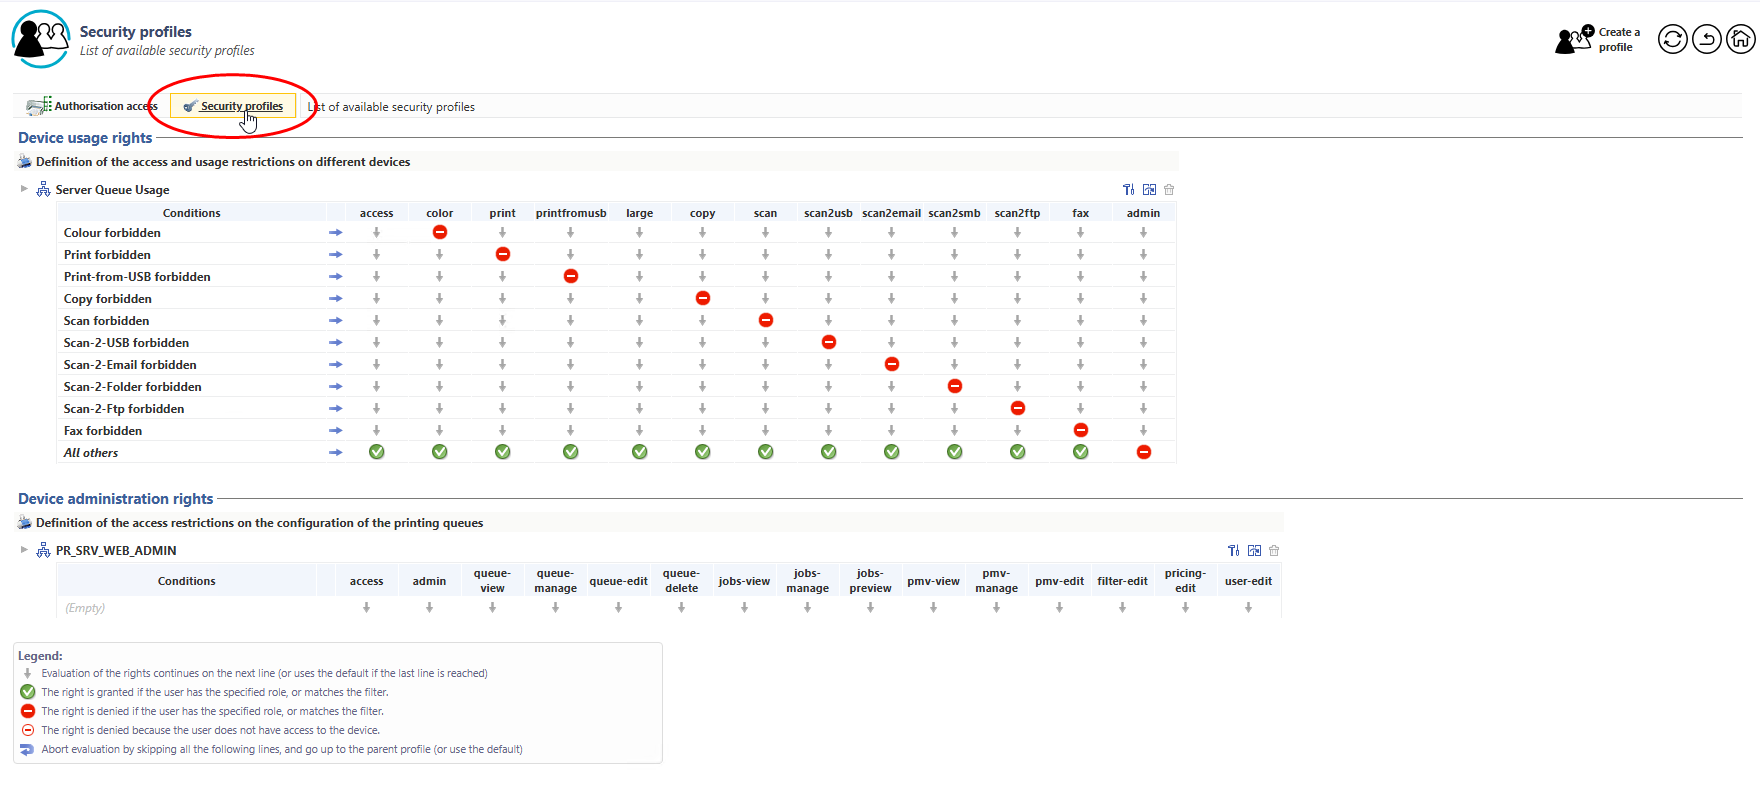
in the Authorization access's list, click on the Security Profiles button:
-
in the Security profiles interface, the different profiles that can be applied on the devices depending on the concerned users are displayed. Each line links a user profile (or usage context) to the available actions. This actions may be granted or denied.
Configure a security profile
-
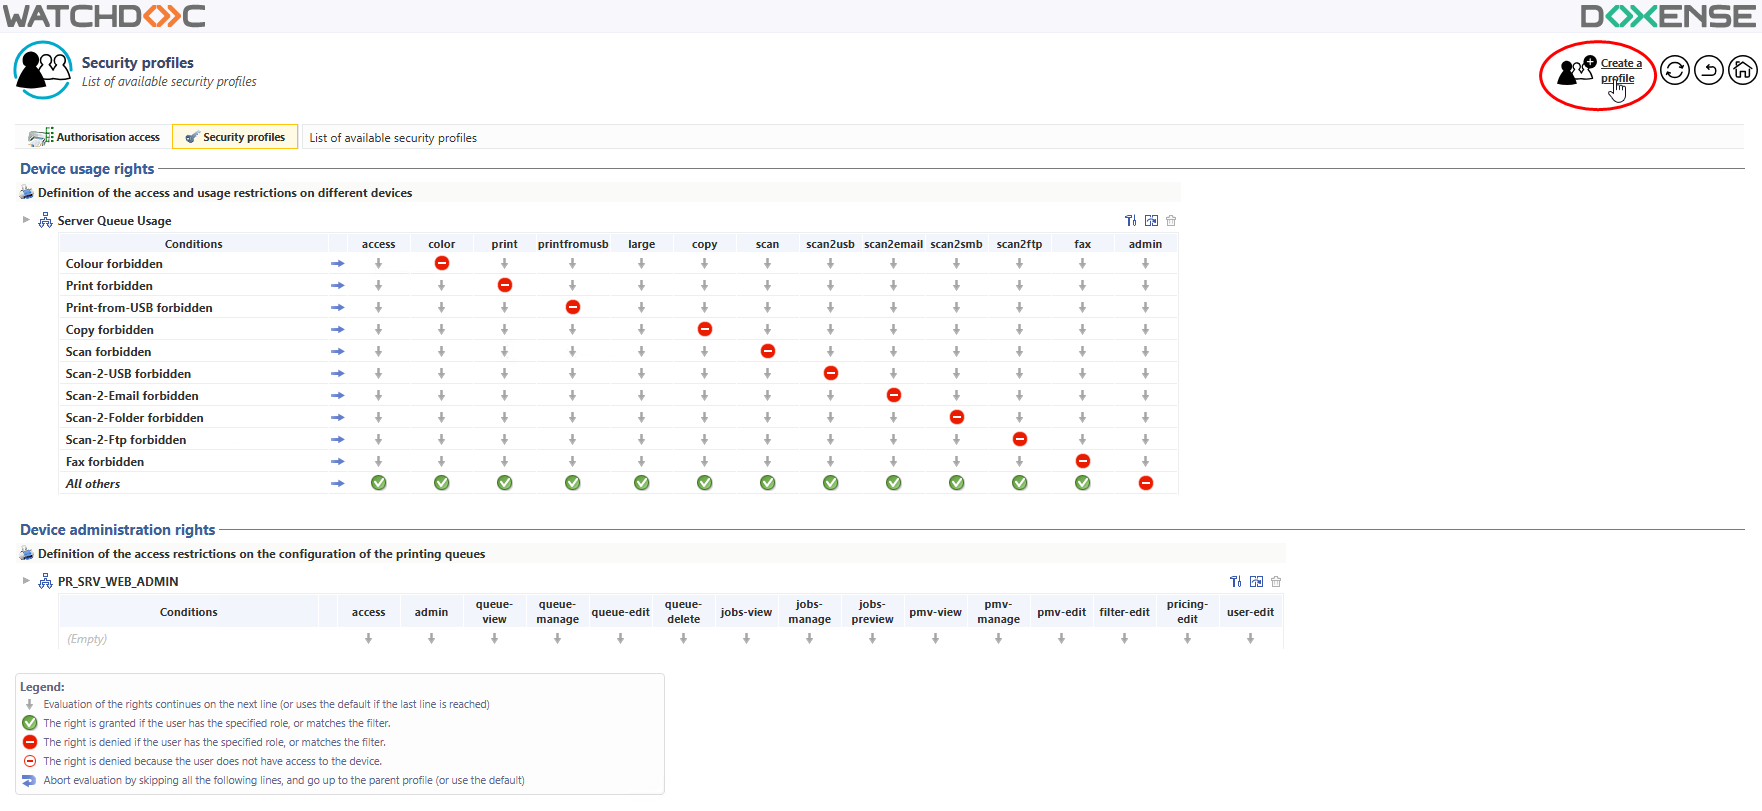
To configure a profile, in the Security Profile interface, click on the Create a profile button to add a profile in the list:
-
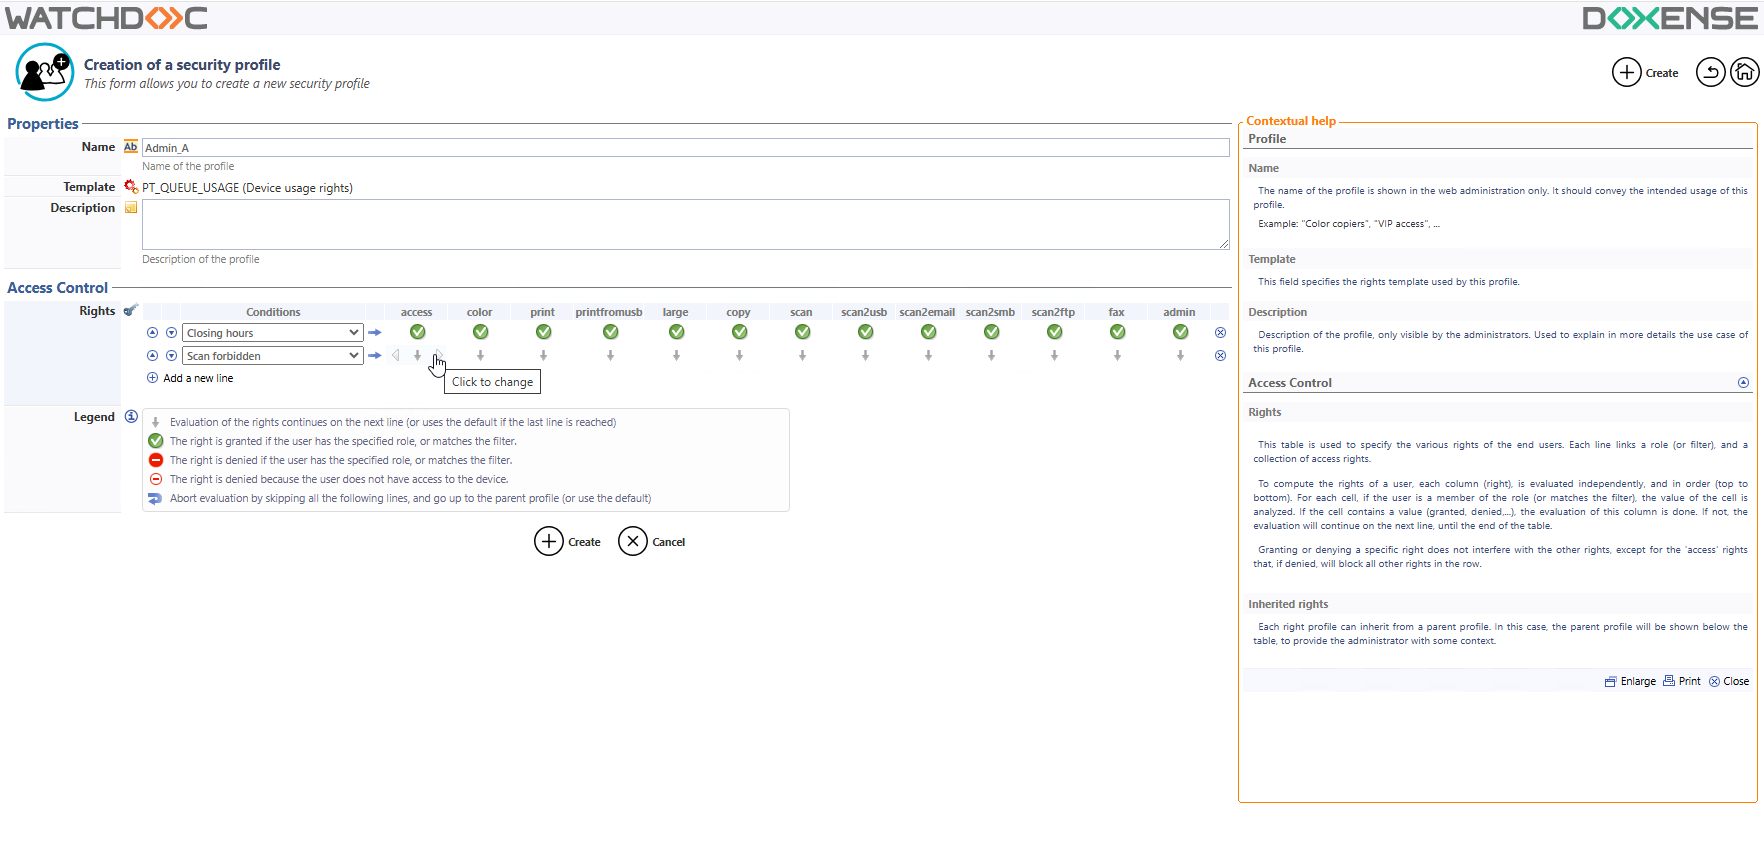
in the Creation of a role, interface, complete the Properties section:
-
Name: enter a name that should convey the intended usage of the security profile. This name will be used in the administration interface;
-
Description: in this field, add a description allowing to define the profile properties. This description is visible only to administrators.
-
-
in the Access Control section, configure the profile actions rights;
-
in the Users list, select a users group or a usage context;
-
in each action column, indicate if the action is granted for each the selected users or the selected context:
-
When the selected condition of the first column is checked, Watchdoc checks the right granted to the actions which are displayed in the following columns (access, color, print, large format, etc.)
It is possible to combine the conditions by adding lines of users or usage contexts. In this case, the down arrow symbol  does not check on condition and move on to the next.
N.B.: The denial or authorization of a specific right does not affect the other rights, except for the "access" action which, if it is denied, blocks all the other rights. In this case, all columns are filled by the ![]() symbol.
symbol.
N.B.: For the sake of clarity, we recommend you to use only the tools  Right granted or
  right denied and not to use other informations.
-
Once all the rights defined, click on
 to save the profile.
Applying a security profile
-
To apply a security profile onto a queue or a queues group:
-
in the print queues list, select the queue or the queues group onto which the security profile must apply on;
-
in the queue (or queues group) management interface, click on the
 Policy button;
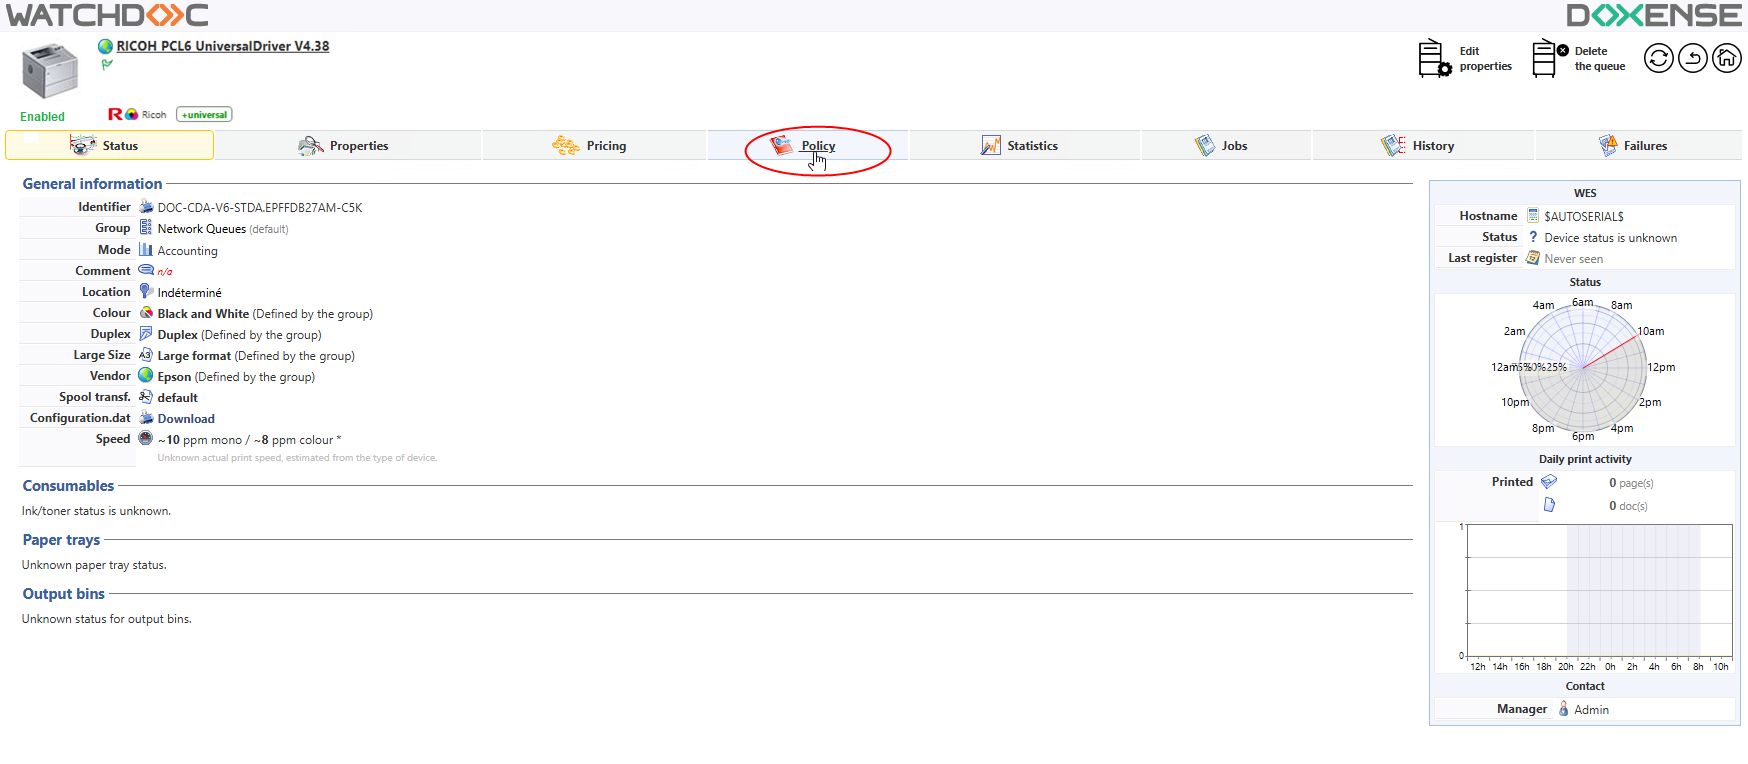
-
in the queue policy management interface, click on the
 Rights button;
 -
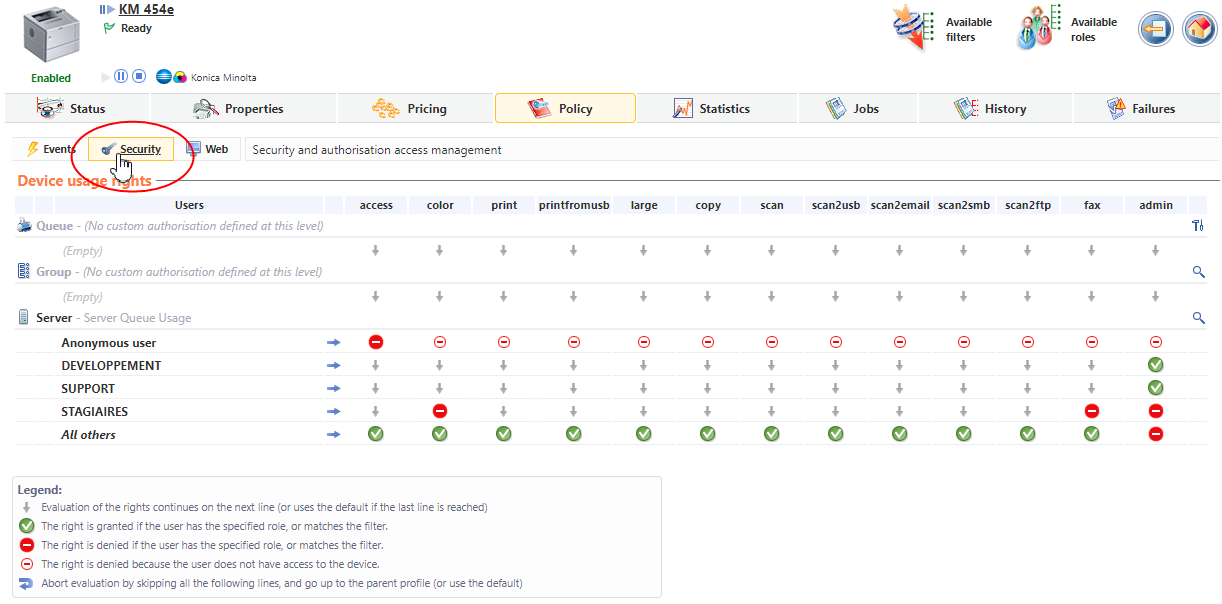
In this interface the rights that are applied on the device are listed, either directly, or through inheritance.of the rights applied on the queues group or server:
-
If no rights are applied by group or server inheritance, or if you want to apply a specific queue rights profile, click the
 button to edit the queue-specific rights:
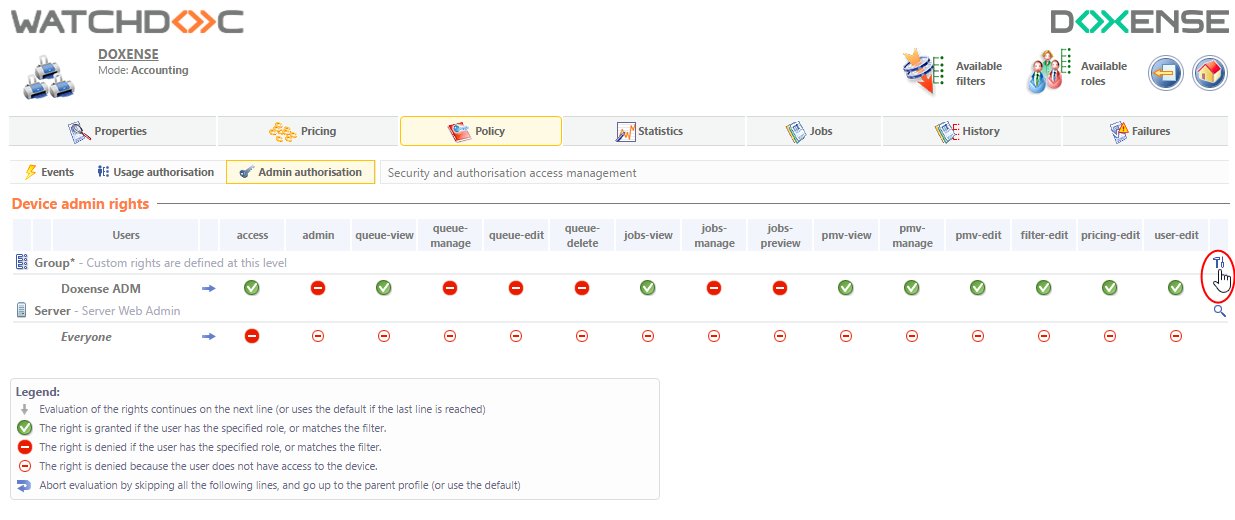
-
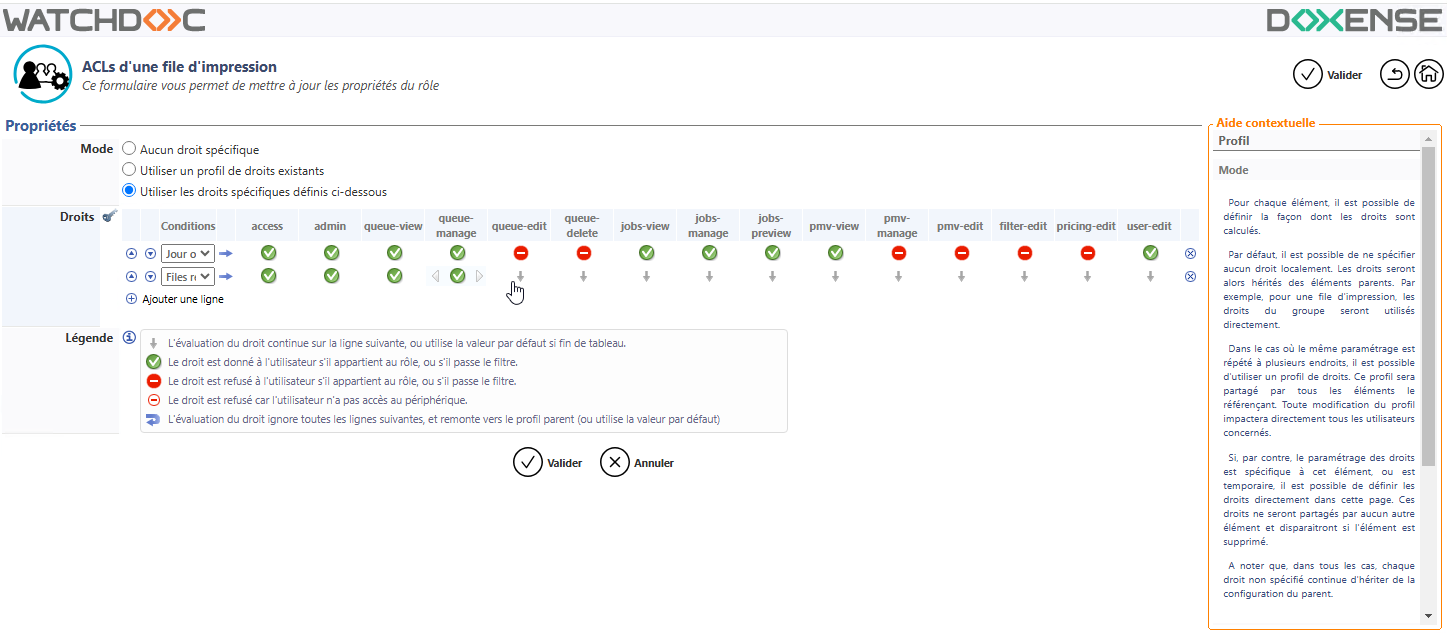
In the queue group ACLs interface, set the rights you want to apply to the queue by checking in the Mode section:
-
No specific authorisation: this option, checked by default, allows to apply no specific rights on the queue, but to apply the rights inheritated from the queue's group or the server;
-
Use an existing authorisation profile: tick this option if you want to apply onto this queue the rights defined in a profile beforehand and, in the Rights list, select the profile you want to apply;
-
Use the custom rights defined below: tick this box to define the rights specifically applied on the queue and configure this rights (cf. the previous chapter):
-
-
Once all the rights of the queue defined, click on
to validate the administrator's rights on the queue or the queue's group.