Use Connect
 is the portal which Doxense® uses to manage all contacts with our customer and partner network.
The Connect portal allows you to:
-
submit licence applications requests;
-
report incidents relating to the management of your products in the form of tickets to Doxense® Support. Thanks to the incident report form, your requests are structured and you can add additional information (logs, configuration files, screenshots, etc.);
-
track the processing of your tickets and be notified when their status changes;
-
be involved in ticket requests from members of your organisation and monitor their processing.
Its rigorous use will enable Doxense® to provide you with the best online support, in line with our contractual commitments, while guaranteeing traceability in the processing of requests. It will also help us to design documentation tailored to your needs and expectations.
![]() Connect Portal welcome booklet (.pdf)
Connect Portal welcome booklet (.pdf)
Sign up on Connect
Registration on the Connect portal is unconditional.
-
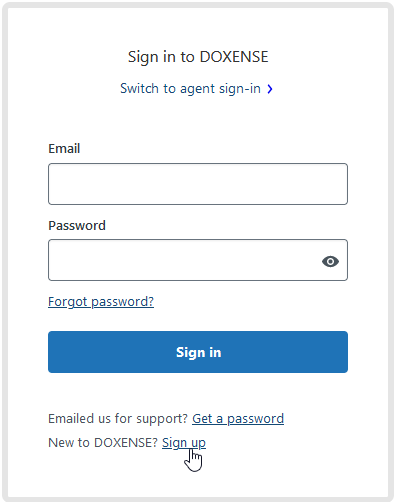
Visit the Connect website (https://connect.doxense.com).
-
In the Connect to Doxense interface, click on the Sign up link:
-
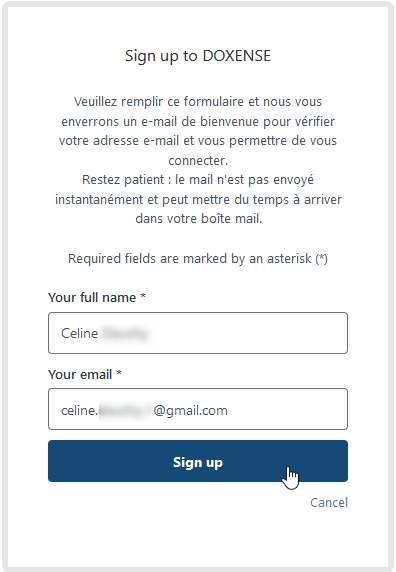
In the Sign up to Doxense interface, enter your full name (first name + last name) and your email address:
-
Then click on the Sign up button:
è You will be prompted to check your mailbox:
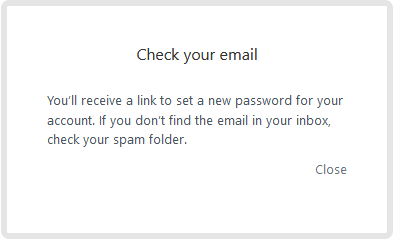
-
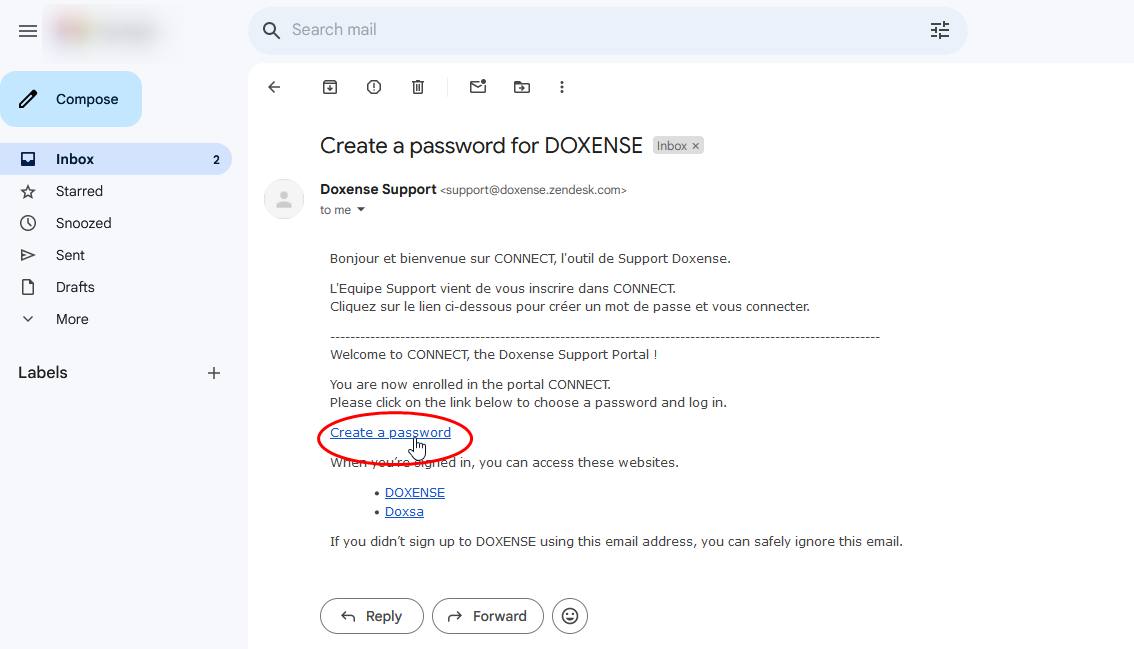
Go to your mailbox and open the message entitled Create a password for Doxense.
N.B.: keep an eye on your spam folder and be patient, as it may take a while for the email to arrive.
-
Click on the Create a password link:
-
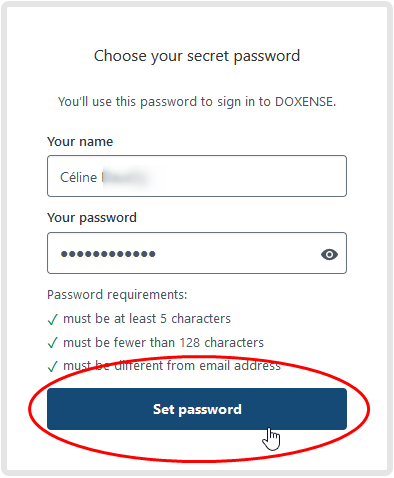
In the Choose your secret password interface, enter your password in accordance with the conditions listed.
-
Click ont the Set password button:
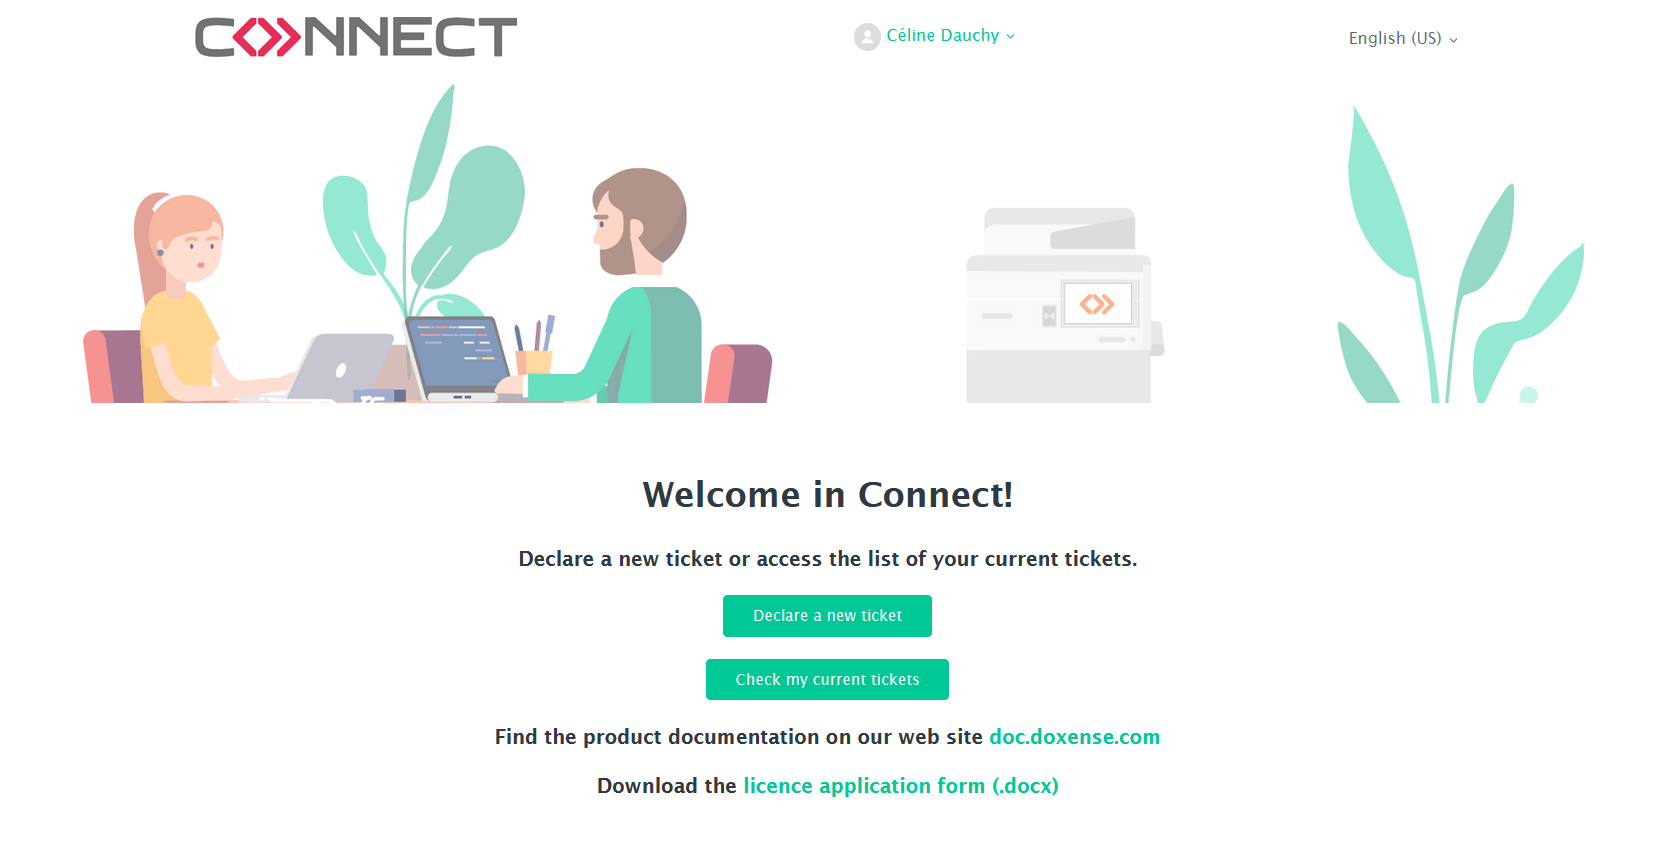
èThis takes you to the Connect home page:
Access the Connect portal
-
In a web browser, enter the URLhttps://connect.doxense.com/
-
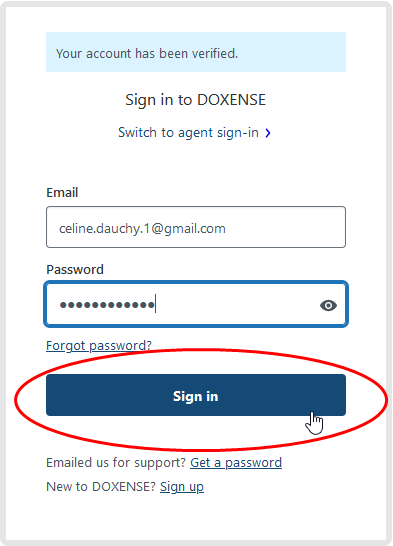
In the Sign in to Doxense authentication box, enter your account: email address and password set by you.
-
Click on Sign in :
-
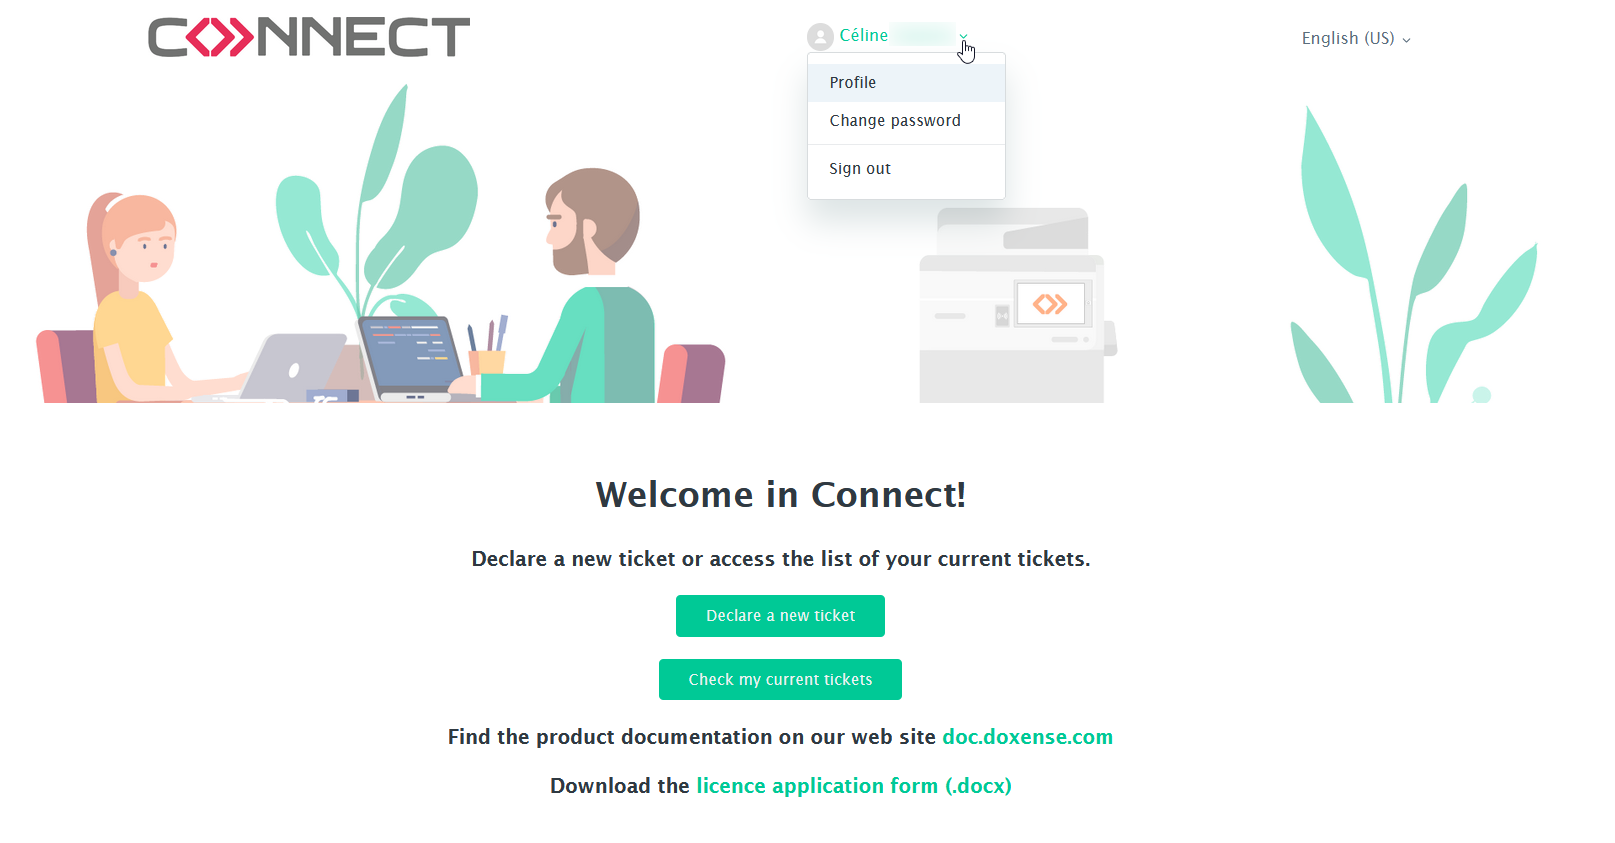
you access the portal in authenticated mode:
You can then:
-
access and complete your profile
-
change your password
-
sign out
Declare a ticket
-
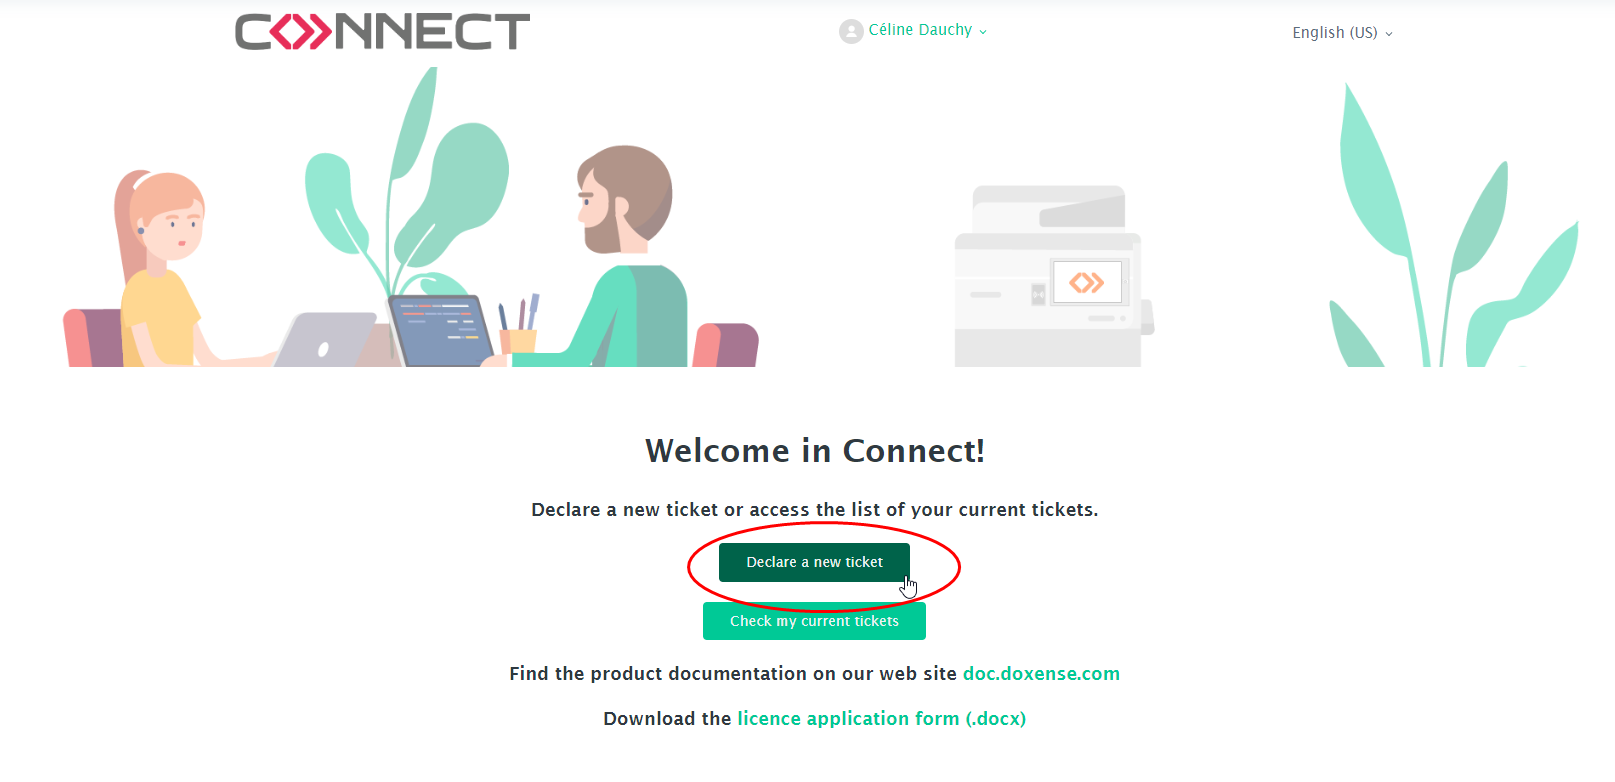
Log in to the Connect portal (https://connect.doxense.com).
-
In the welcome interface, click on the Declare a new ticket button:
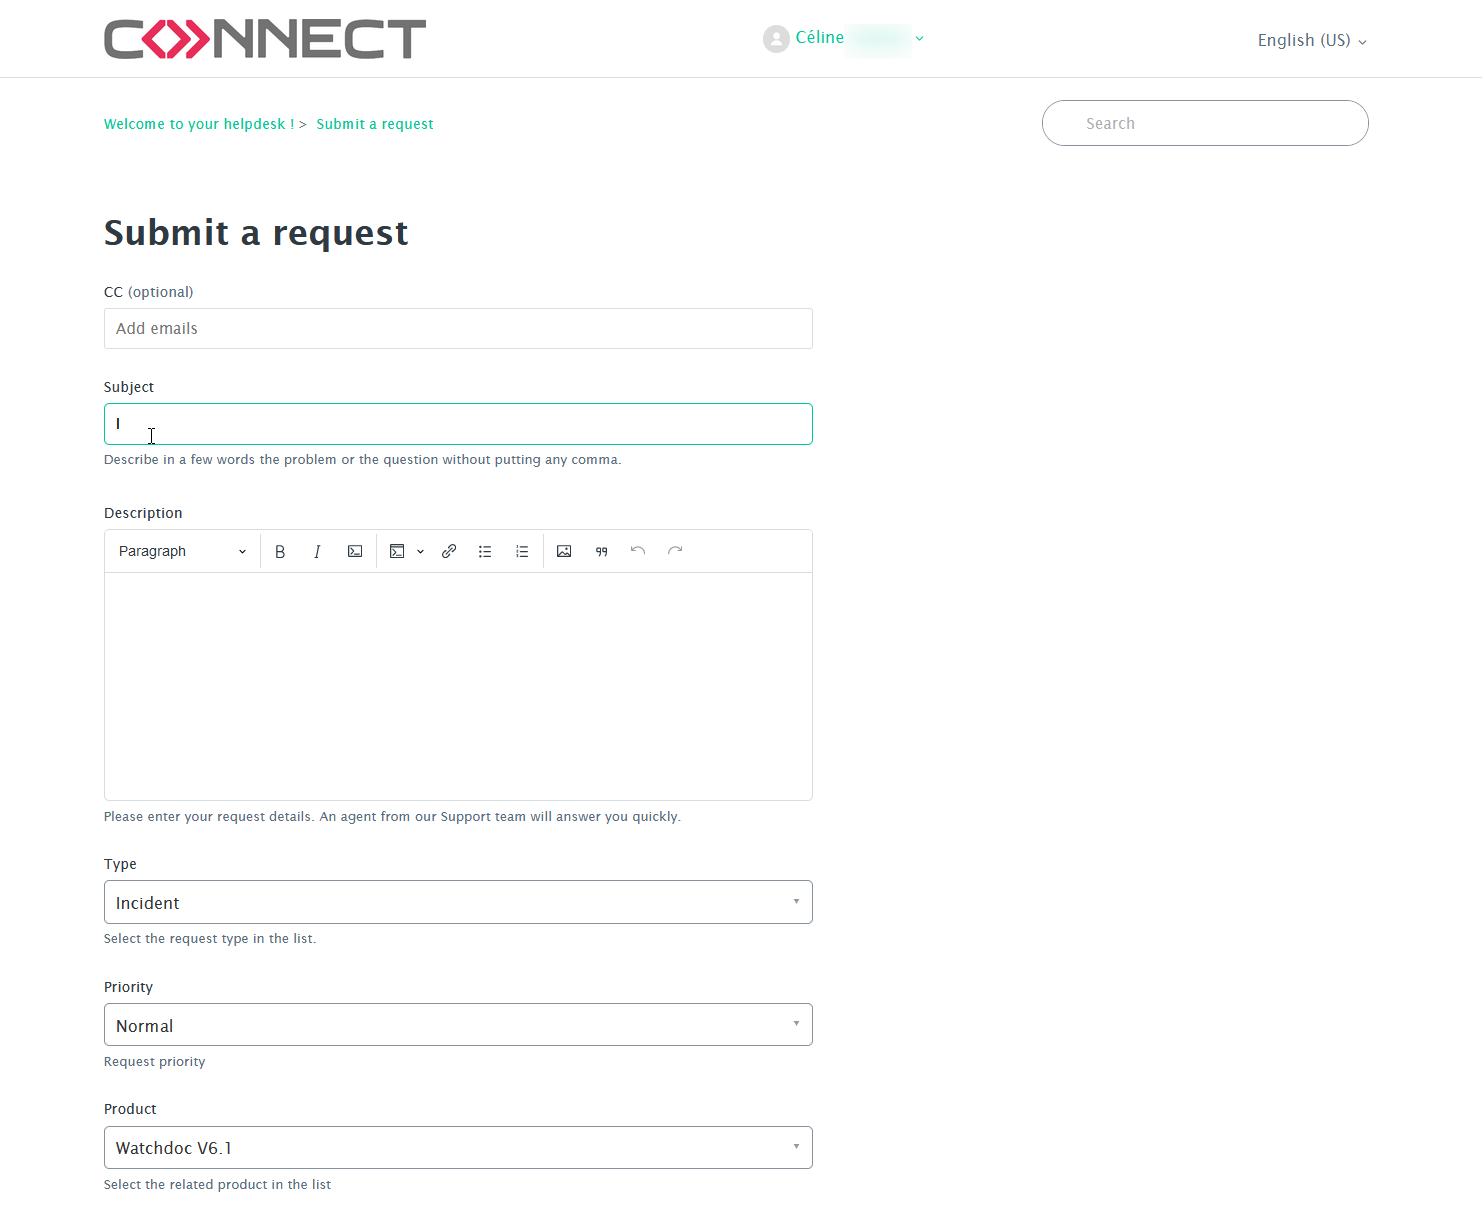
In the lists, select the software concerned and the type of request:
-
question: This is for a question you have about your software’s behaviour and its configuration. There is nothing urgent about this request (e.g. “How can I restrict the number of print copies per user?”; “How can I allow an outside person to use our printers?”, etc.). It can also be for a licence request: In this case, you must fill out the appropriate form;
-
incident: This is for a blocking malfunction that you have found in the software and for which you want to find a solution quickly (e.g. “The documents sent from the sales department PCs no longer get printed”, etc.);
-
problem: This is for a non-blocking malfunction that you have found in the software and for which you want to have explanations or a workaround solution (e.g. “Duplex-requested print jobs are only simplex printed”, etc.);
-
task: this is a configuration or specific development task that you send to the Support team aimed at improving the operation of your software (e.g. “We would like to change our users’ print profiles”, etc.).
-
Specify the subject and precisely describe your request in the form fields.
-
Add any additional information to define your request in more detail as an attachment:
-
Click on Submit to send your request to the Support team
The request sent will appear in the My requests list.
As long as this request is not closed, the status assigned to it is Open or Waiting for a response.
You will also receive an email confirming that your request has been sent to Doxense® Support.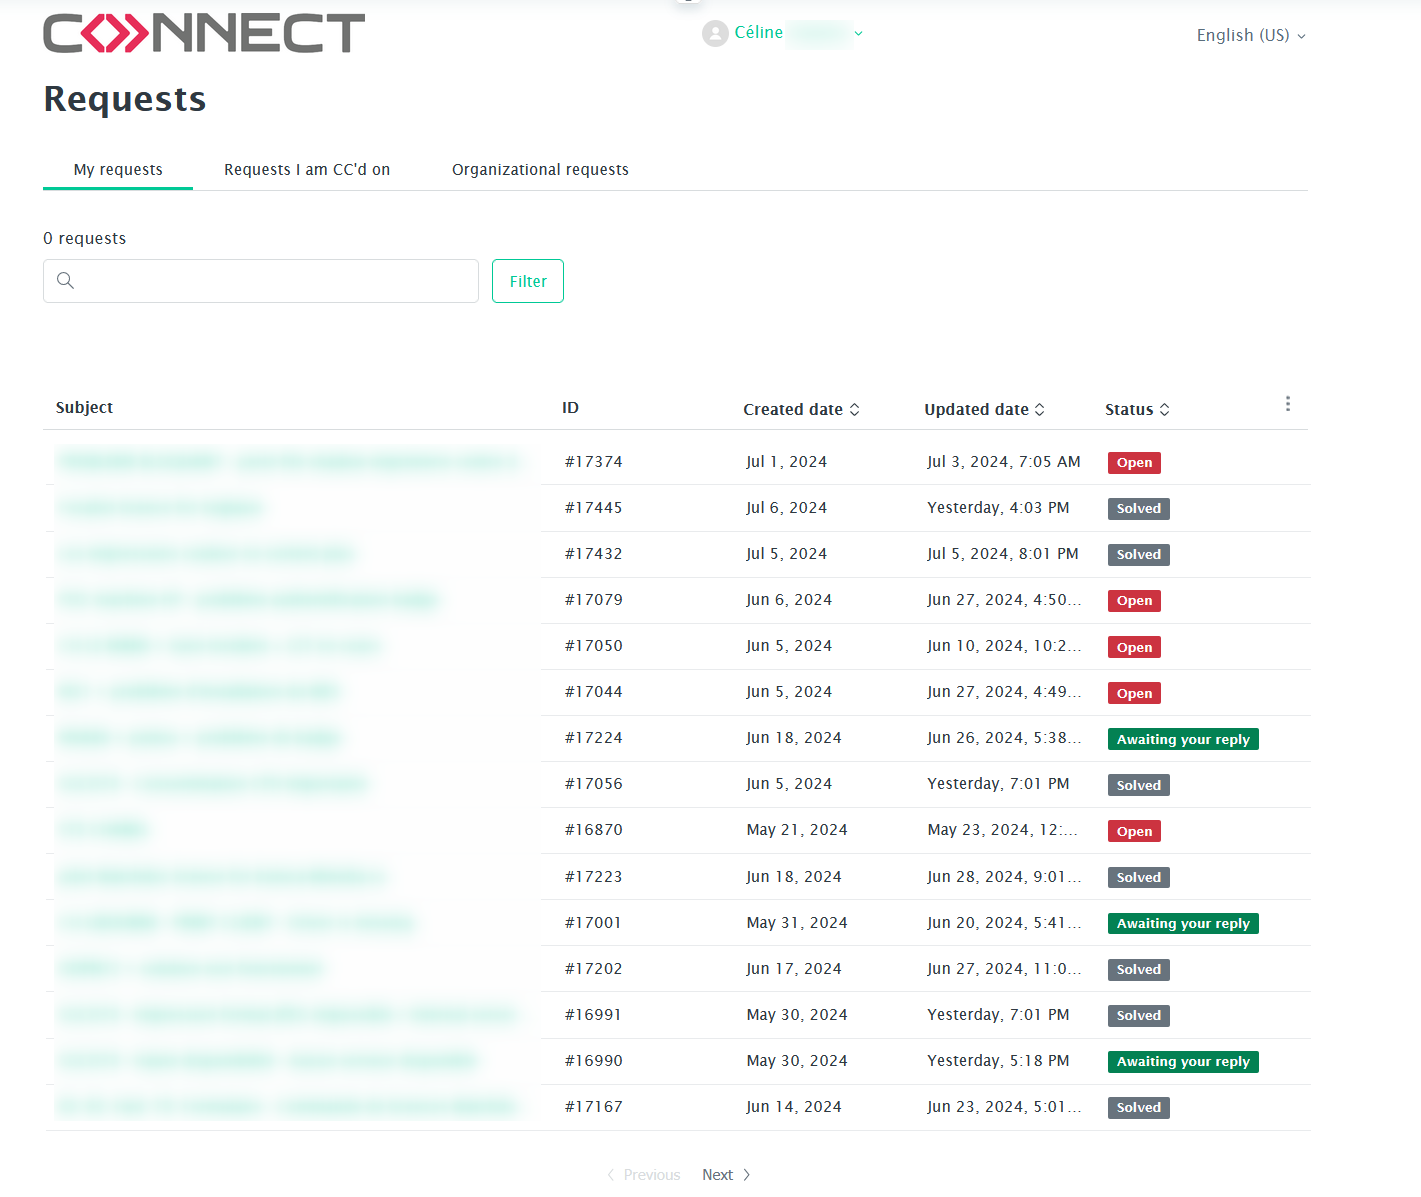
Make a license request
-
Log in to the Connect portal (https://connect.doxense.com).
-
From the Welcome to Connect interface, click on the link Download the licence application form:

-
Fill in the licence request form.
-
Once the form is ready, from the Welcome to Connect interface, click on the Declare a new ticket button:
-
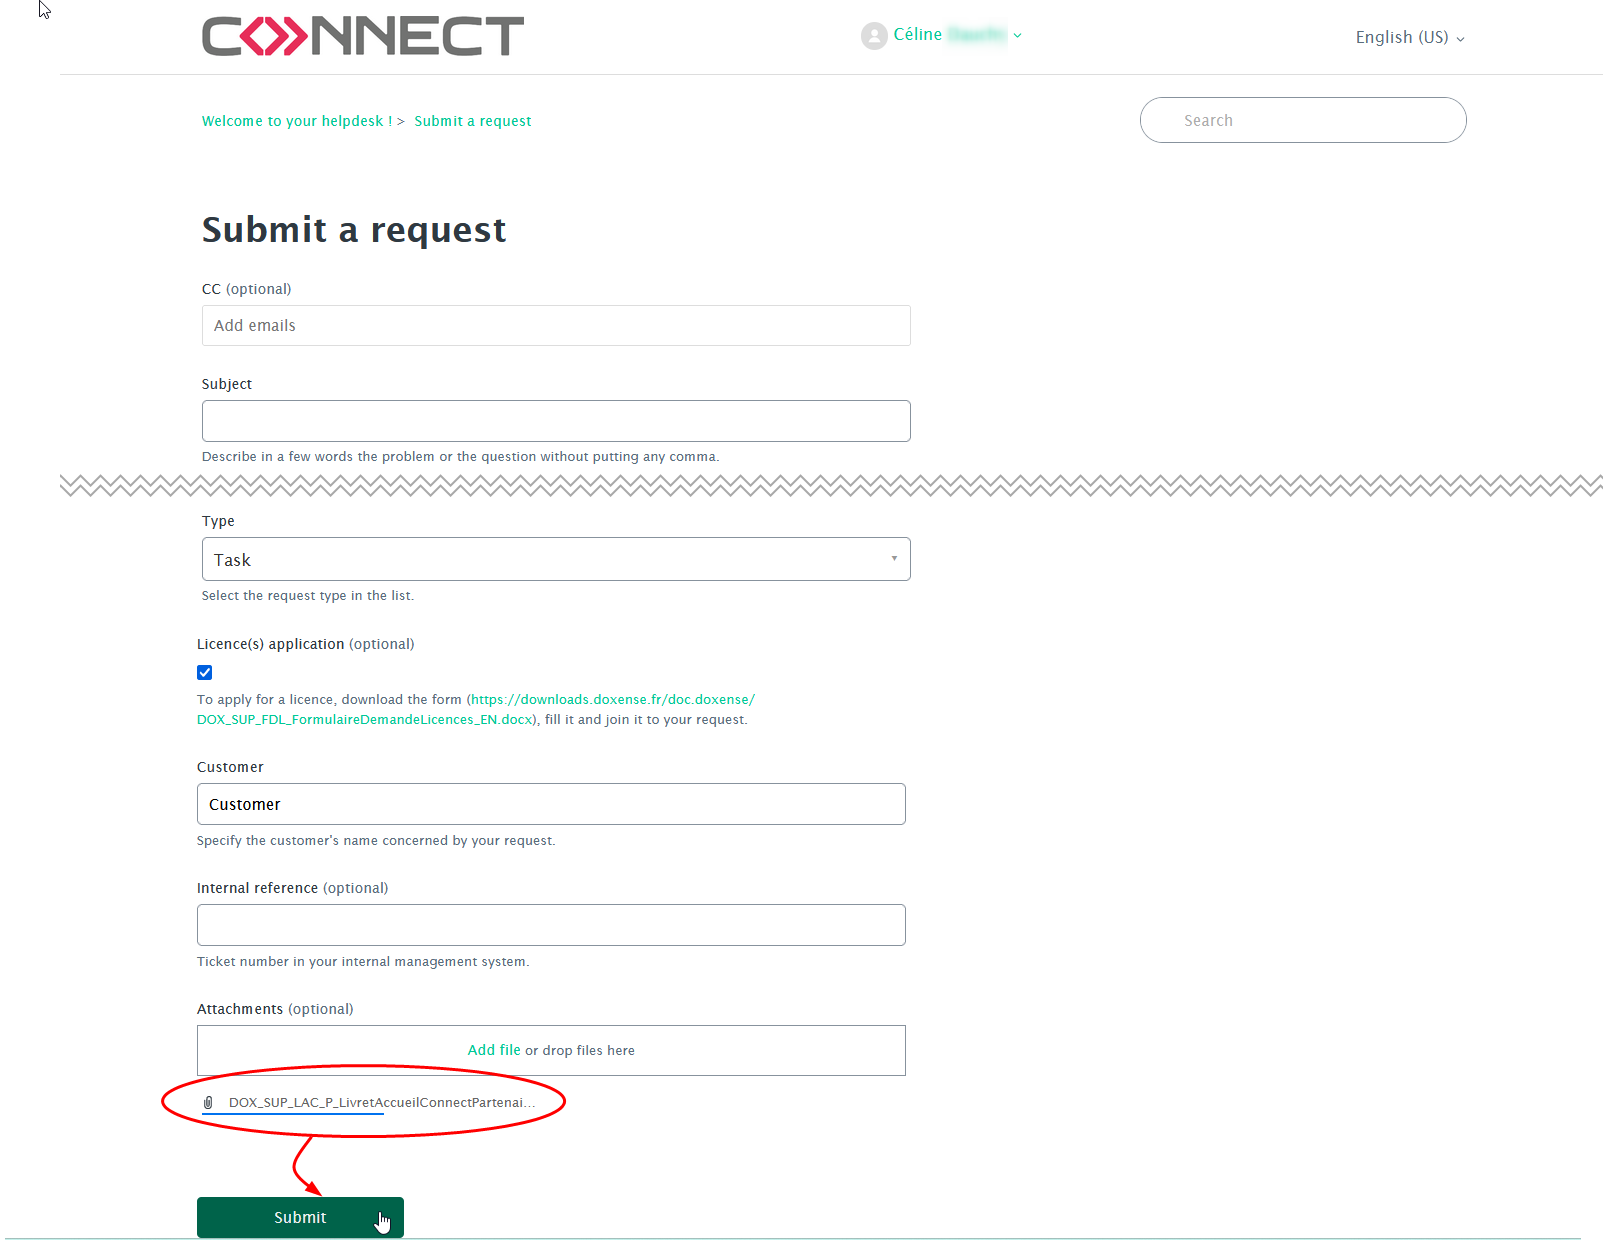
In the Connect request form, select the solution concerned and the Task type from the list.
-
Fill in the required due date for the task.
-
Then tick the Licence application box.
-
Attach the completed Licence Request Form (.pdf or .docx format).
-
Click Submit to send your request to the Support team:
èThe request sent will appear in the My Requests list displayed in the Connect portal.
As long as your request has not been processed, its status is Open or Waiting for a response. You will also receive an email confirming that your request has been sent to Doxense® Support.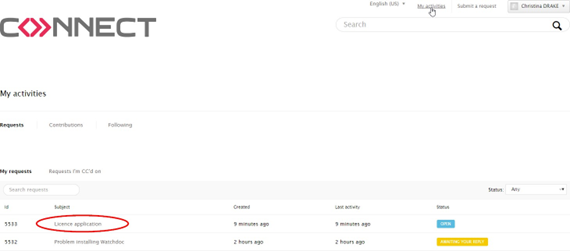
View requests
Introduction
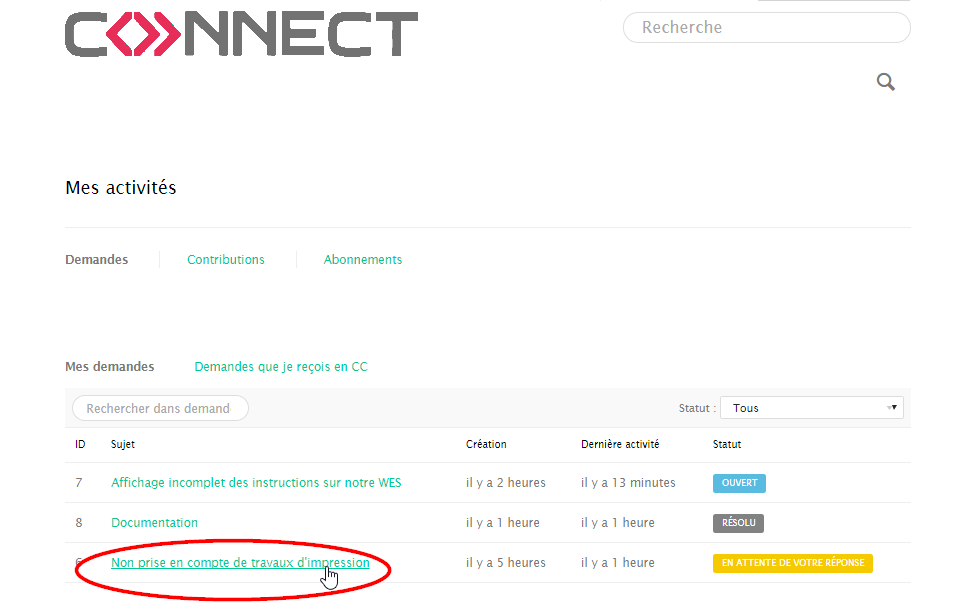
A status is assigned to each request according to its stage of processing on the Connect portal:
-
Open: Your request has been registered on the Connect portal but has not yet received a response from the Support team;
-
Awaiting your response: Your request has been studied by the Support team which has sent you a question (or a request for further information) and is waiting for a response from you;
-
Resolved: Your request has been processed and a response has been provided by the Support team.
When the status of one of your requests is modified by the Doxense® Support team, you will receive an email informing you of this change of status.
In addition, you can log onto the Connect portal at any time to track the evolution of your requests.
Access the list of request
-
From the Welcome in Connect! interface, click on the Check my current tickets button:
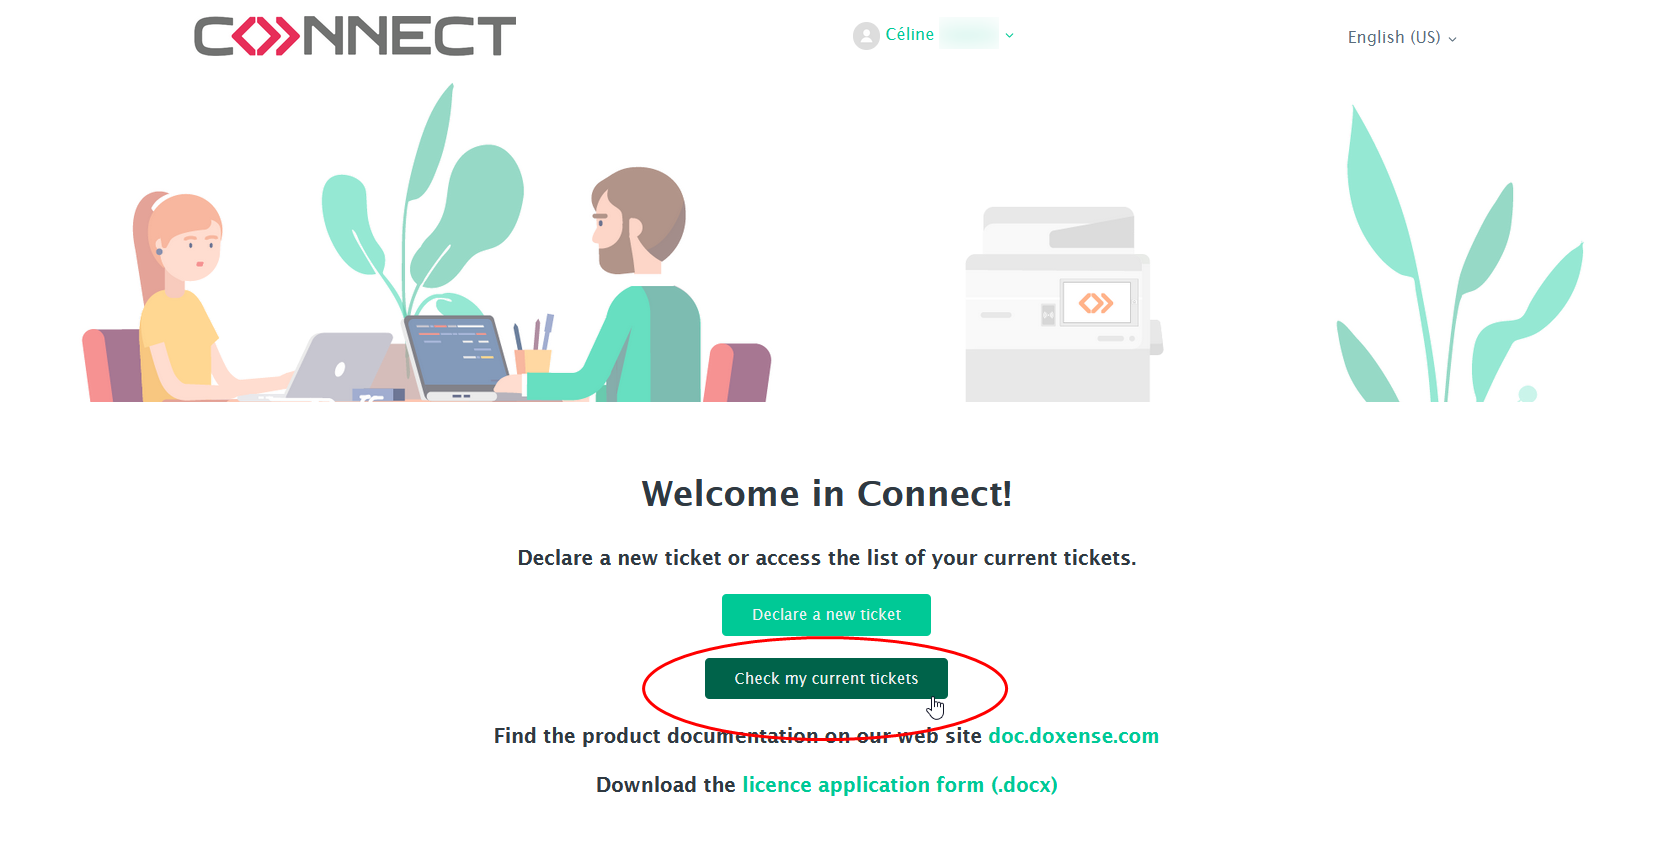
è You access, in authenticated mode, the lists of all the requests sent, displayed in descending order. There are 3 lists:
-
My requests: Includes all the requests that you have sent;
-
Requests that I receive as a copy recipient: Includes the requests sent by other users for which you have been designated as a copy recipient. You have the right to view all these requests and to complete them if need be. When you complete a request originally sent by another user, this user is notified by email.
-
Organisation requests: Includes all requests sent by the other users of your organisation. As a user of an organisation, you are not notified of the initial requests sent by the other users (unless you are designated as a copy recipient by a member of the Support Team).

Each list has a search engine used to make a search of all the request using a term entered in the form. Each list also has a tool that can be used to restrict the search according to the status assigned to the requests: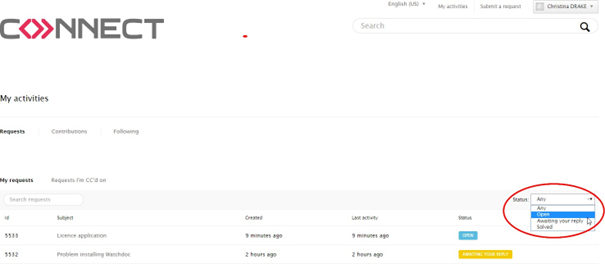
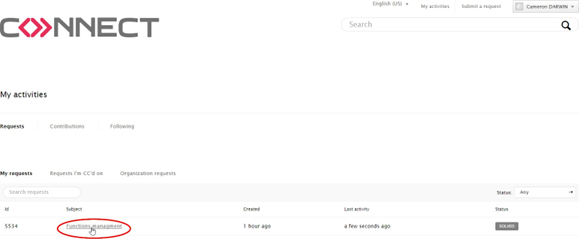
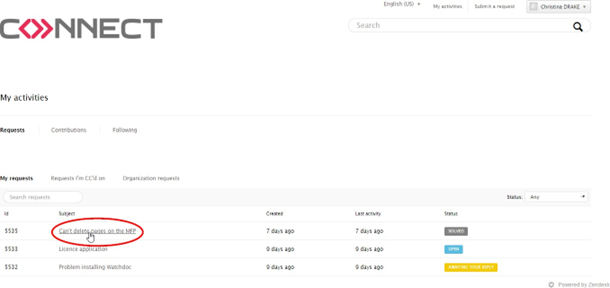
View the list of my requests
The requests you have sent are displayed in the My requests list.
You can view the contents of the request by clicking on the corresponding line in the list and add to it if necessary:

The request sent is notified by e-mail, as each response made by the Support team is: You are thus constantly informed of the processing given to your request.
At each step of the processing, you can complete the initial request (see chapter Complete a request).
Customise the table of requests
The default table of requests has been designed by Doxense Support, but it can be customised to display other information to suit your needs.
-
In the requests table, click on the button
 at the end of the header row.
-
In the Show and hide columns list, click the button Show more columns.
-
In the list, the columns already displayed are ticked. Uncheck the columns you don't want to see and check the ones you do want to see.
-
Once you have customised the list, click Save :
Complete a request
You can complete a request at any time by providing additional details or by adding an attachment.
Where several users of the same organisation can make requests, each user can complete the requests of the other users. In this case, the name of the person displayed in the list is that of the person who initially made the request, even if it has been completed by other users of the organisation.
-
In the list of requests, click on the title of the request to be completed:
-
In the form that is displayed, enter the additional information in the blank field and/or associate a file with it as an attachment.
-
Click on Submit in the entry field to validate the additional information
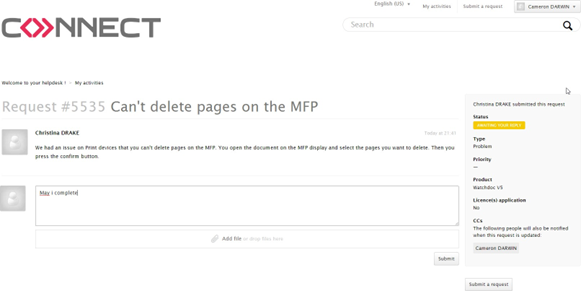
An interface is displayed in which your initial request and the additional information is listed. In the upper blue banner, a message informs you that your additional information has been sent.
In addition, each response made by the Support Team is notified to you by email. You are therefore informed of the progress of your request even if you are no longer connected to the Zen portal desk
Close a request
Principle
When a member of the Support Team has processed your request and considered it to be Resolved, it remains displayed in the list of requests for 7 working days.
If you do not take any action on the resolved request in this period, it is then automatically closed. It however remains displayed in the list of your requests, with Resolved status.
Reopen a resolved request
In the 7-day period before closing the request, you can view it and reopen it if necessary. To reopen a resolved request:
-
Access the list of requests;
-
Click on the request that you want to reopen:
3. In the entry, complete the initial request;
4. Click on Submit to confirm the additional information: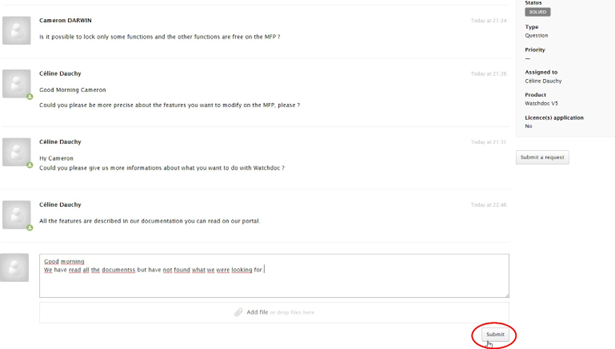
The request then returns to “Open” status until it is resolved.
Request follow-up for a closed request
After the 7-day period, the request is closed. You can view it, but can no longer add a comment to it. Nevertheless, if you want to reopen it, you can request its Follow-up. In this way, it is associated with a new request.
To create the follow-up for a closed request:
-
In the list of your requests, click on the closed request:
-
You access the summary of the steps of your request. As a conclusion, it is indicated that the request is closed for any comments, but you can create a follow-up.
-
Click on Create a follow-up.You access the request form which includes the number, the subject and the description of the initial request for which you are requesting a follow-up.Click on Submit to confirm your follow-up request.
-
Complete the form, specifying the reason for which you are requesting the follow-up of the initial request.
-
Click on Submit to send your follow-up request.

You access the summary of the steps of your request. As a conclusion, it is indicated that the request is closed for any comments, but you can create a follow-up.
Customize the requests table
Principle
The default table of requests has been designed by Doxense Support, but it can be customised to display other information to suit your needs.
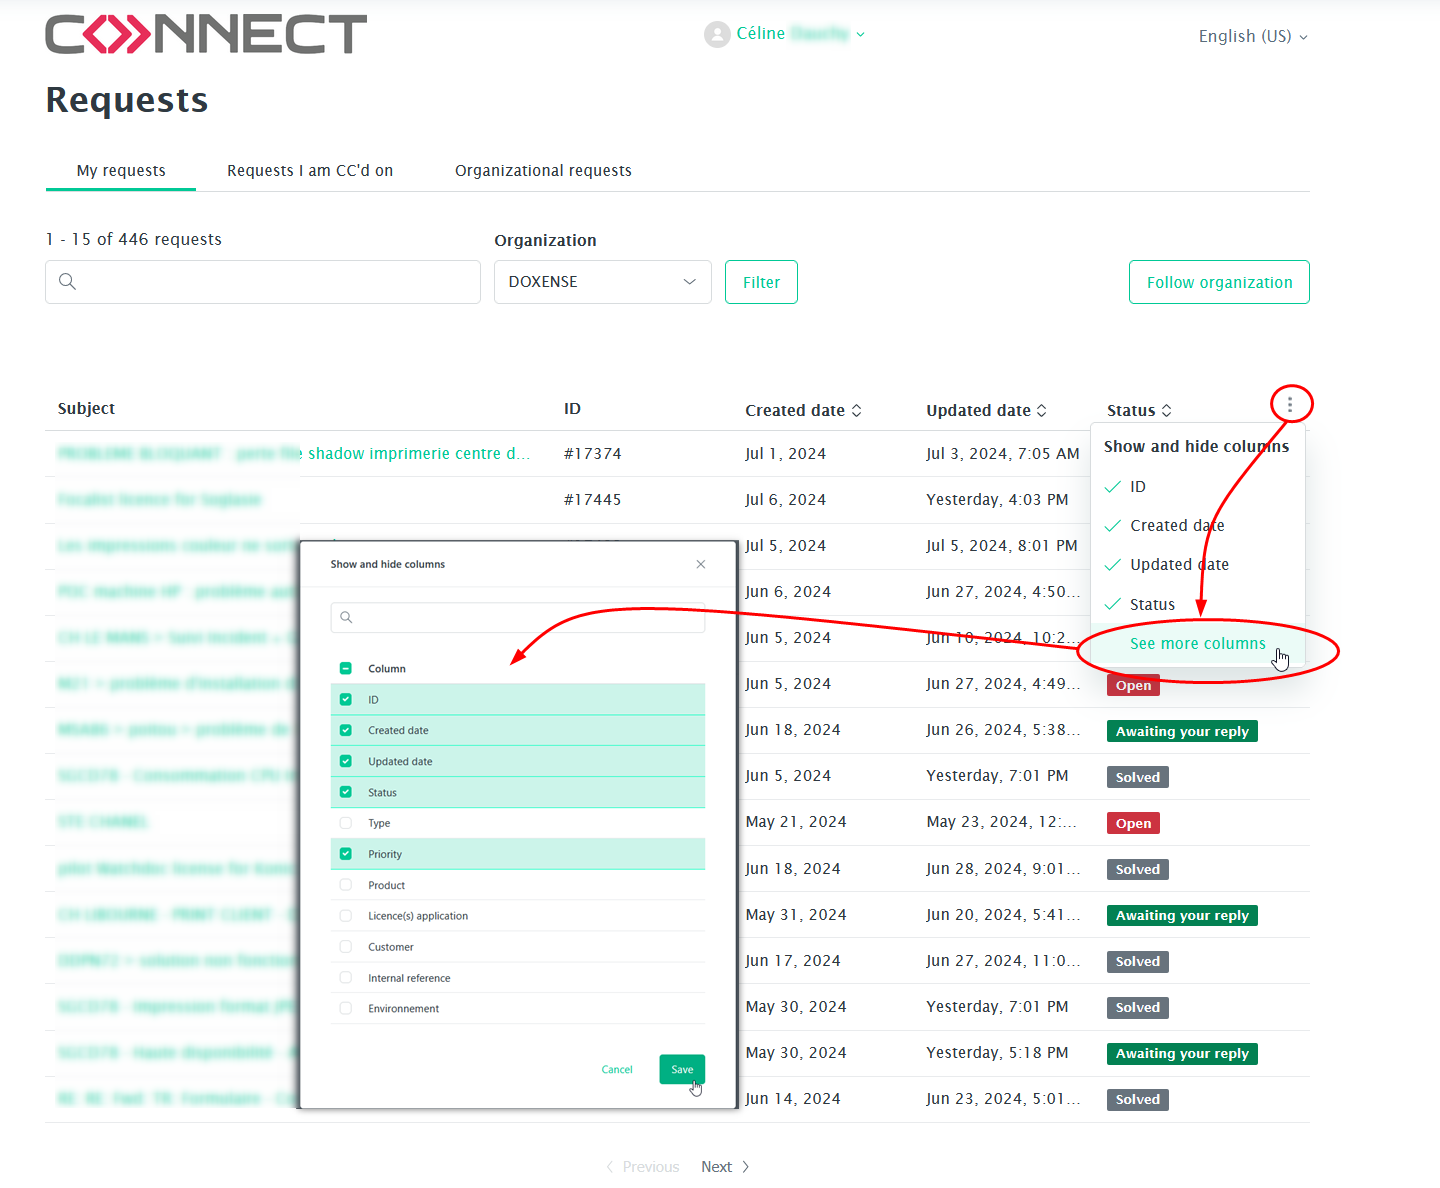
Customise the table of requests
The default table of requests has been designed by Doxense Support, but it can be customised to display other information to suit your needs.
-
In the requests table, click on the button at the end of the header row.
-
In the Show and hide columns list, click the button Show more columns.
-
In the list, the columns already displayed are ticked. Uncheck the columns you don't want to see and check the ones you do want to see.
-
Once you have customised the list, click Save: