Principle
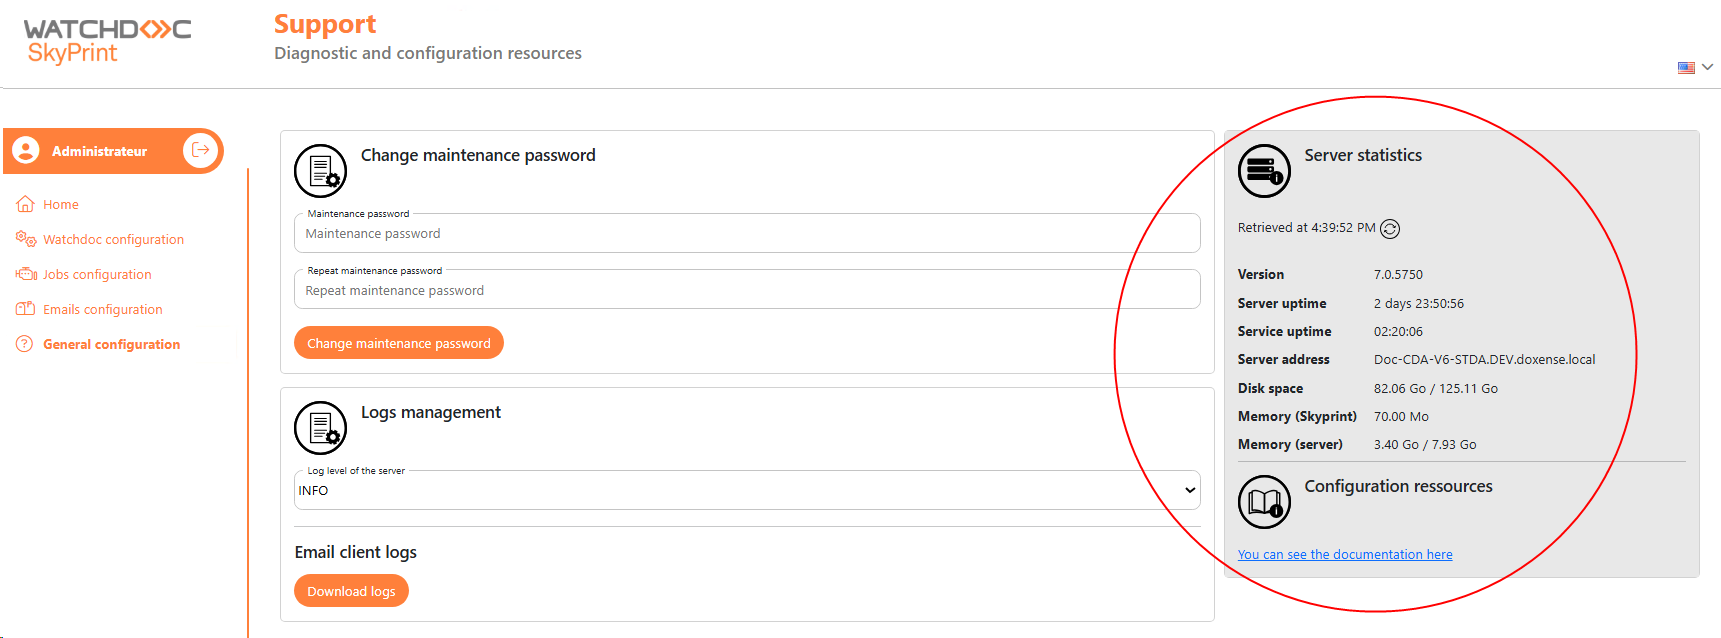
The Configure general settings - Support interface provides access to server statistics and useful data for diagnosing Skyprint in the event of a malfunction.
Server Statistics
-
As an administrator, access the Skyprint configuration interface.
-
In the menu, click on General Configuration.
-
View the data displayed in the Server Statistics section:
Set up the maintenance password
You can change the password used to access the Skyprint administration interface.
-
As an administrator, access the Skyprint configuration interface.
-
In the menu, click General Configuration.
-
In the Change Maintenance Password section, enter the new password using the required format: at least 8 characters containing a lowercase letter, an uppercase letter, a number and a special character. A red bordered field indicates that the password does not match the required format.
-
Re-enter the password.
-
Click Change maintenance Password. A message will inform you that the operation was successful:
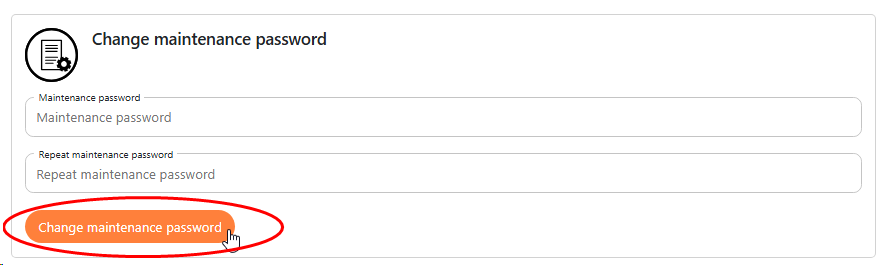
èA message will inform you that the operation was successful.
Configure certificate management
When you first install Skyprint, you must export the certificate provided by Watchdoc and then save it on the server in the Skyprint folder (see Installing Skyprint). This default certificate allows you to secure Skyprint.
However, you can also apply another PFX![]() A PKCS#12 or .pfx file is a file that contains both the private key and the X.509 certificate. It is ready to be installed by the client on servers such as IIS, Tomkat, or Exchange. (Source: https://www.globalsign.com/fr/blog/fichier-pkcs12) certificate provided by your organisation. To do this, you must have the password that protects the private key associated with the certificate.
A PKCS#12 or .pfx file is a file that contains both the private key and the X.509 certificate. It is ready to be installed by the client on servers such as IIS, Tomkat, or Exchange. (Source: https://www.globalsign.com/fr/blog/fichier-pkcs12) certificate provided by your organisation. To do this, you must have the password that protects the private key associated with the certificate.
-
As an administrator, access the Skyprint configuration interface.
-
In the menu, click General Configuration.
-
In the Certificate Update section, click in the PFX Certificate input field to browse the workspace for the .pfx certificate where it is stored.
-
Then enter the associated password.
-
Click Update Certificate:
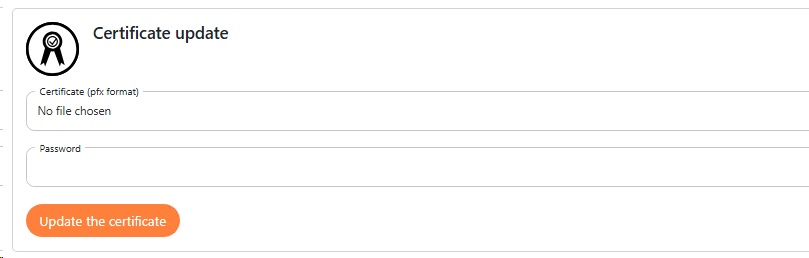
èA message will inform you that the operation was successful.
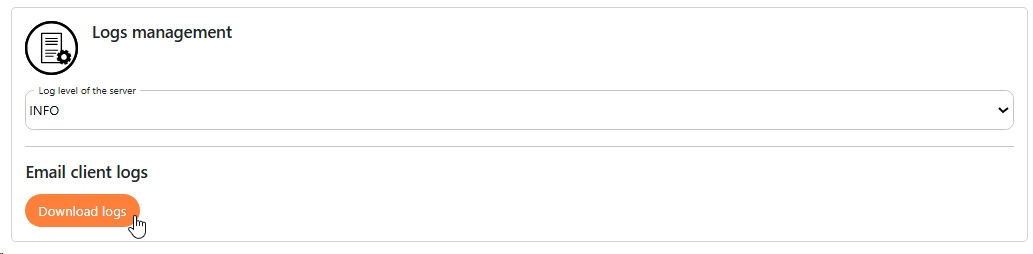
Configure log management
Skyprint generates logs, files that track the activity of the service that monitors mailboxes. These logs facilitate diagnosis in the event of a malfunction.
By default, the log level is set to INFO. Change this level to obtain more or less detailed data. You can also change this log level before reproducing a malfunction. This will make it easier to diagnose the problem using the logs.
-
As an administrator, access the Skyprint configuration interface.
-
In the menu, click on General Configuration.
-
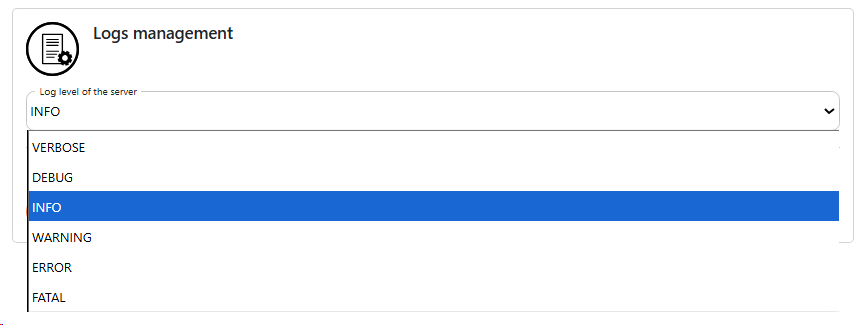
In the Log Management section, select the level of detail you want to keep in the logs:
-
verbose: all traces on the mailbox monitored by Skyprint;
-
debug: traces on the mailbox monitored by Skyprint, enabling you to understand any malfunctions in the tool;
-
info: traces on the mailbox monitored by Skyprint, enabling you to understand the tool's activity;
-
warning: traces left when a problem is detected (which does not impact operation, but may eventually become problematic for Skyprint);
-
error: traces left when an error is detected;
-
fatal: traces left by the service when an error occurs that renders the application unusable:
-
-
Once the desired level has been set, activate the Email client logs button corresponding to the boxes from which you wish to retrieve the logs:
-
Click on Download logs to save these trace files to your workstation (in the browser's Downloads folder, by default).