WRS - Install automatically Watchdoc for Reporting Services
With MS SQL® 2008 R2 and MS SQL® 2012 R2, it's possible to deploy automatically the WRS® reports thanks to the WRSTools.exe tool provided in the installation package.
Access the WRSTOOLS.exe tool
To install WRS automatically:
-
from the Watchdoc Tools list in doc.doxense.com, download the WRS installation package;
-
save the archive folder on your server;
-
unzip the archive folder after checking it is not blocked;
-
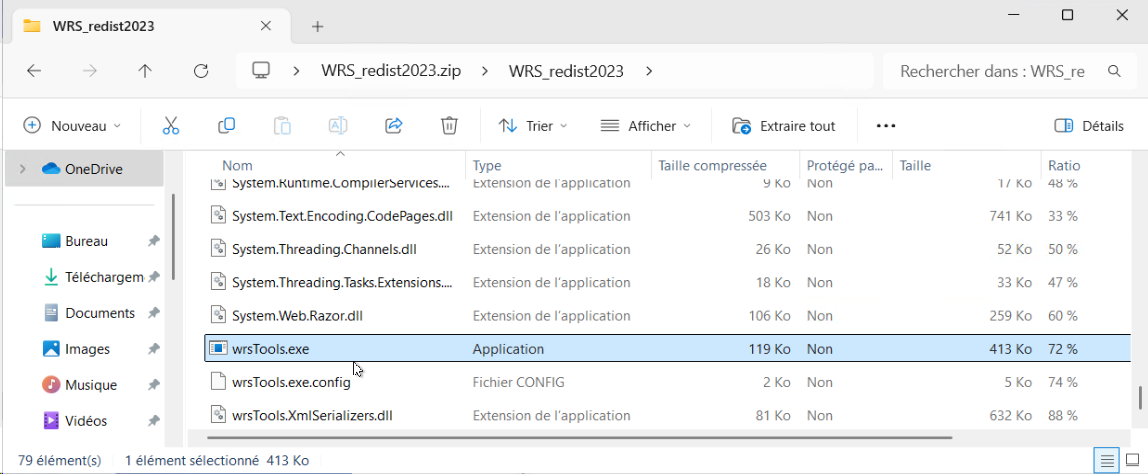
among the archive files, find the WRSTools.exe file:
Install WRS® automatically
To install WRS® with WRSTools:
-
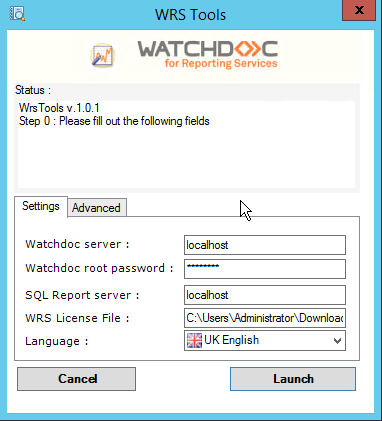
in the archive folder which contains the WRS installation package, click on the WRSTools.exe file;
-
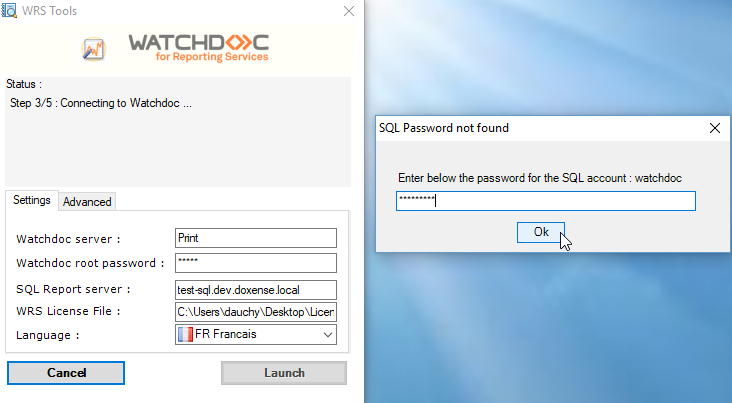
in the WRS Tools displayed box, under the Settings tab, fill the following fields:
-
Watchdoc server: enter the Watchdoc server name (NETBIOS name or IP address) ;
-
Watchdoc root password: indicate the Watchdoc maintenance password;
-
SQL Report server: indicate the SQL server name (NETBIOS or IP address);
-
WRS Licence File: indicate the licence file path. This licence file provided by Doxense has a .wlk extension;
-
Language: in the list, select the language of the WRS interfaces.
-
-
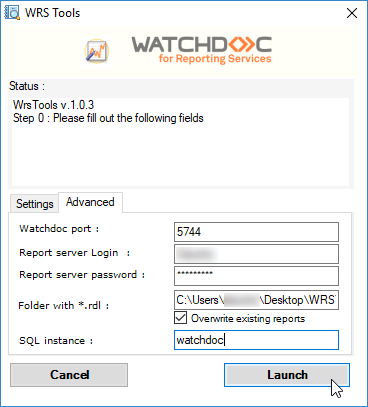
under the Advanced tab, fill the following fields:
-
Watchdoc port: if it's not the default port (5744), indicate the port number you use;
-
Report server Login*: indicate the user name added in the Reporting Services rights (cf. previous chapter);
-
Report server password*: indicate the account password used (Reporting Services rigths requiered);
-
Folder with *.rdl: indicate the folder path in which the reports will be saved;
-
SQL instance: indicate the installed Reporting Service instance name ('WATCHDOC' in our example) ;
-
Folder with *.rdl: indicate in this field you RDL files location;
-
Once the settings entered and checked, click the Launch button to run WRS;

-
In the SQL Password not found box, enter the password, then click on the OK button :
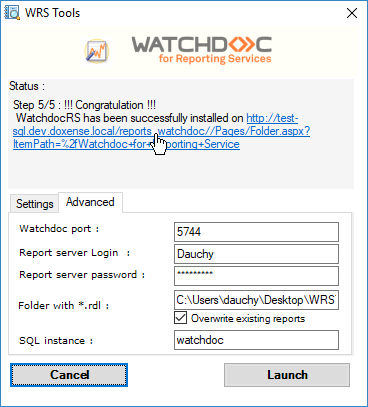
è a message informs you that the WRS installation is completed: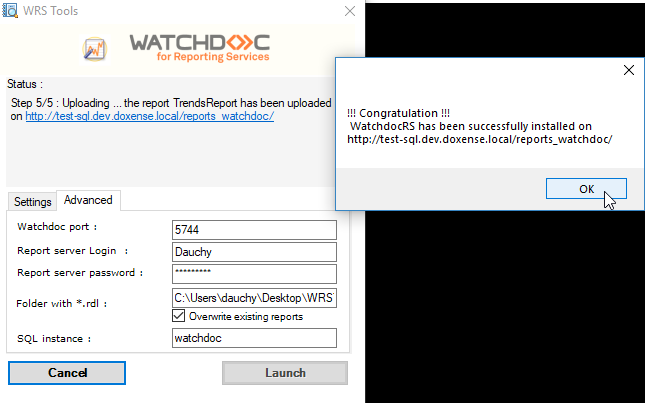
-
Click on the URL link to access the SQL Server Reporting Services interface:

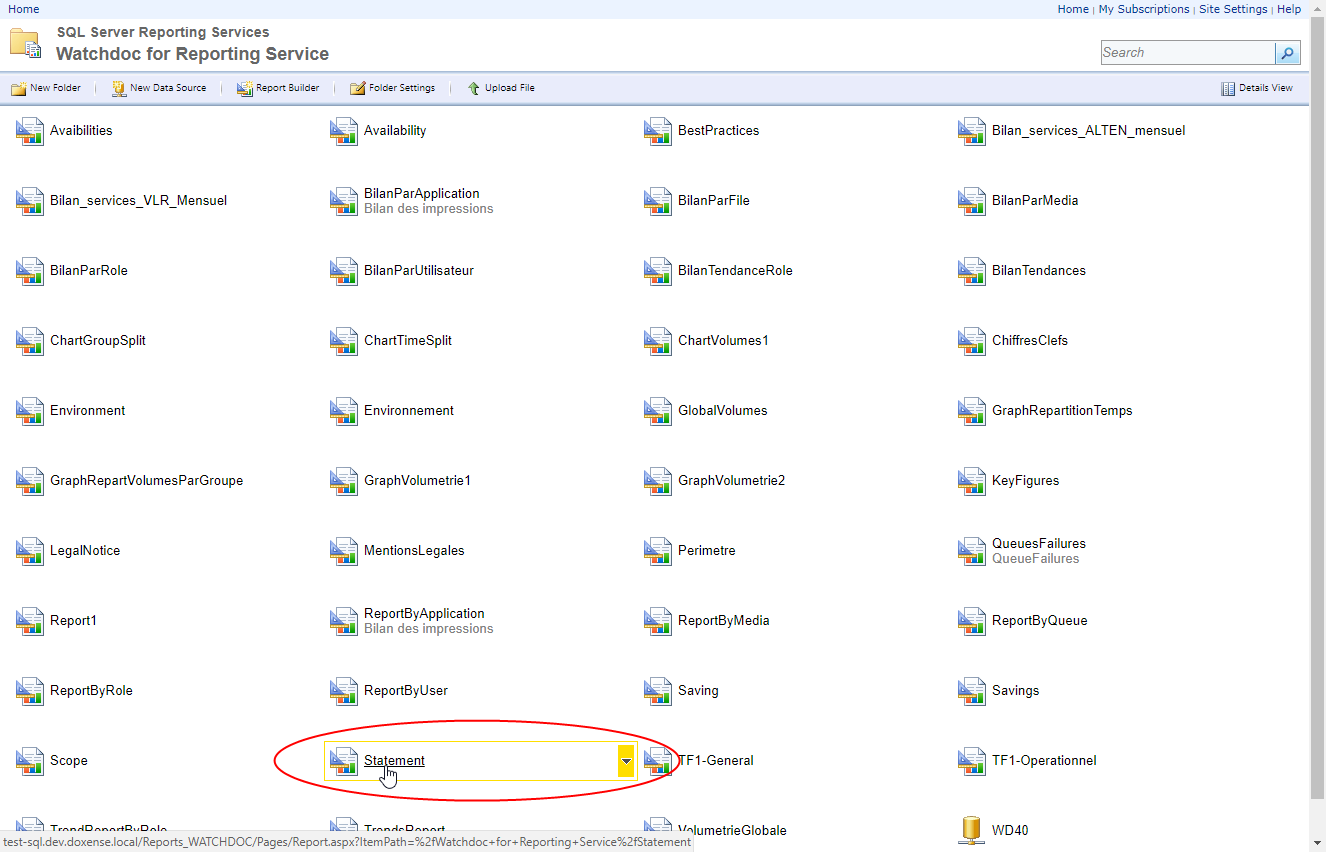
Deploy WRS reports
-
In the SQL Server Reporting Services, click on the Watchdoc for Reporting Service folder to open all the reports it contains;
-
click on the Statement entry to access the reports: