Watchdoc Client for Windows® - Installation
Principle
Watchdoc Client for Windows® requires the installation of a program on each client computer.
This program is available in the Watchdoc installation package (specify default file path) as an .msi file named WatchdocUniversalPrint-[version_number].msi (downloadable from Watchdoc documentation site).
Watchdoc Universal Print can be installed manually on each workstation or deployed to a workstation pool via a GPO policy.
Procedure
Mass installation
Mass installation can be performed using :
-
under GPO, the command line is: msiexec /i "WatchdocPrintClient-%VERSION%.msi" /qn /norestart DISCOVER_URI_MODE=1 DISCOVER_CUSTOM_URI="https://server:port/discover"
-
Under Intune, the .msi package can be deployed using the Microsoft Endpoint Manager admin centre tool.
This tool is used to create a Windows Application of the Line-of-business app type.
The command line arguments for Intune are:/qn DISCOVER_URI_MODE=1 DISCOVER_CUSTOM_URI="https://server:port/discover "where the DISCOVER_CUSTOM_URI parameter corresponds to the url of the Watchdoc Master server (or another Watchdoc server) and the Watchdoc port. DSP PORT.
Communication between the Windows Client and its Watchdoc server must be secured using the Print API Watchdoc print_api_cert.der certificate. This is available on the Master server and must be copied into the bin directory of the Windows Client installation folder, by default C:\Program Files\Doxense\Watchdoc Print Client\bin.
Single installation
-
Make sure you have the WatchdocPrintClient-x.x.x.x.msi installation file (downloadable from the documentation site);
-
Log in as administrator on the user workstation on which WPC for Windows is to be installed;
-
Copy the .msi installation file to the client workstation and click on it to launch the Watchdoc Print Client for Windows Setup wizard;
-
In the wizard, click Next to confirm the various steps:
-
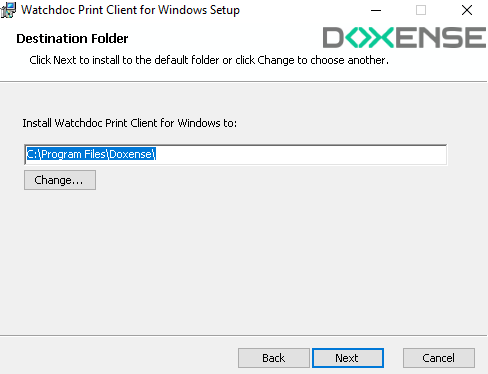
Specify the folder in which you wish to install the Watchdoc Print Client:
-
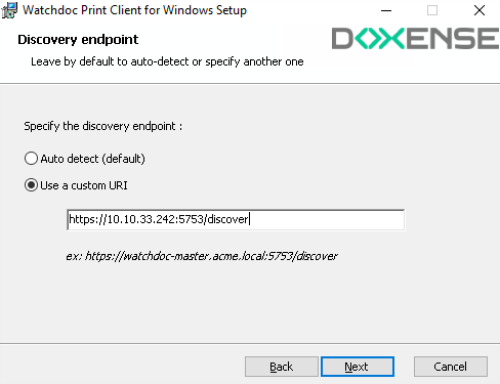
In the Discovery endpoint interface,
-
select the Use a custom URI option;
-
In the field, enter the address of your Watchdoc server and its port, followed by /discover :
-
-
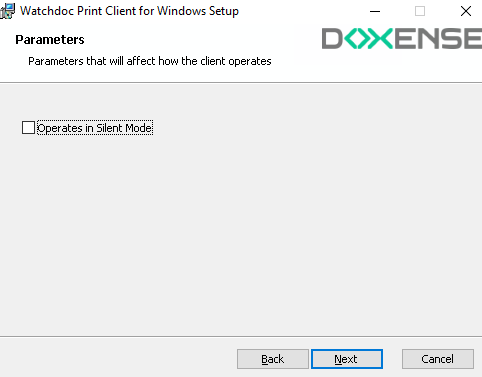
In the Parameters interface
-
leave the Operates in Silent Mode box unchecked if you want users to be able to interact with WPC ;
-
tick the Operates in Silent Mode box if you want to hide the graphical interface from your users. In this case, your users launch their jobs and do not need to designate a location to unlock their prints on the device. Only the "Profile" tab of the Watchdoc Print Client for Windows is visible.
-
-
When the end-of-installation message appears, click Finish :
→ Watchdoc Print Client Windows is launched and attempts to connect to the discovery service without success. The configuration should be continued in the Watchdoc administration interface: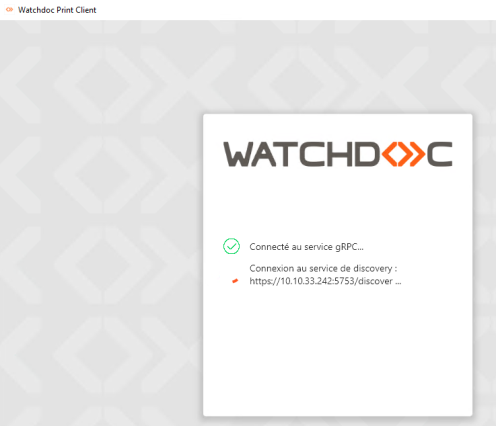
-
Log in to the Watchdoc administration interface.
-
From the Main Menu, Configuration section, click Advanced Configuration > System Configuration.
-
In the Miscellaneous section, click on Export certificate :

-
The file generated is named print_api_cert.der.
Save it in the bin folder of the Watchdoc Print Client installation folder (by default, C:\Program Files\Doxense\Watchdoc Print Client\bin):
-
The Watchdoc Print Client Windows authentication box is displayed. The user can then use WPC for Windows.