Access the interface
-
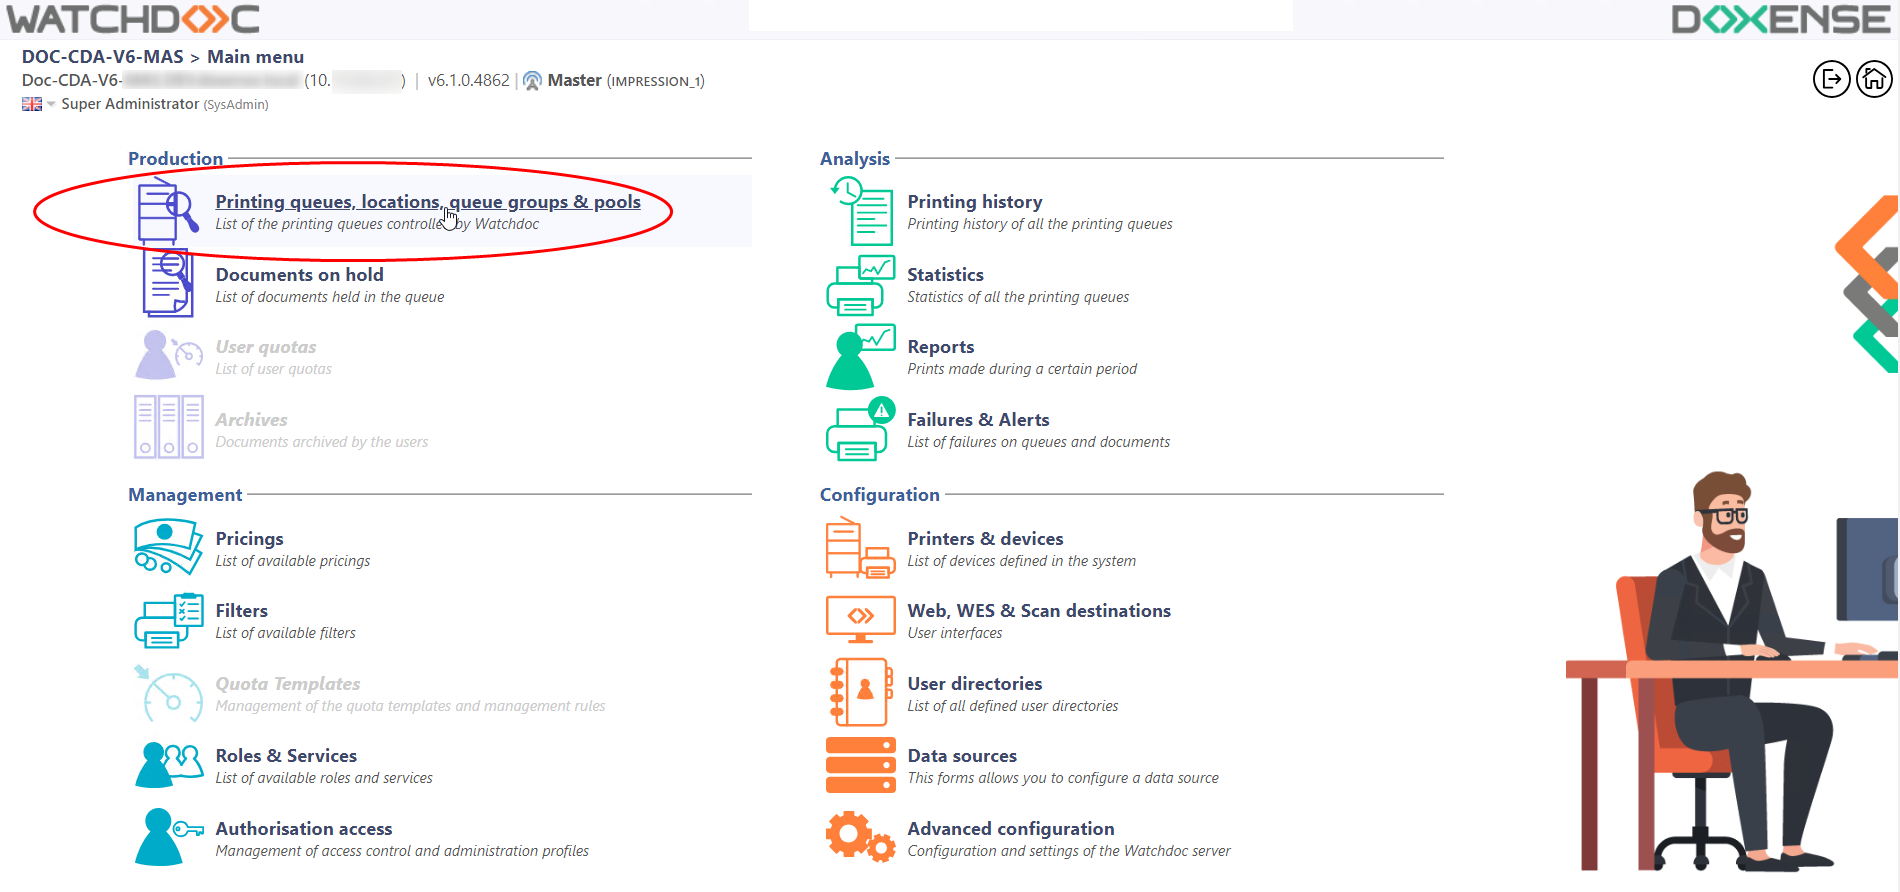
From the Main Menu of the Watchdoc administration interface, in the Production section, click Print Queues, Queue Groups & Pools:
-
In the Printing queues list, activate the Controlled filter, then select the queue you want to install the WES on.
-
For this queue, click the Edit Queue Properties button
 at the end of the line:
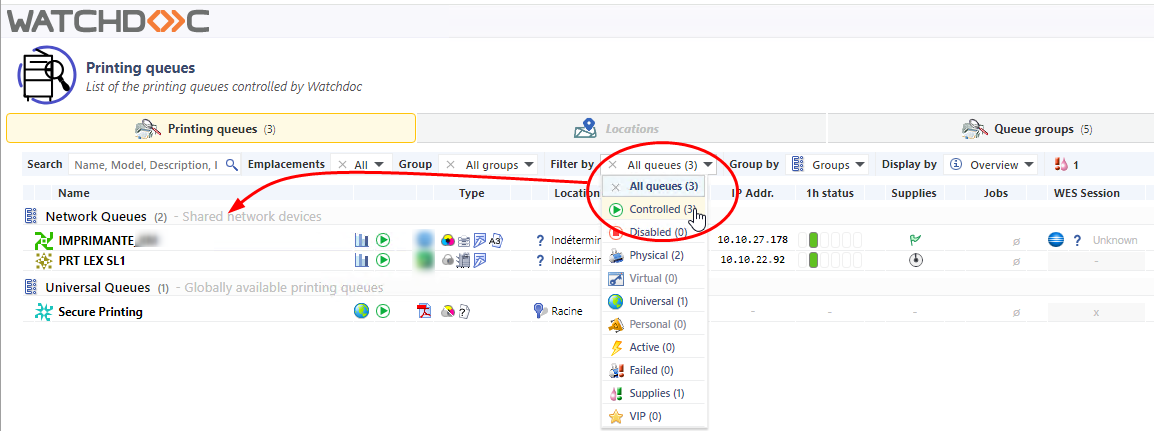
-
For this queue, click the Edit Queue Properties button
at the end of the line: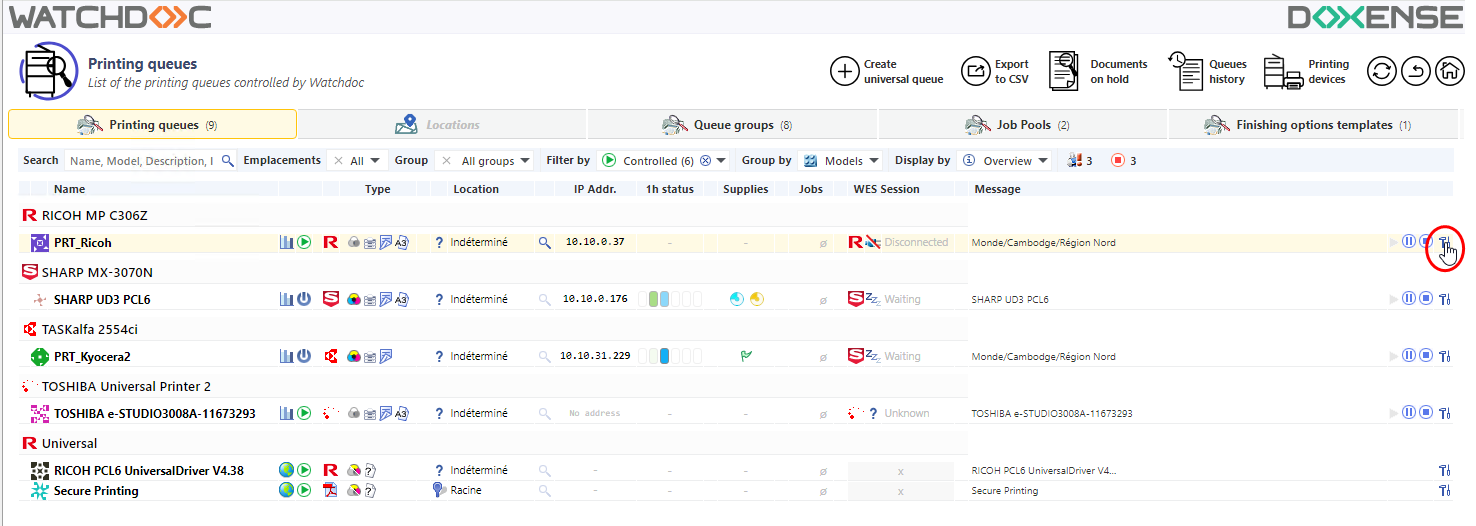
èYou are taken to the Print Queue Properties interface in which several sections are displayed:
-
the Validation mode is managed in the General information section ;
-
WES properties are managed in the WES section.
Configure the Validation mode
For the WES to work, the queue must be in Validation mode :
-
In the General information section> Mode subsection, if the Same as group option is selected, check that the group is in is in Validation mode.
-
If the print queue is not in a group, select the Validation mode;
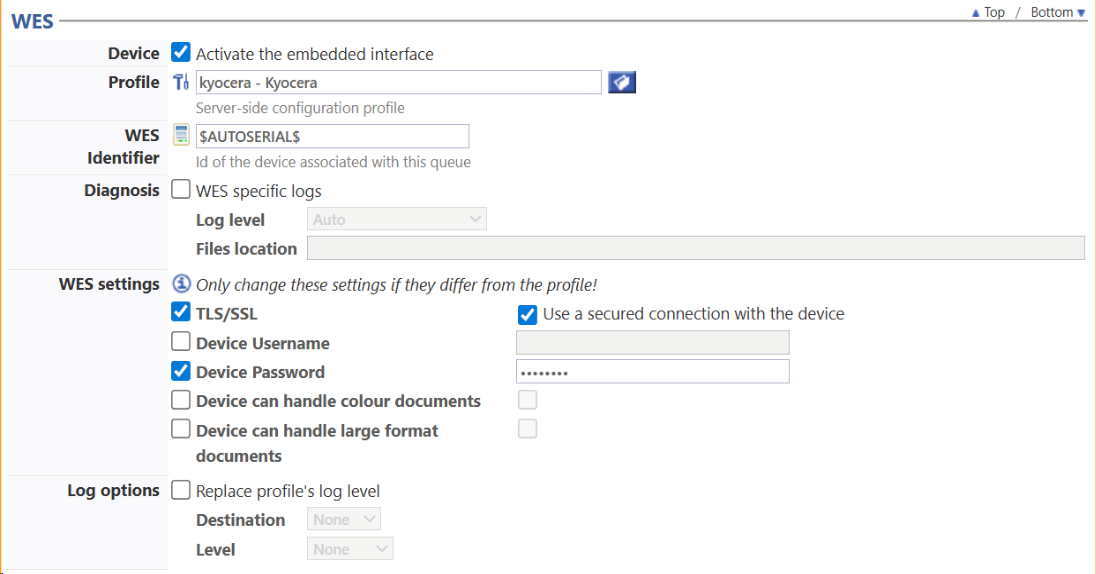
Configure the WES onto the queue
In the WES section:
-
Activate embedded interface: tick the box to use a WES.
-
Profile subsection: From the list, select the WES to configure. The list comprises profiles created ahead of time in your instance of Watchdoc. If the desired profile is not found there, you will need to configure it (refer to WES configuration profile).
-
WES identifier subsection: Once you have ticked the box and selected the profile, the ID of the WES field will fill itself with “$AUTOSERIAL$”. Keep it that way so that the server will determine itself the serial number of the device and use it as the WES ID. You can also input directly the serial number of the device in this field.
-
Diagnosis subsection. It may be useful to activate WES trace logging, especially to diagnose an anomaly. Use this subsection to specify settings relating to WES trace log files:
-
Enable logs: Tick the box if you would like to generate trace log files on communications between Watchdoc and the WES and to keep them on the server.
-
Log level:From the list, select the type of requests you wish to trace:
-
Network trace: Communications between server and WES.
-
All requests: Used to keep a trace of all of the requests (to APIs, to RPCs).
-
Requests to APIs and RPCs: Used to retain traces of requests to the API and the RPC requests sent,
-
API Requests: Used to retain traces of the requests sent to the APIs,
-
None: Not used.
-
-
File locations: Use this field to enter the path to the folder where you wish to save the trace files. If no path is specified, then by default, Watchdoc saves the trace files to C:\Program Files\Doxense\Watchdoc\logs.
-
-
WES Settings: In this section, you can configure the connection settings between the queue and Watchdoc if these settings are specific to this queue. In this case, these settings override the settings defined for the WES. If you do not make any changes in this section, the WES configuration will apply.
-
TLS/SSL: Check this box if the device uses a secure connection with Watchdoc:
-
Device username: The name of the account authorized to connect to the device;
-
Device password: Enter the password for the device’s administrator account if it is specific to this device:
-
-
Log options: Check this box to set the log level specifically for this queue:
-
Destination: specify where the application should collect the information it records in the log files:
-
file: tick this box to save the information in a file accessible by Watchdoc
-
device: tick this box to save the information on the device;
-
all: tick this box to save the information in a file accessible by Watchdoc and on the device.
-
-
Level: specify the level of detail of the WES information recorded:
-
profile: select this option to keep the traces left in the event of the WES profile ;
-
debug: select this option to keep the traces left in the event of a WES malfunction;
-
verbose: select this option to keep all traces of the WES;
-
info: select this option to keep only a minimum of information about how wes works;
-
warning: select this to keep all traces left by the WES in the event of an alert;
-
error: select this to keep a record of any error detected by the WES;
-
fatal: select this to keep a record of all blocking WES malfunctions.
-
-
-
Spool transformation: The Spool transformation function lets Watchdoc impose or propose to users changes to the initial print criteria to better match the print policy implemented:
-
Activate monochrome conversion: Tick the box to propose that a print job requested in colour be changed into a one colour document;
-
Activate a change in the number of copies: Tick the box to propose that the number of copies of a print job can be changed;
-
Activate conversion to two-side printing: Tick this box to propose that a print job requested for one-side printing be printed on two-sides;
-
Activate conversion to one-side printing: Tick the box to propose that a print job requested for two-side printing be changed to one-side printing.
-
Validate the configuration
1. Click on  to validate the WES configuration on the print queue.
2. After having configured the WES onto the queue, you must install it.