Customize the buttons color
To change the color of the WES buttons :
-
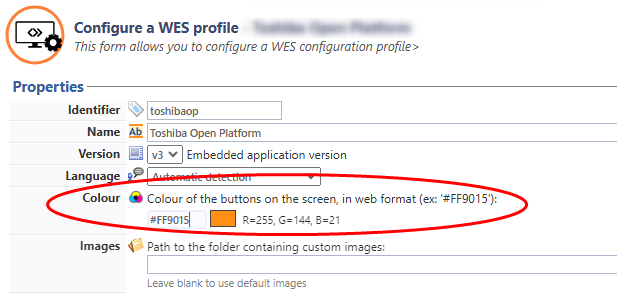
in the interface Configure a WES profile interface, section Properties, for the Color parameter, enter the hexadecimal code corresponding to the colour you want to give to the interface buttons:
-
click on Validate to register the WES profile configuration ;
-
check that the new color is applied on the WES
Customize the image
To change the default images to your own images:
-
go to the server where Watchdoc is installed;
-
in the folder including the Watchdoc installation files (C:\Program Files\Doxense\Watchdoc\Images\Embedded\Doxense\, by default), choose the folder of the device manufacturer and copy it;
-
go back one level in the folders tree, paste the folder you just have copied and rename it clearly (for example: ([MANUFACTURER]_Custom) before customizing it;
-
in the customised manufacturer folder, replace each original image with your own images, respecting the size of the original images (go to the images properties to know the detailled sizes):
To make sure that the dimensions are respected, you can resize the custom images by overlaying them on the default images:
-
open the default image in an image editor (such as MS Paint);
-
overlay the custom image on the default image and size it by overlaying;
-
Save the resized custom image with the name of the default image.
N.B.: The number of images contained in the folder varies depending on the manufacturer and functionality of the WES. The WEScan image is the following:
-
logo: image displayed on the WEScan home panel (220x25 px).
-
-
in the WES profile interface, go to the WES Properties section;
-
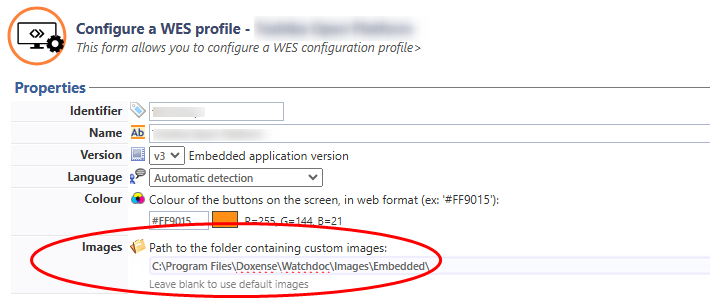
In the Custom Image field, enter the path to the folder where your customised images are saved (C:\Program Files\Doxense\Watchdoc\Images\Embedded\[Manufacturer]_custom);
-
click on Validate to save the WES profile configuration;
-
then verify onto the device screens that the WES is customised with your images.
-