Brother WES - Install the WES onto the queue
Access the interface
-
From the Main Menu of the Watchdoc administration interface, in the Production section, click Print Queues, Queue Groups & Pools:
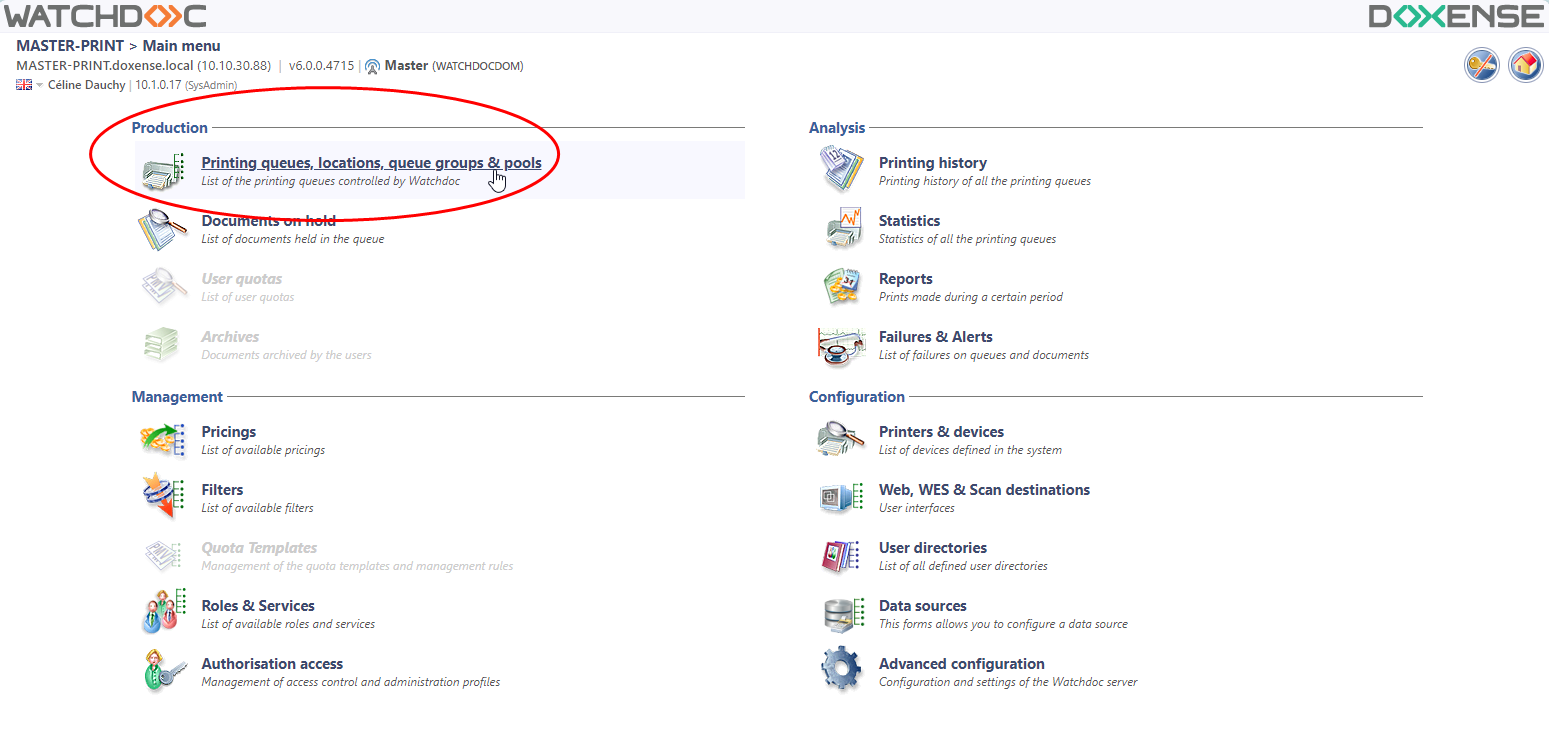
èYou will access the Printing queues interface:
-
click on the file for which you wish to install the WES;
-
in the queue management interface, click on the Properties tab:
-
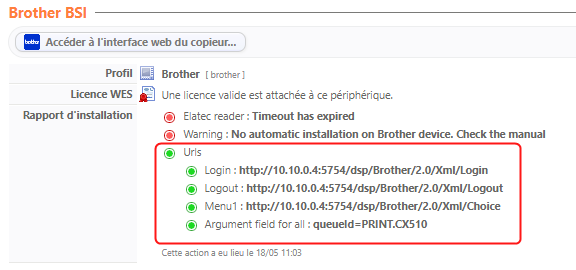
In the queue properties, the Brother BSI section appears:
-
Click on the Install button:
-
A message will inform you that the installation is not automatic: the URLs listed must be transferred to the Brother device interface to complete the installation.
Complete installation on Brother® devices
Note: Before installing a WES, check whether a WES is already installed. If so, you must uninstall the previous WES before starting a new installation.
The information you need to set up the devices is listed in the WES installation report, so you can copy and paste it.
To complete the device settings:
-
access the printer management web interface as an administrator;
-
in the Administrator tab, click on the Solutions or Solutions Settings menu item;
-
you access the Solutions application input menu;
-
in the Solutions application Input menu, click on Login;
-
in the Login box, complete the following fields:
-
Application ID: enter the application identifier (e.g. Watchdoc_ID);
-
URL: enter the value copied from the WES installation report http://[server IP] :5754/dsp/Brother/2.0/Xml/Login;
-
Argument: enter the value copied from the WES installation report or the following value: queueId=[queue id in watchdoc]
-
-
in the Solutions application Input menu, click on Menu1;
-
in the box Menu1, complete the following fields:
-
Application ID : enter the application ID (e.g. Watchdoc);
-
Display name: enter the name of the application you want to be displayed on the device screen;
-
URL: enter the value copied from the WES installation report http://[server IP]:5754/dsp/Brother/2.0/Xml/Login;
-
Argument: enter the value copied from the WES installation report or the following value: queueId=[queue id in watchdoc];
-
-
in the Solutions application entry menu, scroll up to the Solutions entry;
-
in the Solutions Settings box, complete the following fields:
-
Solutions: select Yes to activate Watchdoc on the device;
-
Solutions button title: enter the labels you want to appear on the device screen (e.g. ‘Printouts’). N.B.: the label must not contain more than 11 characters. If it is, it will be truncated.
-
Login portal: select Yes to allow the user to access the login portal;
-
Login portal message: enter in this field the message displayed to the user when they access it (e.g. ‘Enter your code’ if authentication requires the PIN or PUK code);
-
Screen displayed after login: select the screen you want to be displayed once the user has authenticated;
-
For devices with an integrated badge reader: Internal NFC reader: tick the Yes radio button;
-
-
click on the Send button:
-
after restarting the device, from the Solutions menu, click on Solutions Application Entry to finalise the device settings;
-
launch a print job to check that the WES is working.