Konica Minolta WES - Install the WES onto the queue
Access the interface
-
From the Main Menu of the Watchdoc administration interface, in the Production section, click Print Queues, Queue Groups & Pools:
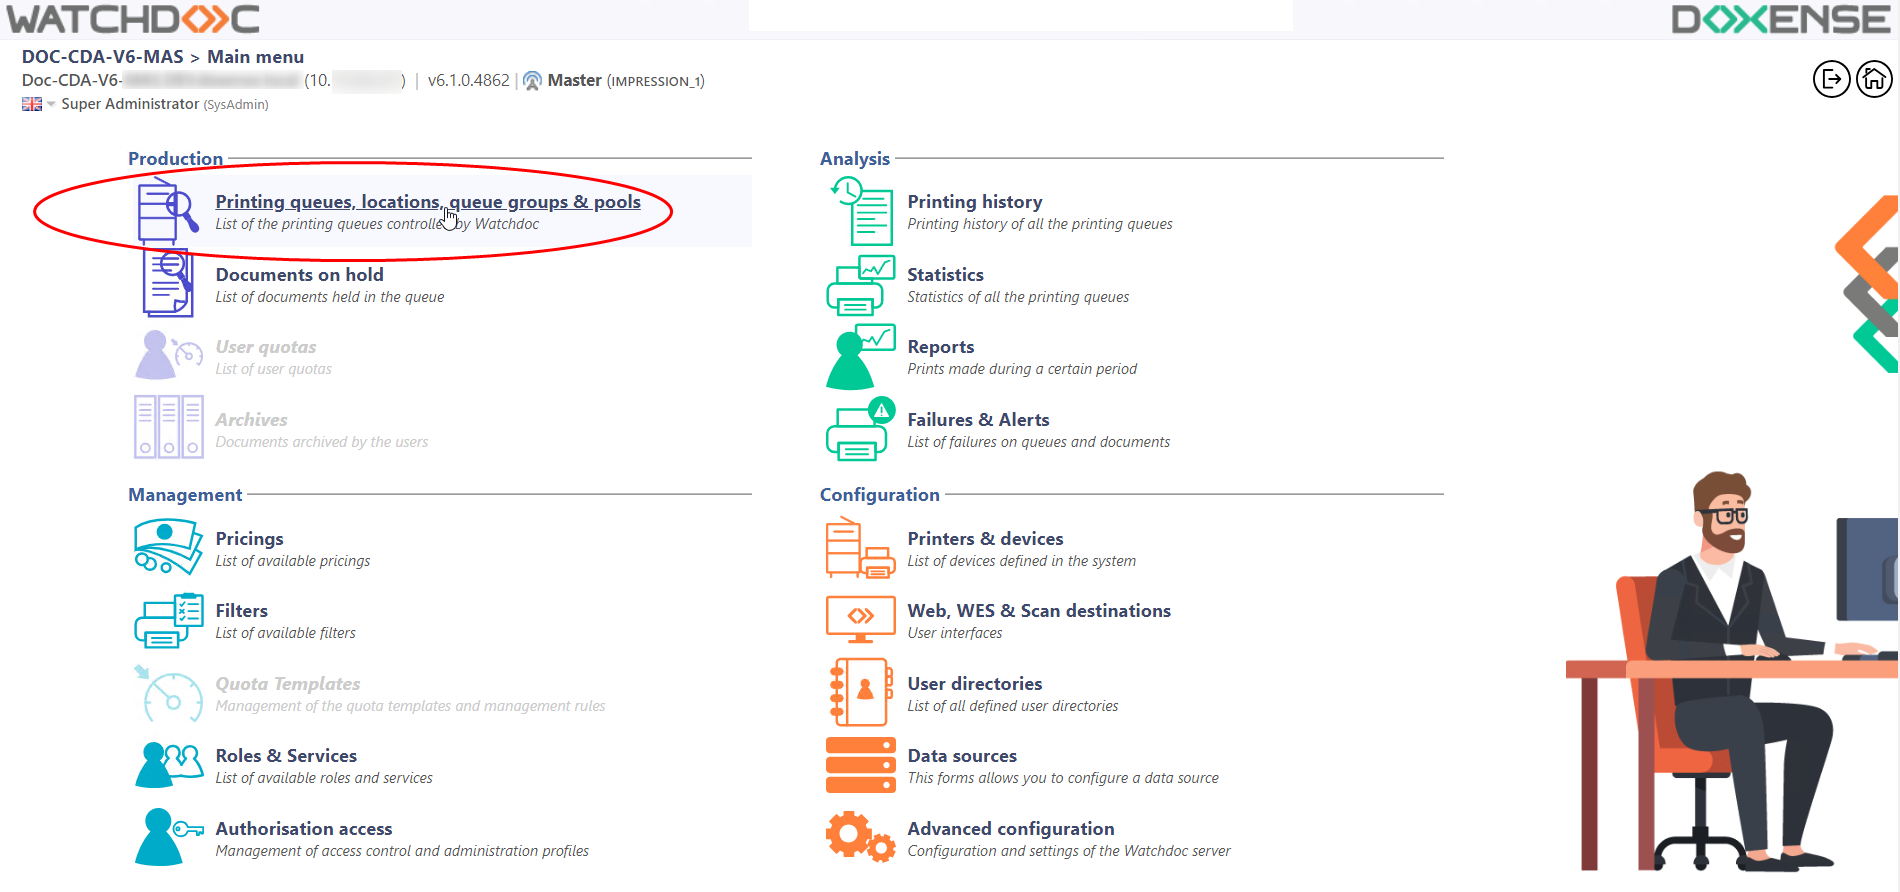
→ You will access the print queues interface.
-
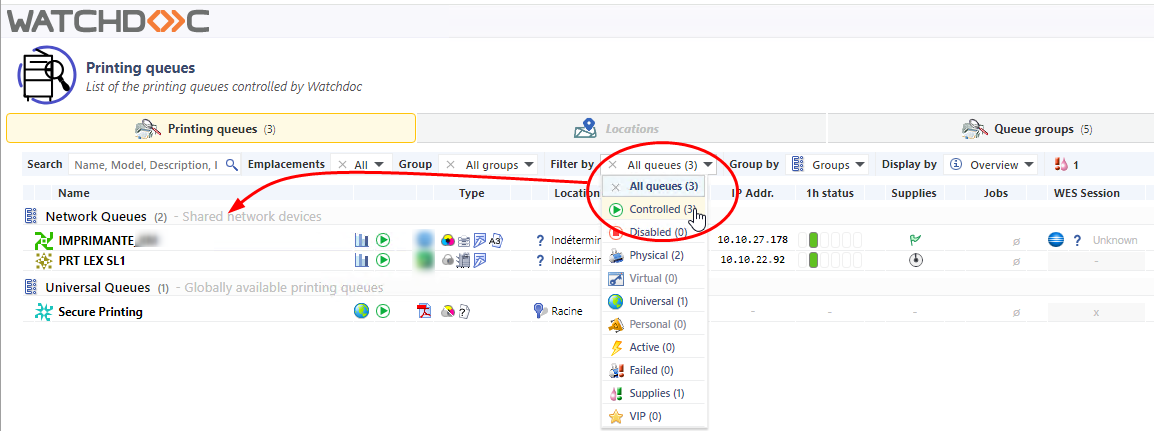
In this list, activate the Controlled filter:
-
Click on the name of the queue on which you want to install the WES.
→ You access the Queue management interface.
Configure the Validation mode
-
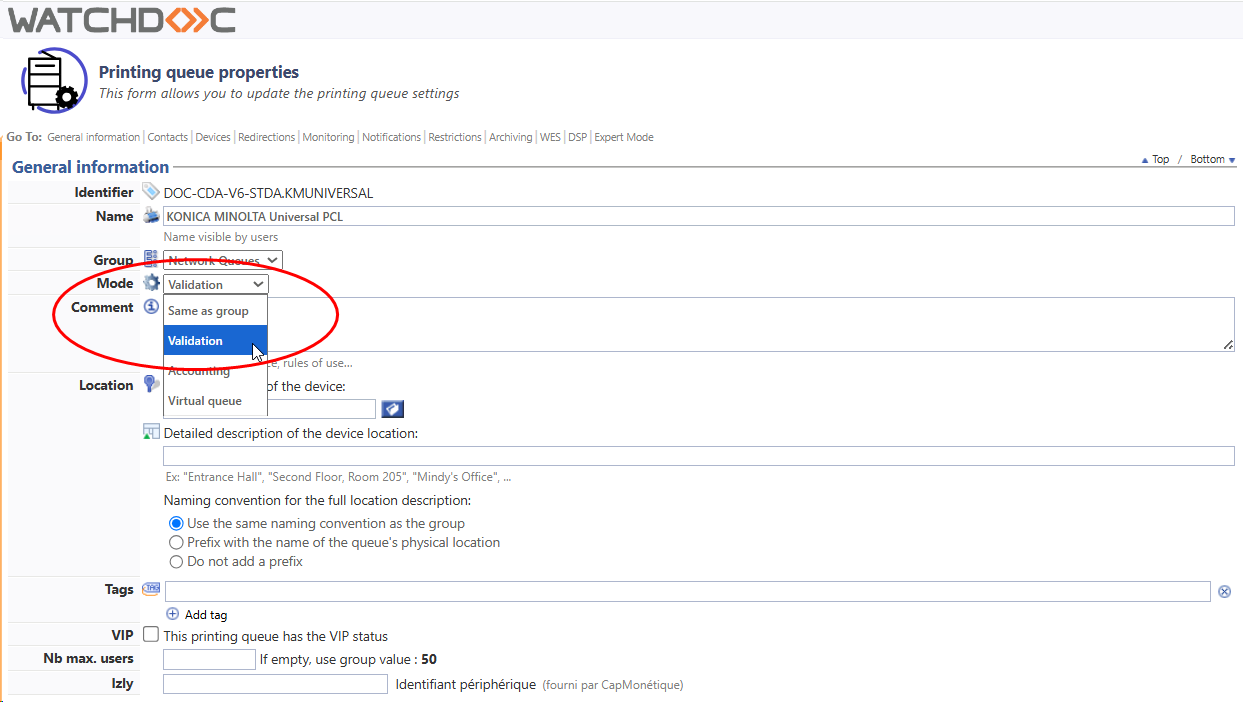
In the queue management interface, click on Edit properties button.
-
In the General information section> Mode subsection, select the Validation mode;
-
Save the queue configuration.
Install the WES
-
Go back to the queue management interface, then click on Properties tab:
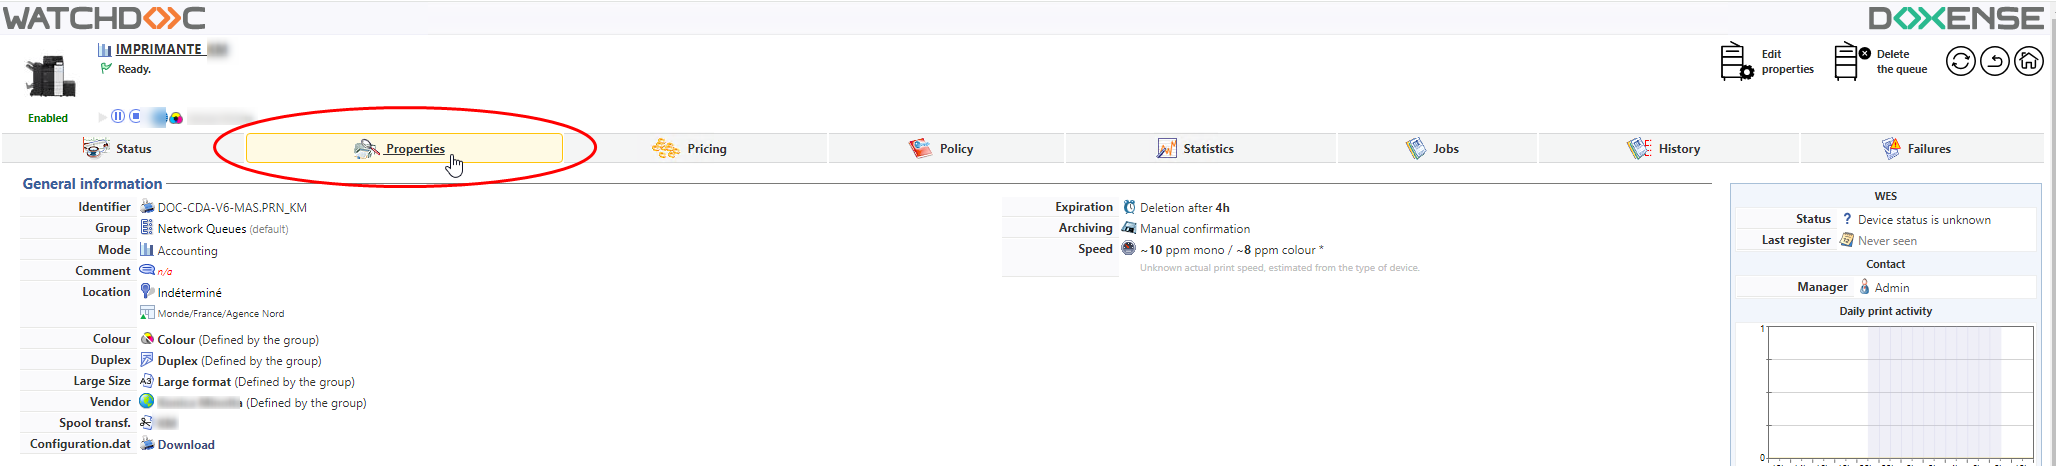
The section OpenAPI contains several buttons:
-
WES Device: Displays a summary page for all WES devices configured on this server;
-
Access the device’s web interface: Is a shortcut to the device internal administration web site;
-
Remote access to the panel: gives a remote access to the device panel;
-
WES Simulator: gives a remote access to the WES device panel in order to check the WES configuration;
-
Edit the settings...: Enables Watchdoc to edit the embedded interface (WES) settings;
In the OpenAPI section, click on the Enable access control button under each feature you want to enable on the WES :
-
WES Authentication
-
Pull print : to enable the device to display the Konica Minolta unlock interface;
-
enable print job : to enable the device to display the Watchdoc interface (if you have the i-Option version);
-
enable print job WEB : enable this function on non-i-option devices. In this case, the accounting must be done by the device (see Setting up a WES profile > Accounting section).
-
-
Scan
-
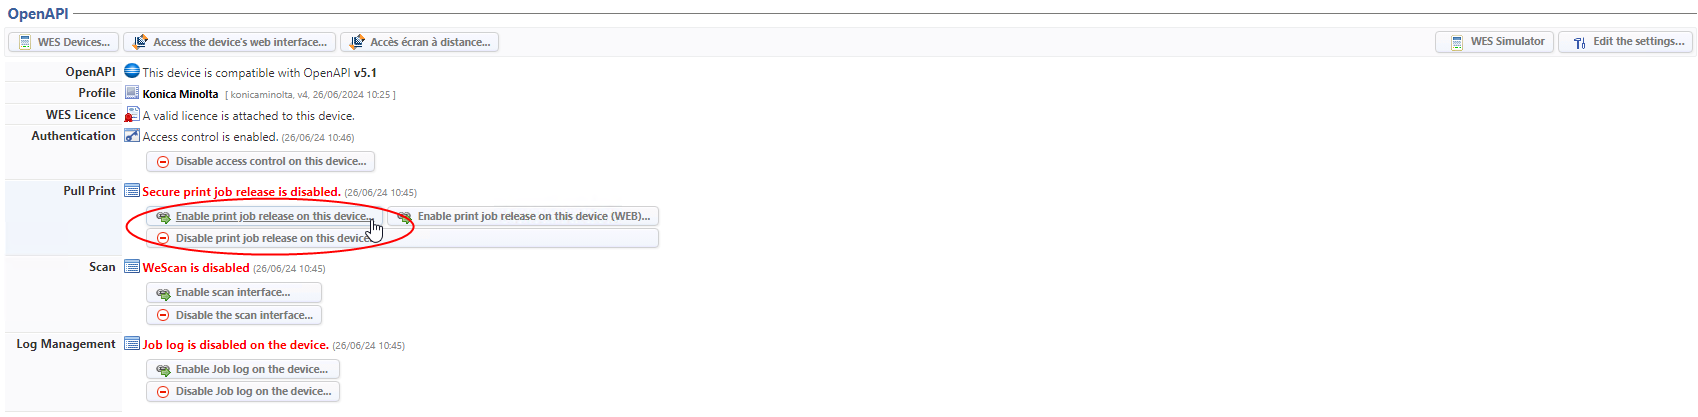
è the message "[feature] is enabled" and a Disable access button are displayed as soon as installation is complete.
Click on the WES simulator button to check the WES configuration.
Then launch a print-job from the device to check the WES installation.