Watchdoc - Install the Watchdoc Kernel
In a remote mode, the Watchdoc components kernel and web site (IIS) are hosted on different servers.
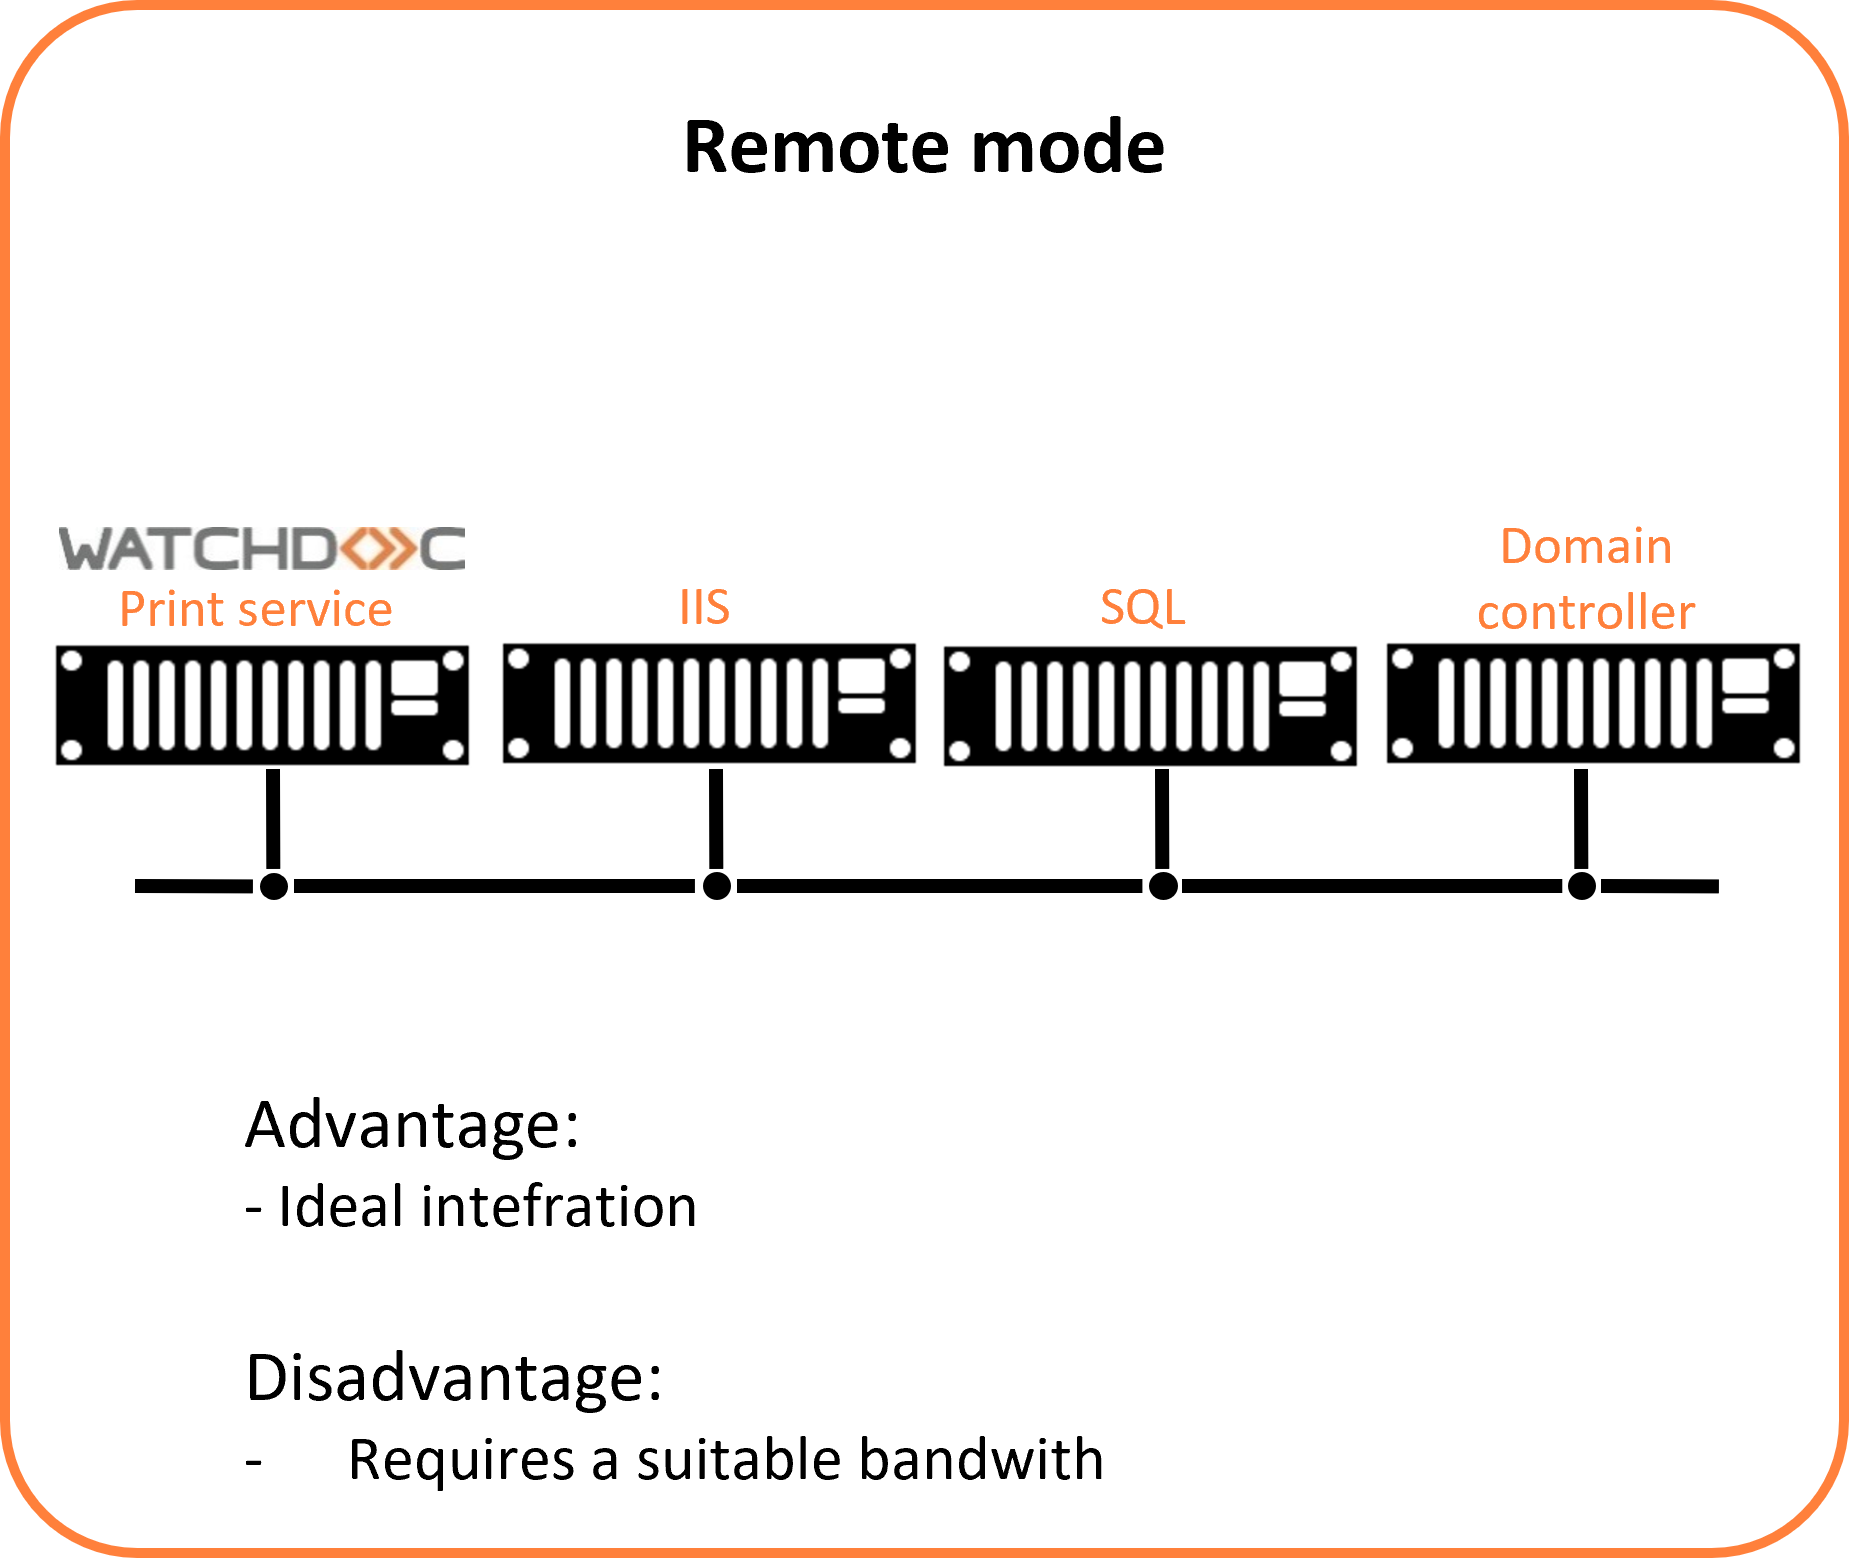
This chapter will inform you how to install the Watchdoc kernel on the print server
The Watchdoc installation includes the following steps:
-
ckecking the prerequisites;
-
unzipping the downloaded setup archive;
-
installing Watchdoc kernel component.
You will need to complete the operation by installing the Watchdoc Website (see Installing the Watchdoc Web Site)
Prerequisites checking
Before installing Watchdoc you must firstly check the following prerequisites:
-
the web server role is installed;
-
the services server and the print server role are installed;
-
Microsoft® .NET Framework v.4.8 is installed;
-
the database system is installed ;
-
a service account (with a password that never expires) is available to enable WEScan.
Unzipping archive
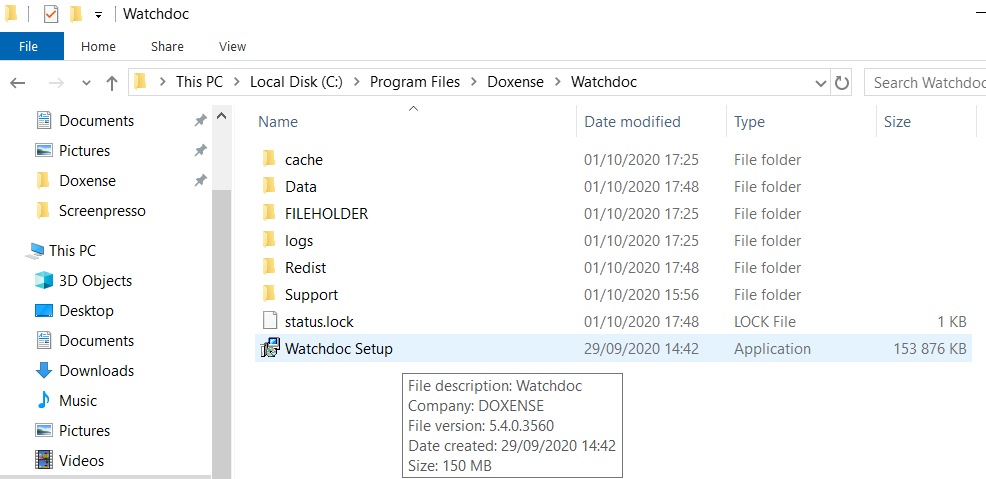
The setup tool is stored in an archive file named Watchdoc[…].zip, which must be unzipped in a folder of the server:
-
in the server file tree, create a folder in the location where you want to save the Watchdoc application;
-
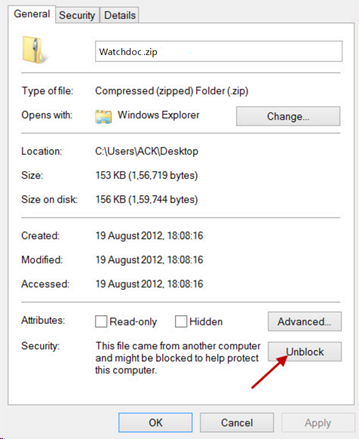
check that the .zip archive is not locked:
-
right-click on the file in the archive > Properties;
-
tick Unlock if the archive file is locked;
-
click on OK to confirm unblocking:
-
-
Unzip the Watchdoc.zip.archive.
Launching the Watchdoc installation
In the Watchdoc Setup archive file,
-
click on the Watchdoc Setup.exe file:
-
accept the license agreement and click on Install:
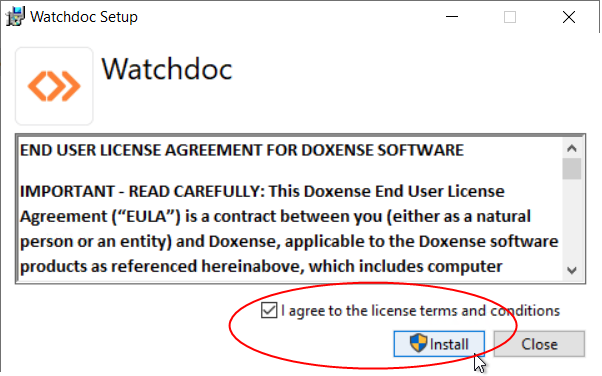
→ the installation steps are displayed in the Setup Progress box;
-
Click on Restart to restart the server.
→ After restarting, the Watchdoc installation wizard is displayed.
-
Click on Next to continue the installation:
Configuring the Watchdoc kernel
-
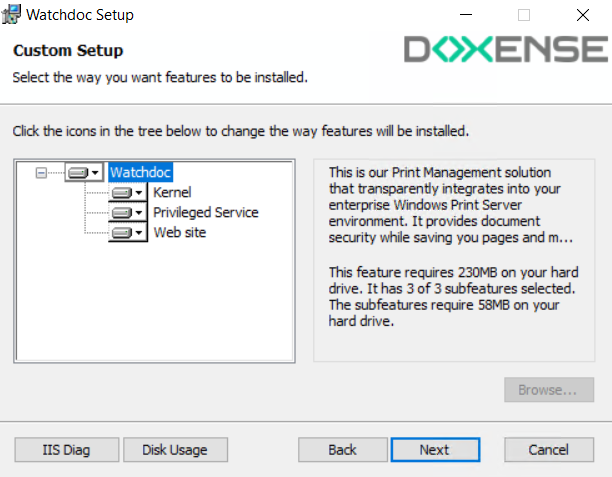
You can change the default installation directory for the Watchdoc kernel. To change it:
-
select Kernel;
-
click on Browse and select a new installation path. The Disk Usage button is used to check that there is enough space on the drive you have chosen to install Watchdoc .
-
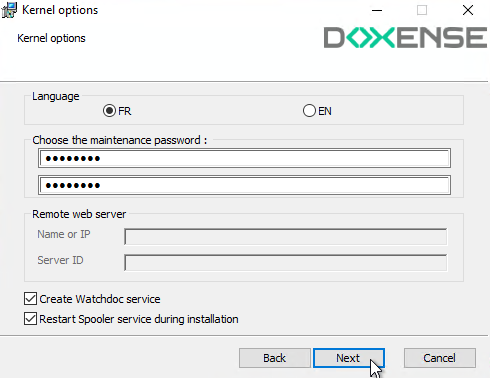
→ In the Kernel options windows that appears:
-
in the Language section , select the interfaces default language;
-
in the Password section, modify, if necessary, the administration password wich is changeme by default;
-
In the Remote web server section:
-
specify the IP address or computer name of the server that hosts the IIS web service;
-
in the Server ID field, specify the name of the server on which the kernel is installed
-
-
Tick the box Create WatchdocService to install Watchdoc with the default options. If it's a cluster installation, untick the box;
-
tick the box Restart Spooler service during installation to allow an automatic restart of the spooler service during installation. Untick the box if your want to restart the spooler service manually;
-
tick the box Optimise for WES with previews if Watchdoc is used with Samsung® , Sharp® or Xerox® WES (Watchdoc Embedded Solutions). When this box is ticked, Watchdoc generates 20 thumbnails, displayed as soon as jobs arrive on the print server. In case the box is not checked, the thumbnails are generated at the request of the WES, which requires an additional delay at the time of the display.
-
Click on Next to continue installation.
-
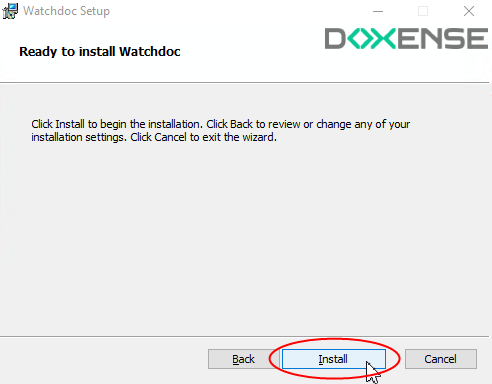
In the window Ready to install Watchdoc, click on Install.
→The installation progress is displayed in the Installing Watchdoc window: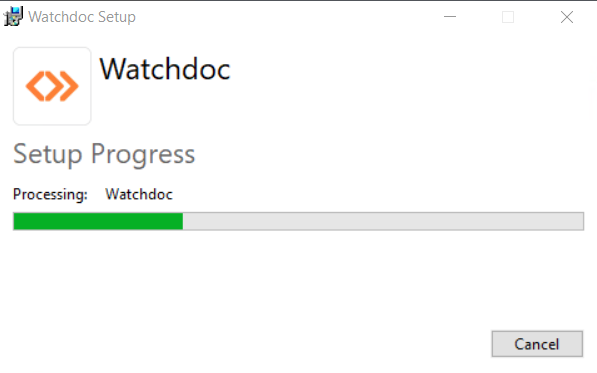
→ A message informs you of the end of the installation.
-
Click on Finish to exit the wizard.
→ The wizard displays a message informing you of the successful installation.
-
If the Watchdoc web site is not yet installed, install it on the dedicated website(see Install the Watchdoc web site chapter).
-
If the Watchdoc web site is already installed, the installation is finished. Proceed to the initial setup of Watchdoc (see Access Watchdoc configuration interface).