Add a card
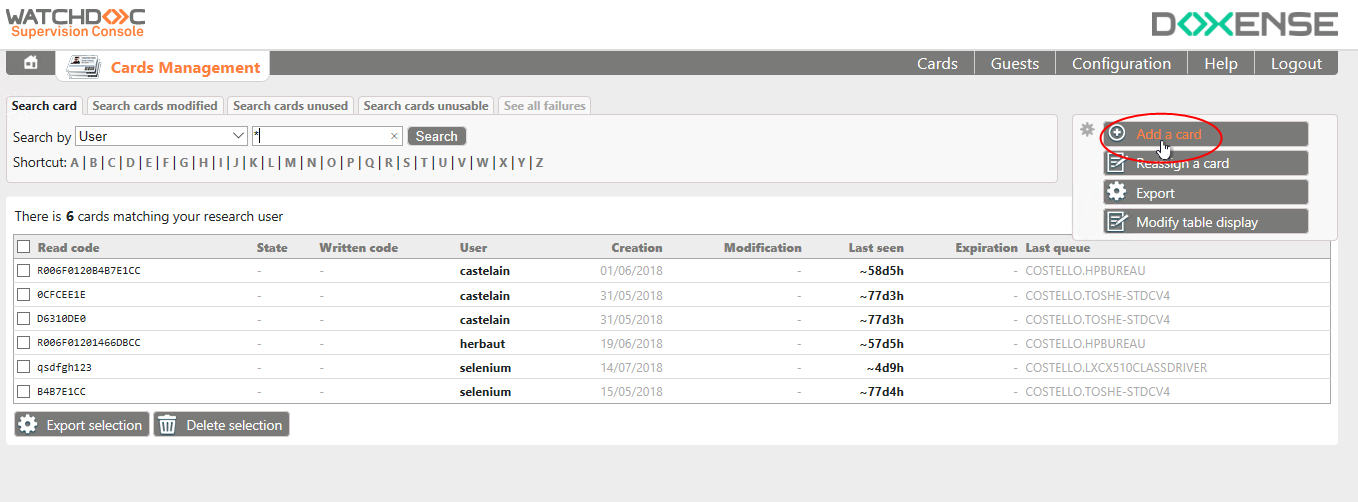
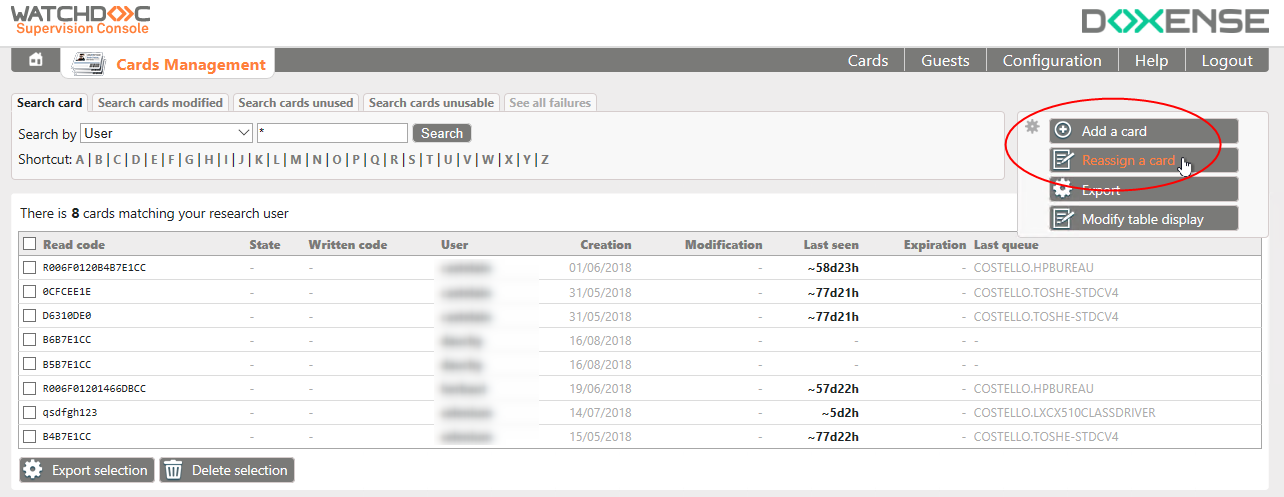
In the Cards Management interface displayed, the cards already registered are listed.
The button Add a card allows you to manually add a card in the database. There's also a self-registration association method, where users can associate their own card. For more information, please refer to the corresponding WES documentation
To add a guest:
-
click on Add a card button:
-
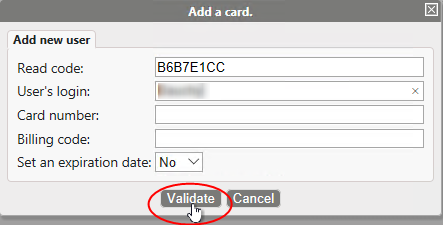
If the card's owner is someone known by the Active Directory or any other user directory declared in Watchdoc, choose the Add new user tab
-
If the card's owner is a guest, choose Add a new guest tab.
→ A dialog box appears.
-
select the Add new user tab of the dialogue that appears;
-
fill out the fields:
-
Code read (mandatory): this is the card's code, read by the reader. If the reader is plugged into your computer, select the field to place the cursor in it, then swipe the card, it will fill the value.
-
User's login (mandatory): login of the card owner.
-
Code on the card: if the card has an id printed on it, you can specify it here. This can help, for example, to identify the owner of a lost card, or to manage a stock of cards.
-
Analytic codeal: this works as the analytical code attribute of Watchdoc's LDAP user directory. If a value is found on both of them, the card's analytical code takes precedence.
-
Set an expiration date: you can specify a validity period. Once expired, the card won't be able to log in the user anymore.
-
click on the Validate button to save the data;
-
refresh the page to check the new card has been registered in the cards
database;
Edit a card
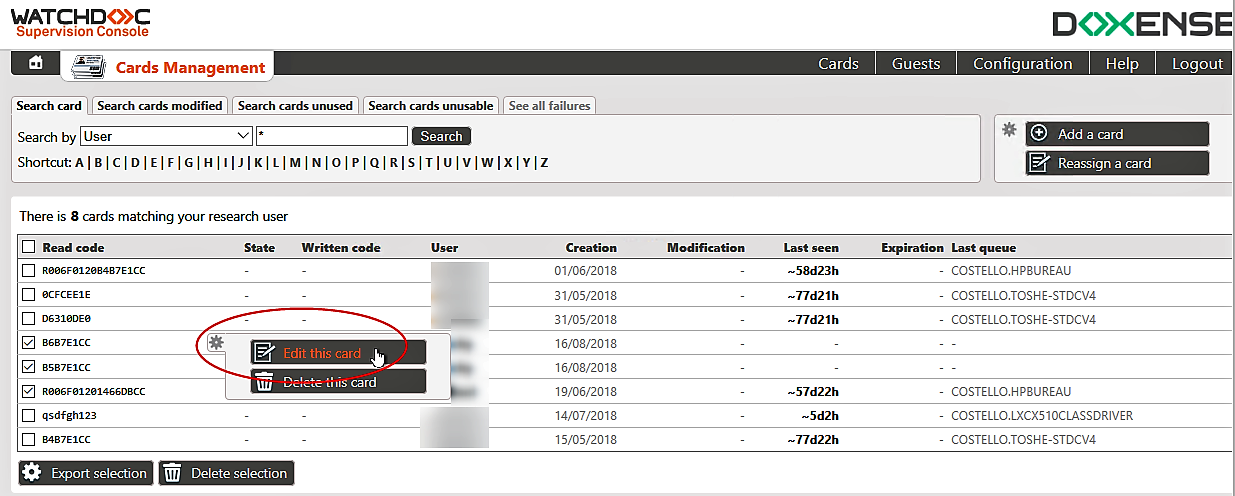
To edit a card:
-
in the Cards List, hover the cursor over a card name;
-
in the displayed menu, select Edit this card;
-
modify the card's data : in addition to the already described fields in Add a card fields, two new fields are available:
-
Lock the card: if configured to Yes, the card won't be able to authenticate its owner anymore;
-
Flag the card as lost: same as previous field, but if there's an authentication attempt with it, a mail is sent to the Watchdoc administrator with information details:
-
click on the Validate button to save the data.
Delete a card
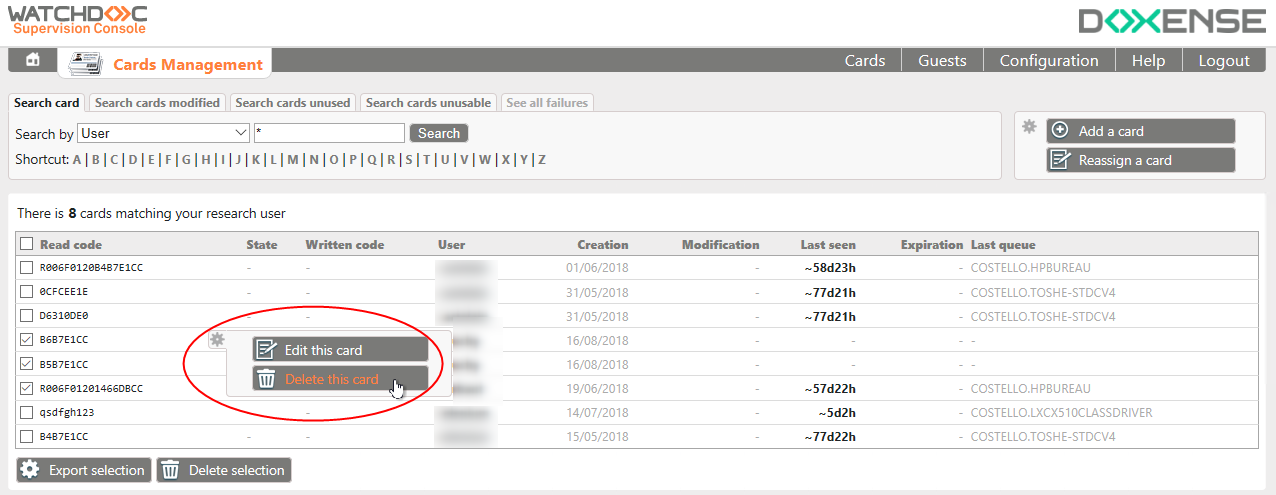
To remove a card:
-
hover your cursor on the corresponding card;
-
hover your cursor over the icon that appears;
-
click the Delete this card button:
-
click the Validate button to confirm the deletion.
Delete several cards
To remove several cards:
-
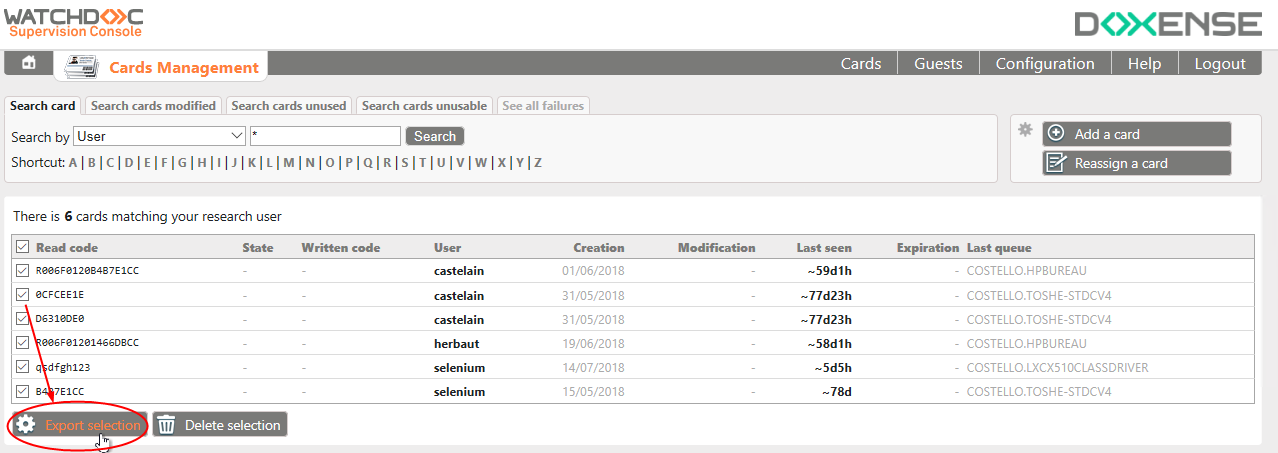
check the boxes of the selected guests;
-
click the Delect selection button:

-
click the Validate button to confirm selection deletion.
Reassign a card
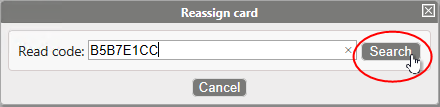
If you have a reader plugged into your computer, you can reassign a card even faster by using the dedicated feature:
-
click on the Reassign a card button;
-
place your cursor in the field that appears and swipe the card:
-
fill out the rest of the information about the card's owner:
Export cards list
To export the cards list:
-
click on the Export button:
→ A dialog box appears, to allow you to save the file in CSV format.